

One-Plant SCROG Grow: 246-Gram Beginner Case Study
Video chapters: how the one-plant SCROG was built
- 0:20 — One plant fills the closet
- 0:29 — LST without topping or FIMming
- 0:48 — The reported 246-gram result
- 1:01 — Clone, starter pot, soil and light
- 1:15 — Waiting until the plant could handle LST
- 1:34 — Transplanting and circling the pot
- 2:40 — Installing and filling the SCROG net
- 3:08 — Flipping to flower and continuing to tuck
- 3:41 — Final canopy and harvest

Last updated: August 2026
Quick answer: Yes, one cannabis plant can fill a closet with a SCROG canopy—but the screen is only part of the story. In this Growmie case study, Kyle trained one clone around its pot with soft ties, moved it into a seven-gallon container, spread it beneath a trellis and reported a 246-gram dry harvest. That is about 8.7 ounces. It was an impressive first grow, but it was not “almost a pound,” and the result should not be treated as a promise.

Selecting a timestamp opens the video at that moment without moving you away from this section.
The grow at a glance
| Starting material | One Cosmic Serpent #8 clone |
|---|---|
| Grow space | Roughly 3 × 5-foot indoor closet |
| Training | Soft ties followed by a trellis; no topping or FIMming |
| Root volume | Six-inch starter pot, five-gallon pot, then seven-gallon final pot |
| Flowering flip | Day 88 in Kyle’s journal |
| Reported result | 246 grams dry, about 8.7 ounces |
This was a grower-submitted case study, not a controlled side-by-side test. The dry weight is Kyle’s reported result. The useful lesson is the canopy-building process—not a guarantee that one plant, one net or one closet will reproduce the same number.
How Kyle turned one clone into a wall-to-wall canopy
1. He waited for a plant strong enough to train
Kyle started the clone in a six-inch pot under a small blurple light. Growth was slow, and the young plant was not ready to be pulled around on day one. He waited until day 22, when the leaves and stems looked stronger, before beginning low-stress training.
That judgment matters more than copying “day 22.” A fresh clone with weak roots, drooping leaves or a soft stem needs recovery—not another job. Start LST when the plant is actively growing and the branches are still flexible. The topping, LST and SCROG guide shows the technique and explains when to wait.
2. He used the pot as the first training map
After moving the plant into a five-gallon pot, Kyle planted it closer to one edge and guided the main growth around the perimeter. Each new section was tied roughly parallel to the soil so the side branches could turn upward and become new tops. Think of it like wrapping a vine around the pot before asking it to fill the room.
Soft, loose ties are important. A branch thickens while you are not looking, so check every tie and move it before it bites into the stem. If a transplant is due, follow the cannabis transplant guide and give the root ball time to reestablish before aggressive training resumes.
3. He upgraded the root zone and light before the screen
On day 64, Kyle moved the plant into a seven-gallon pot and installed a stronger light. He removed the tie-downs and gave the plant roughly two weeks of lower-stress growth before adding the trellis. That pause is easy to overlook, but it helped separate a major transplant from the next round of training.
The soil brands, nutrient bottles and day numbers in the video document this grow. They are not a universal feeding schedule. Container size, water quality, medium charge, light intensity and plant demand all change the correct amount. Use the pH, EC, PPM and runoff guide to measure the root zone instead of copying a bottle or calendar blindly.
4. The trellis turned many ties into one organized screen
Kyle installed the net on day 81 and pulled it taut across the closet. As tops reached the screen, he tucked each one under and guided it toward an open square. That is the “screen of green” part: the net spreads the plant across the useful light footprint and gives growing tips their own lanes.
Do not use the net as a reason to pack every square until leaves overlap. You still need airflow, access to the pot and room to inspect the underside. Remove weak growth that will never reach the canopy, but avoid turning every training day into a stripping day. Use the separate pre-flower pruning and defoliation guide when the screen becomes crowded.
5. He flipped after the footprint was filled
Kyle changed to a 12-hour flowering cycle on day 88 and continued tucking through the early stretch. Around four weeks into bloom, the canopy’s job changed: horizontal expansion slowed, and the focus became supporting flowers and keeping the room stable.
Do not flip because another grower reached a certain day. Flip when the plant is healthy, the usable footprint is close to filled and there is enough vertical room for the expected stretch. The when-to-flip guide helps you make that call from plant size and available space.
Why this SCROG worked
- One healthy clone: the project began with established genetics, not a weak seedling being forced to fill a deadline.
- Long vegetative time: one plant needed time to occupy a multi-foot footprint before flowering.
- Progressive root volume: the container grew with the plant instead of leaving the final canopy in a tiny root zone.
- Two-stage training: individual ties built the structure; the trellis organized the final canopy.
- Recovery between major changes: the plant was not transplanted, heavily trained and flipped on the same day.
- A fuller light footprint: more tops were placed where the fixture could reach them.
None of those points makes 246 grams automatic. Final yield also depends on genetics, veg time, root health, usable light, climate, irrigation, flowering duration, harvest timing and drying. For a first full grow, use the beginner seed-to-harvest guide as the main workflow and treat this page as a canopy case study.
What not to copy literally
- The calendar: “day 22” or “day 88” describes Kyle’s plant. Your plant may be ready earlier or much later.
- The bottle schedule: a once-a-week product mention is not enough information to prescribe a feed. Measure the actual solution and plant response.
- The old light model: equipment ages quickly. Choose a current fixture from coverage and measured output, not because it appeared in an older grow.
- The yield headline: 246 grams is an excellent self-reported result, but it is about 0.54 pound—not almost a pound.
- The jar count: containers show storage volume, not a repeatable dry-weight measurement.
A simple one-plant SCROG checklist
- Start with healthy, documented genetics that fit your space. Selfie Seeds™ is HWGrow’s in-house genetics source when starting from seed.
- Let roots and new growth establish before the first bend.
- Use loose, soft ties to spread the plant while branches are flexible.
- Transplant before the root zone becomes the project’s bottleneck.
- Install the net while you can still reach the pot and lower branches.
- Tuck tops into open space without stacking leaves into a humid mat.
- Flip based on filled footprint and remaining height—not a copied day number.
- Stop major tucking when stretch ends and support the flowers.
- Harvest from plant readiness, then follow the complete drying guide.
Recommended SCROG supplies

Selfie Seeds™ geneticsA documented in-house starting point when you want seed genetics that can be matched to your room and training goal.
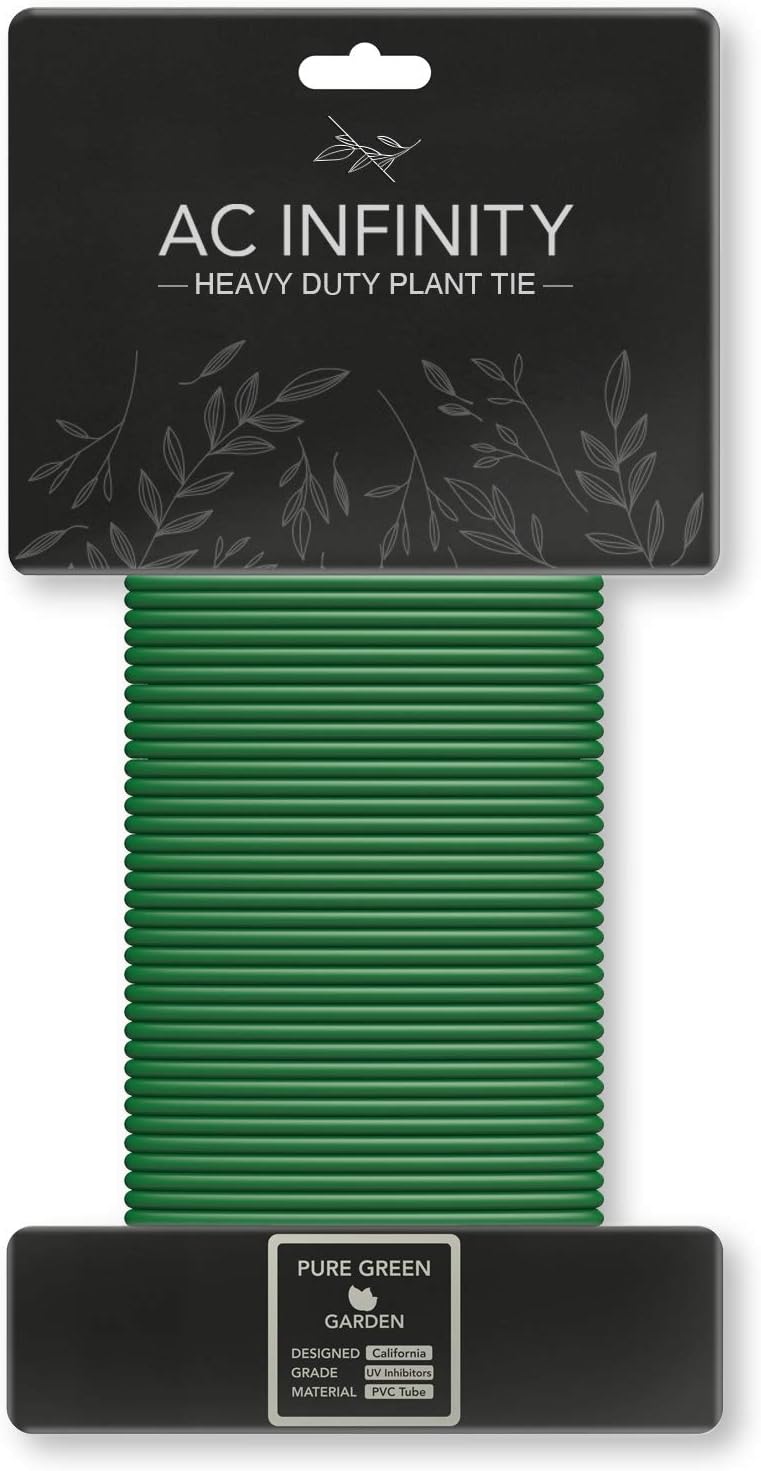
Soft reusable plant tiesBuild the first wide structure without thin wire cutting into the stem. Leave every loop loose and recheck it often.

Elastic SCROG netSpreads established tops across the usable light footprint while keeping the canopy organized and supported.
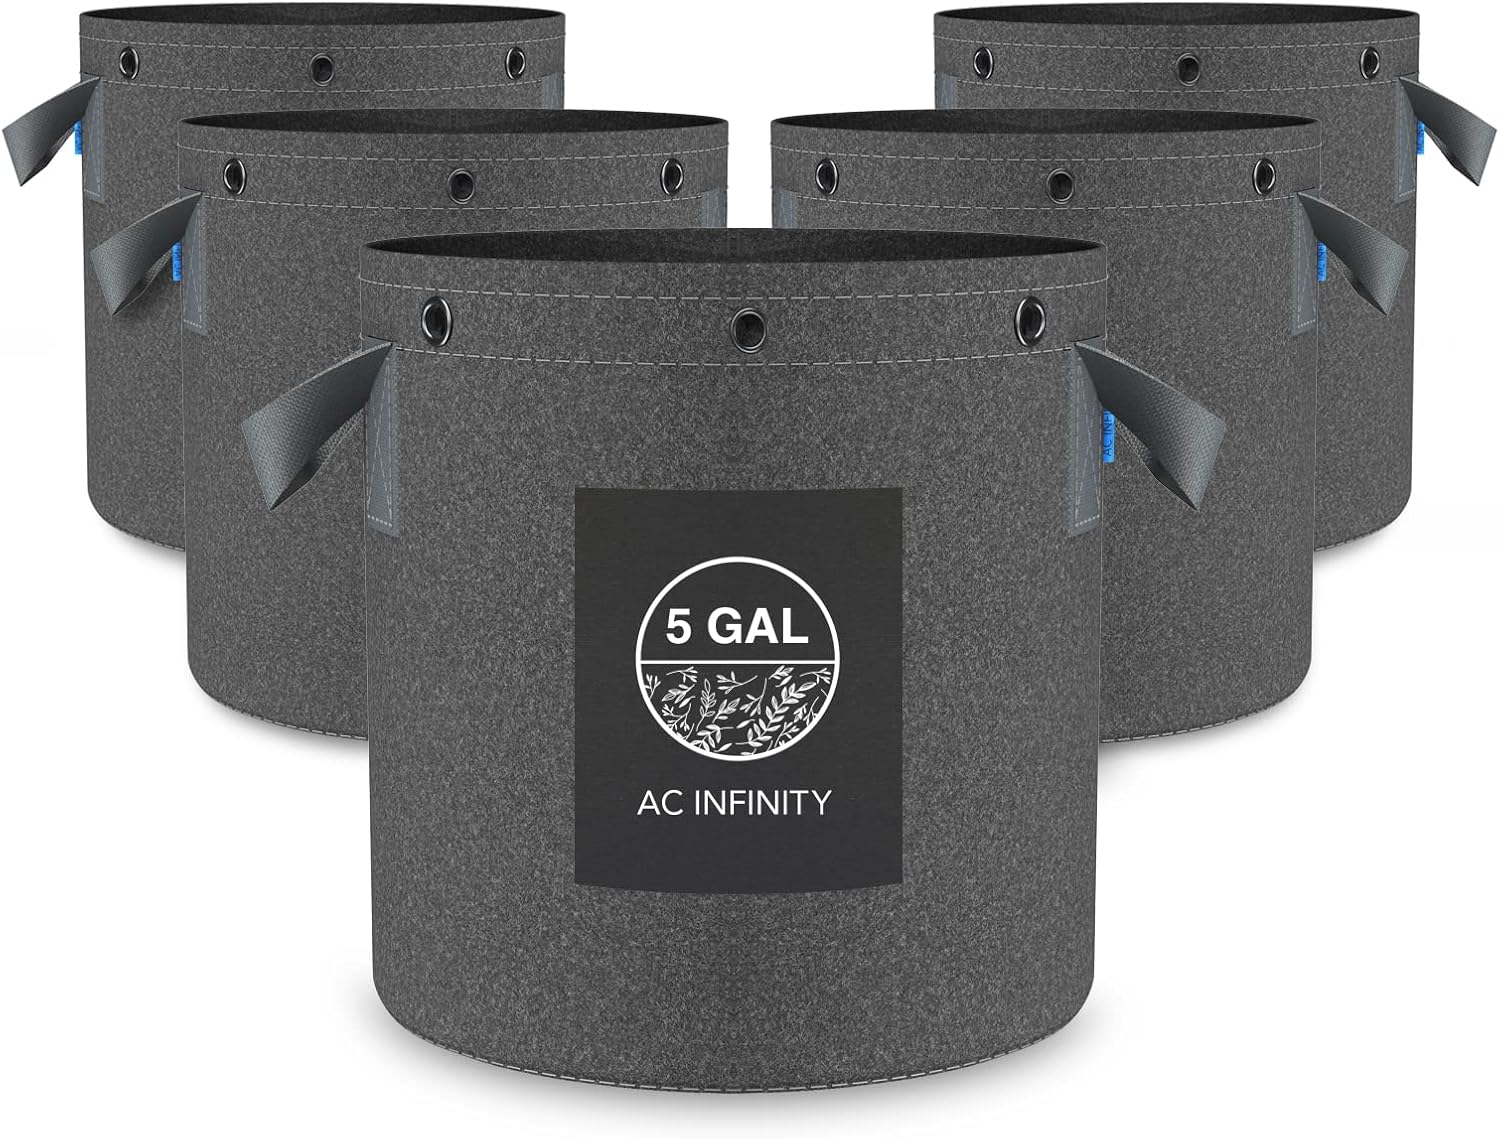
Fabric grow potsChoose enough root volume for the planned canopy, with drainage and handles that make staged transplants easier to manage.

pH and EC meter kitMeasure the solution and root-zone clues before changing a feed. Calibrate and store each probe according to its instructions.
AC Infinity savings: Use code EVYGROWS for additional savings on eligible products. When shopping on Amazon, clip any available coupon first.
Affiliate disclosure: HWGrow may earn a commission from qualifying Amazon purchases at no additional cost to you. Selfie Seeds™ is HWGrow’s in-house genetics source. Equivalent tools can be substituted without changing the SCROG method.
Want the full grow in order?
This public case study shows what one motivated first-time grower accomplished. The protected Grow With Me Masterclass puts plant training beside feeding, lighting, climate and the rest of the grow in a chronological system without reproducing the paid lessons here. If your plant or room does not match Kyle’s example, ask HWGrow a question and include a whole-canopy photo, pot size, medium, light, plant age and recent pH/EC readings.
One-plant SCROG FAQ
How much did the one-plant SCROG yield?
Kyle reported 246 grams dry, which is about 8.7 ounces or 0.54 pound. It was a grower-submitted result, not a guaranteed outcome.
Do you have to top a plant for SCROG?
No. Kyle did not top or FIM this plant. He used low-stress training to wrap the main growth around the pot, then used the trellis to spread the tops. Topping can create a more symmetrical starting structure, but it is optional.
When should you install a SCROG net?
Install it after the plant is established and wide enough to begin filling the screen, but before access becomes difficult. Kyle installed his on day 81; use plant size, flexibility and room access rather than copying that day.
When should you flip a SCROG to flower?
Flip when the plant is healthy, the usable footprint is close to filled and the room still has enough height for stretch. Genetics and environment determine how much open screen to leave.
You may also like
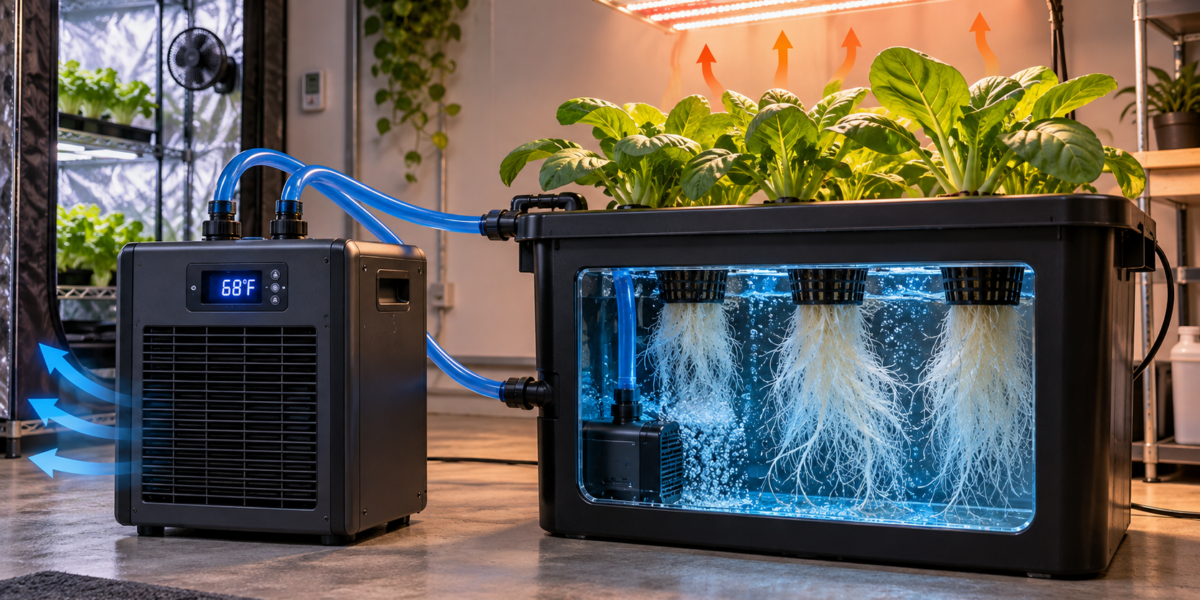
Hydroponic Water Chillers: Stop Summer Root Rot Before It Starts
How to Breed Masterclass – Promo Video





Featured Grow
 Jul 2026 — White Iverson by Selfie Seeds +2 more
White Iverson × Selfie Seeds, Pink Strawberry × Selfie Seeds, Purple Berry × Selfie Seeds • Soil • Started Jul 25, 2026
View journal
Jul 2026 — White Iverson by Selfie Seeds +2 more
White Iverson × Selfie Seeds, Pink Strawberry × Selfie Seeds, Purple Berry × Selfie Seeds • Soil • Started Jul 25, 2026
View journal
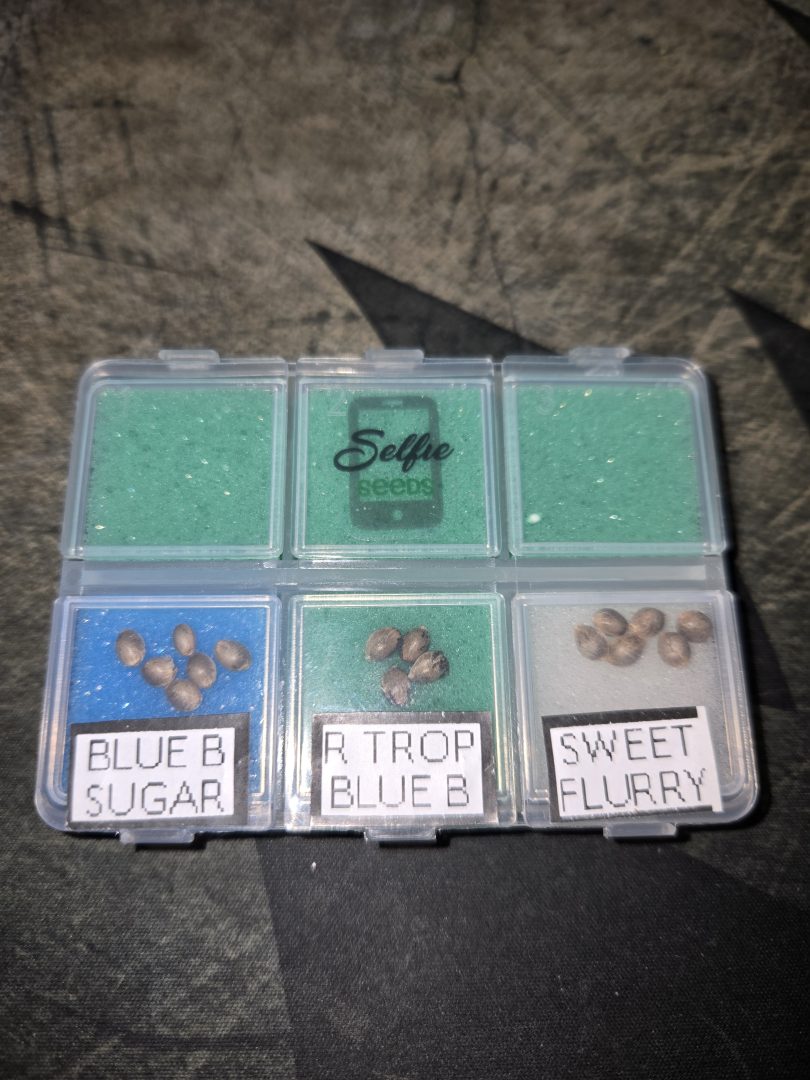 First Selfie Seeds Grow (Blueberry Sugar, Tropical Blueberry, and Sweet Flurry)
Blueberry Sugar × Selfie Seeds, Tropical Blueberry × Selfie Seeds, Sweet Flurry × Selfie Seeds • Soil • Started May 27, 2026
View journal
First Selfie Seeds Grow (Blueberry Sugar, Tropical Blueberry, and Sweet Flurry)
Blueberry Sugar × Selfie Seeds, Tropical Blueberry × Selfie Seeds, Sweet Flurry × Selfie Seeds • Soil • Started May 27, 2026
View journal
Awesome It’ll be a bit chlorophyllie but definitely let me know your opiniones

Walked in this morning before lights out and they are already bouncing back pretty good.
Awesome, fingers crossed for you
Nice LSTing Looks perfectly symmetric

Bananas!!!!! I knew I forgot something today. Thanks, gotta hit the store up in the am anyway. Coming off night,…