

How to Cure Weed: Complete Cannabis Curing Guide

Last updated: August 2026
Quick answer: Start curing only after drying is complete. Loosely fill clean airtight glass containers, add a calibrated mini hygrometer, and respond to the reading instead of a fixed burping calendar. Roughly 55–62% equilibrium relative humidity is a practical home range. If RH rises rapidly into the mid-60s, or the flower feels wet or smells abnormal, return it to controlled drying.

What Curing Cannabis Actually Does
Curing is the controlled transition from completed drying into stable storage. It lets remaining internal moisture redistribute while you monitor humidity, odor and texture; it cannot rescue wet centers, mold or damage from a poor dry. A review of cannabis postharvest operations notes that controlled research on curing variables remains limited, so this guide uses measurements and warning signs instead of one schedule for every cultivar.
Drying Must Be Finished Before Curing Starts
Complete the cannabis drying process first. Before filling every container, seal one representative trimmed sample with a calibrated mini hygrometer for one to two hours and watch the trend.
- Below roughly 55% RH: the sample may be too dry for much moisture redistribution. Stabilize it in airtight storage and avoid aggressive rehydration tricks.
- About 55–62% RH: a practical starting zone for curing and storage, provided the reading is stable and there are no abnormal odors or wet pockets.
- About 63–65% RH: proceed cautiously, open the container, inspect, and recheck frequently. Dense flowers may still contain wetter interiors.
- Rapidly rising above about 65% RH: remove the flower and return it to the controlled dry space. Do not try to solve a large moisture load by burping a sealed jar.
Water activity is not identical to the number on a household hygrometer, but equilibrium RH is a useful home proxy. Research on cannabis drying and microbial levels shows why pockets of retained moisture matter: some yeasts and molds tolerate relatively low water availability, and inadequate drying can leave conditions that become risky during curing and storage. See the high-THC cannabis yeast and mold study and the water-activity drying study.
Choose and Prepare the Cure Container
- Use clean, food-safe, airtight containers. Wide-mouth glass makes inspection and gentle handling easier.
- Protect the flower from light. Amber glass is convenient; clear jars are acceptable when stored in a dark cabinet or opaque tote.
- Leave headspace. Fill containers loosely enough that flowers can move without compression. Crowding hides wet pockets and damages trichomes.
- Add a calibrated sensor. Use one mini hygrometer per representative container or enough sensors to compare different flower sizes and locations.
- Label every batch. Record cultivar, harvest date, drying endpoint, container date and any treatment such as a humidity pack.
For jar sizes, mouth styles and amber-glass options, see HWGrow’s mason-jar comparison. A recent storage study found that container material affected preservation, with glass retaining the initial volatile profile better than open-air trays or closed high-density polyethylene boxes under the tested conditions.
Step-by-Step Jar Curing Workflow
1. Run a short test before filling every jar
Seal a representative sample with a calibrated hygrometer and watch the reading for one to two hours. If RH rises fast, the center is still releasing too much water. Return the sample and matching batch to drying.
2. Fill loosely and equalize the batch
Use similar flower sizes in each container and leave enough headspace to turn the contents gently. Do not pack or press flowers together. Record the starting RH after the container has equilibrated.
3. Check frequently during the first week
For the first two or three days, check morning and evening; once readings stabilize, check daily through the rest of the first week. Open for rising RH, damp or clumped flower, or musty/ammonia-like odor. Return genuinely wet flower to drying.
4. Reduce handling as stability improves
During weeks two through four, check stable containers every few days and rotate only when needed; repeated shaking damages trichomes. Two to four weeks is a common observation window, not a universal deadline.
5. Transition to long-term storage
Once humidity, texture and odor remain stable, minimize opening. Store whole flowers in airtight containers in a cool, dark place. A one-year storage study found larger chemical changes at 25°C than at lower tested temperatures and emphasized dark storage and whole rather than ground inflorescences; see the postharvest storage study.
Burping: Use the Reading, Not a Calendar
“Burping” simply exchanges humid container air with drier room air. It can correct a small RH rise; it is not a substitute for drying. A rigid schedule such as ten minutes every day ignores the actual flower, jar size, room RH and sensor reading.
| What you observe | What it means | Action |
|---|---|---|
| RH stable in the upper-50s to low-60s | Moisture is close to equilibrium | Close the container and reduce handling |
| RH slowly climbs a few points | Interior moisture is redistributing | Open briefly, turn gently, reseal and record |
| RH rapidly enters the mid-60s or higher | The batch is still too wet for sealed curing | Return to open controlled drying |
| Condensation, heat, musty/ammonia odor or visible growth | Possible microbial or moisture problem | Stop curing, isolate, inspect and do not consume suspect material |
| RH stays below the low-50s and flower crumbles | Overdrying likely occurred | Stabilize storage; do not use fruit peels or other microbial rehydration tricks |
Humidity Packs and Two-Way Storage Bags
HWGrow’s controlled humidity-pack experiment showed that every pack has a finite moisture-transfer capacity: it can absorb or release only so much water before reaching its limit and no longer providing a useful correction. For that reason, use humidity packs only after curing is complete and the flower’s humidity has stabilized—not to dry wet flower, rescue an unstable jar or establish the target RH.
Match the pack size to the flower amount and container, continue checking with a calibrated hygrometer, and replace the pack when it is spent. A humidity pack is a storage-maintenance tool, not a curing shortcut.
Optional Automated Cure Bin
The self-hosted video demonstrates open jars inside a larger sealed tote controlled by a humidity controller and compact dehumidifier. This can reduce repetitive jar opening for a large harvest, but the system must be treated as active equipment—not a sealed box that disappears into a closet.
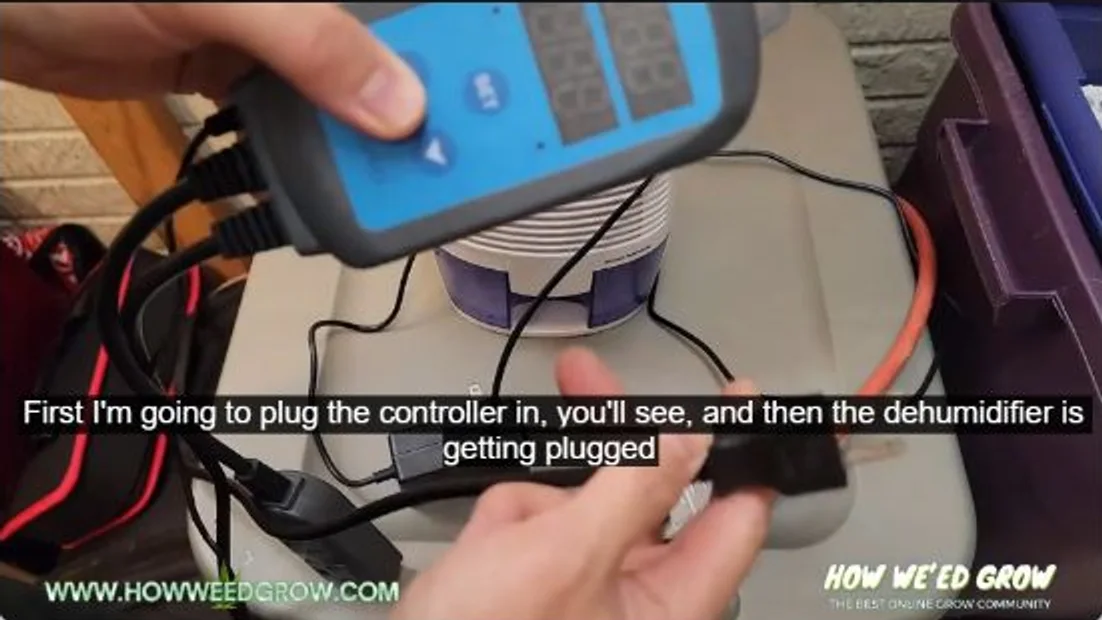
- Load only properly dried, trimmed flower in clean open jars or on food-safe racks.
- Calibrate the controller, then place its probe at flower height near the center—not beside the outlet or tote wall.
- Use a narrow differential and watch the first cycles for excess heat, direct airflow or condensation.
- Keep condensate away from wiring, leave intake/exhaust paths clear, and keep plug and controller connections outside the tote.
- Compare more than one sensor and rotate containers gently; one central probe can miss a wet pocket.
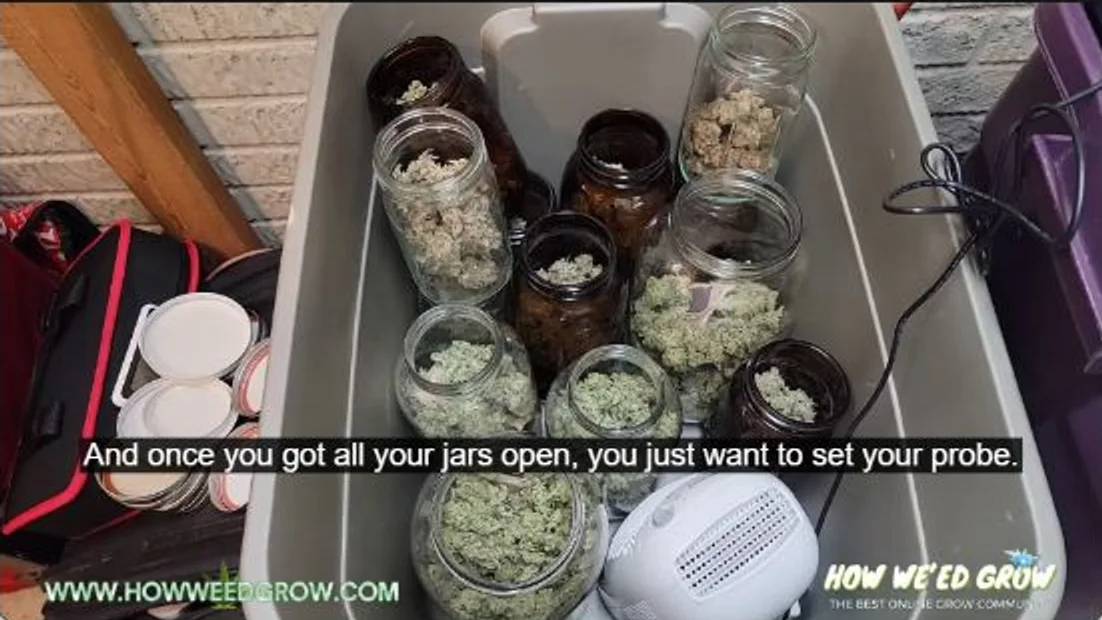
Use the tote only for measured equalization after drying. For room-scale drying—or genuinely wet flower—return to the dedicated drying workflow.
Video Chapter Guide
Select any chapter to open the fixed video popout at that exact time. Your reading position remains unchanged.
| Timestamp | Topic |
|---|---|
| 0:19 | Why daily jar burping becomes difficult |
| 0:46 | Automated cure-bin concept |
| 0:54 | Core parts and equipment |
| 1:29 | Humidity controller and probe |
| 2:35 | Controller wiring and setup |
| 2:56 | Humidity set value |
| 3:27 | Dehumidification differential |
| 4:17 | Sensor calibration |
| 5:03 | Loading the cure tote |
| 5:33 | Opening and rotating jars |
| 6:19 | Probe position and sealing the tote |
| 7:02 | Legacy stability endpoint and duration |
After the cure stabilizes, use the bud-quality scorecard to compare aroma, flavor and smoothness without relying on memory.
Recommended Curing Equipment
These categories support the workflow, but equivalent products can be substituted. Choose the correct capacity and control range for your batch; no curing result depends on a single brand.
Related HWGrow guide: Curing a larger harvest? See the separate bucket bulk-curing method for a scalable container workflow.

Humidity controllerA separate probe and switched outlets provide tighter control than relying on a compact dehumidifier’s built-in sensor.

Compact dehumidifierFor a monitored automated tote only; confirm enclosure clearance, heat output, condensate handling and electrical safety.

Amber wide-mouth jarsAirtight glass containers that simplify inspection and help limit light exposure; clear jars stored in darkness also work.
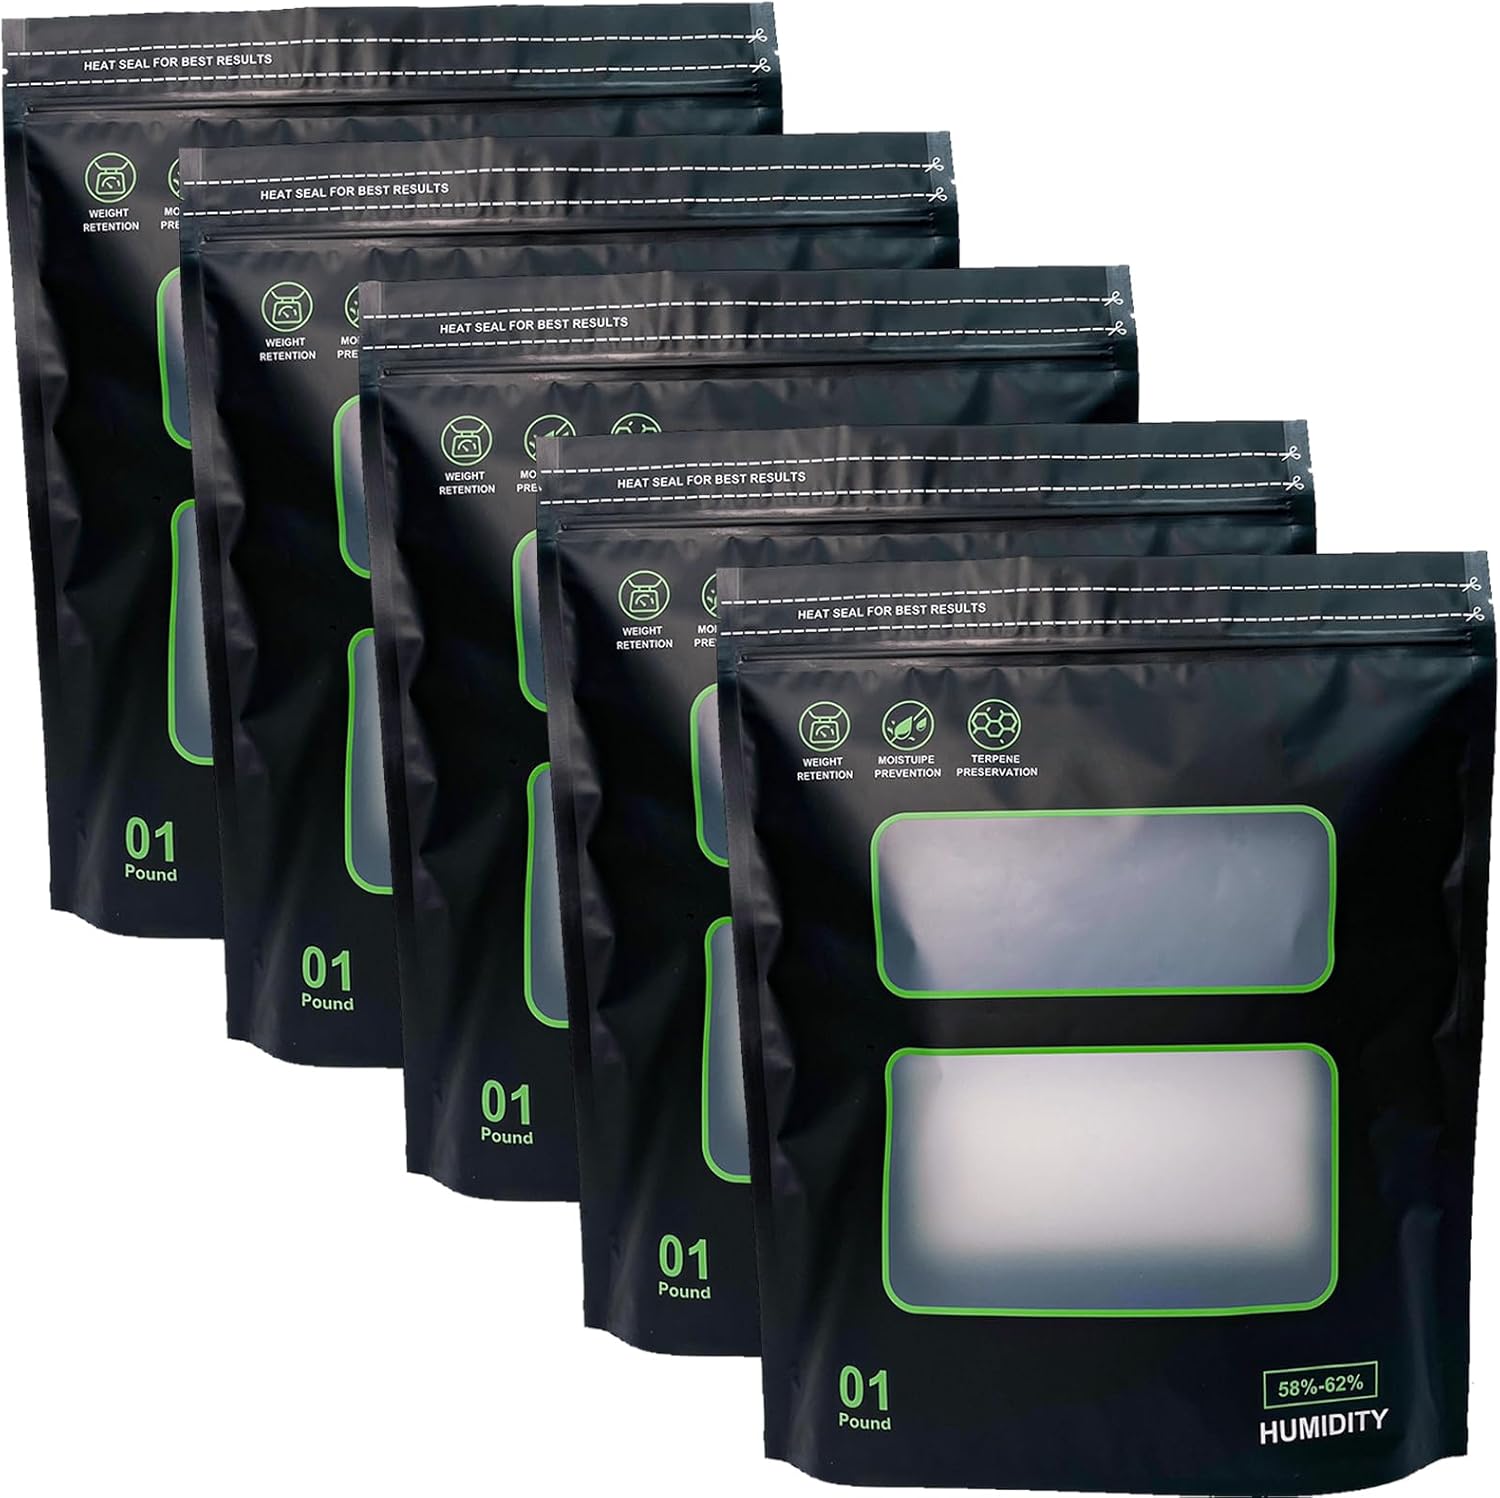
Two-way storage bagsAn optional storage format for already-stable flower; the humidity layer does not replace proper drying or early cure checks.
Affiliate disclosure: HWGrow may earn a commission from qualifying purchases at no additional cost to you. Product destinations can be replaced with equivalent items without changing the curing protocol.
Common Curing Mistakes
| Mistake | Why it fails | Better move |
|---|---|---|
| Putting wet flower in a sealed jar | Creates high humidity and hidden microbial risk | Return the batch to controlled drying |
| Burping by timer without reading RH | Can over-dry a stable batch or under-vent a wet one | Use sensor trend, feel and odor |
| Treating a humidity pack as an automatic cure | Every pack has finite moisture capacity | Use only after curing and RH are stable |
| Filling containers to the top | Compresses flowers and hides damp pockets | Leave headspace and separate dense pieces |
| Storing in warmth or light | Accelerates chemical and volatile changes | Use airtight containers in a cool, dark place |
| Using fruit peels to rehydrate | Adds uncontrolled moisture and microbes | Stabilize with purpose-made storage controls |
Frequently Asked Questions
How long should cannabis cure?
Many batches stabilize within two to four weeks, but RH, texture and odor—not a fixed date—determine when frequent handling can stop.
What humidity should curing jars read?
Roughly 55–62% equilibrium RH is a practical home range; a rapid rise into the mid-60s suggests the flower is still too wet for sealed curing.
Should curing jars be opened every day?
Only while RH is rising or odor and texture show that air exchange is needed. Open stable containers less often.
Can a humidity pack cure wet cannabis?
No. Each pack has finite capacity; use it after curing and humidity stabilization, not to correct wet flower.
Are plastic cure totes safe?
Use clean, food-safe containers and listed equipment, while monitoring temperature, condensation and electrical components.
Does curing increase THC?
No reliable rule promises more THC. Cure to control moisture and preserve quality, not to manufacture extra potency.
Finish Drying First, Then Cure by Measurement
Dry completely, test a representative sample, fill clean containers loosely, and reduce handling once humidity, texture and odor are stable. Continue to the trimming guide, return to the beginner seed-to-harvest guide, or Ask HWG for help with a specific batch.
Comments
Leave a reply
You may also like

Best Grow Tent Dehumidifier: Why Mini Units Fail
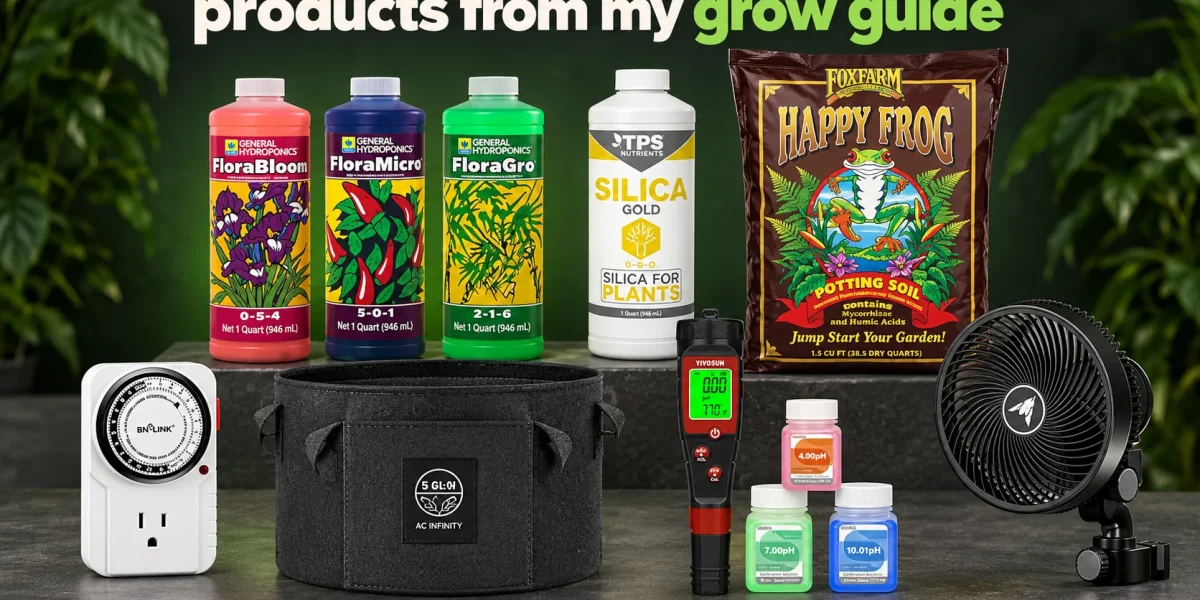
Everything HWGrow Uses




Featured Grow
 Jul 2026 — White Iverson by Selfie Seeds +2 more
White Iverson × Selfie Seeds, Pink Strawberry × Selfie Seeds, Purple Berry × Selfie Seeds • Soil • Started Jul 25, 2026
View journal
Jul 2026 — White Iverson by Selfie Seeds +2 more
White Iverson × Selfie Seeds, Pink Strawberry × Selfie Seeds, Purple Berry × Selfie Seeds • Soil • Started Jul 25, 2026
View journal
 First Selfie Seeds Grow (Blueberry Sugar, Tropical Blueberry, and Sweet Flurry)
Blueberry Sugar × Selfie Seeds, Tropical Blueberry × Selfie Seeds, Sweet Flurry × Selfie Seeds • Soil • Started May 27, 2026
View journal
First Selfie Seeds Grow (Blueberry Sugar, Tropical Blueberry, and Sweet Flurry)
Blueberry Sugar × Selfie Seeds, Tropical Blueberry × Selfie Seeds, Sweet Flurry × Selfie Seeds • Soil • Started May 27, 2026
View journal
The juice is diluted with water until it hits the ppm listed on page 1

Hi again, sorry for the trouble, I'm looking at the coco for cannabis nutrient schedule and amounts are ml/gallon. My…
Nom nom So pretty!!! I should have popped this cross in the solo cup hunt

This hobby also gave me the confidence to do more diy projects when I realized I was pretty good at…
Awesome, you know it’s a serious hobby when you start making renovations around it
Thanks for your advice it helps a lot
Anytime. Glad I could help
Thankyou! We’ve started curing, slowly but surely. Most of what we’ve put in is around 12 to 13%. The first bucket is done and we have a massive amount to do. May have to buy some more hygrometer!
thats a good problem to have!
Have heaos of hygrometers now but all have different readings. Can you calibrate them? All seem to be between 5 to 6 % out.
Still learning though. Bought a moisture meter and slow dried/ cured for two weeks at a temperature of 18 degrees Celsius and 55 % humidity. We used a dehumidifier to stay at 55% and also used a humidifier to sloooooow it down. We have now harvested some of the finest resiny sparkly heads. 10 pounds worth! And the next lot are in bubbleponics.