


How to Germinate Cannabis Seeds Directly in Soil

Last updated: August 2026
Quick answer: Fill one small container per seed with fresh, clean seed-starting soil; moisten the mix evenly without soaking it; plant the seed about 1 cm (roughly 3/8 inch) deep; and keep the root zone warm and gently humid. Then leave it alone. Direct-soil germination works when the seed has moisture, oxygen and warmth—not when the pot is repeatedly flooded or dug up for inspection.
This is the least fussy way to start a seed because there is no exposed taproot to move later. The tradeoff is that you cannot see what is happening underground, so your moisture control has to be better than your curiosity.
Watch: germinate a cannabis seed directly in soil
The original HWGrow video is the main source for this walkthrough. It shows the soil texture, planting depth, starter-pot setup and humidity dome. The written guide also corrects a few parts of the older demonstration: start with clean media instead of trying to disinfect contaminated soil, do not treat one water-to-soil ratio or pH number as universal, and do not assume a seed requires 24-hour light.
Selecting a timestamp opens the standard HWGrow pop-out at that exact moment without making you lose your place on the page.
What you need
- One viable cannabis seed per container
- Fresh, clean seed-starting soil with good drainage
- Small clean pots with drainage holes
- Clean water
- An adjustable humidity dome or clear cover
- Gentle seedling light ready for emergence
- A thermostat-controlled heat mat only when the root zone is actually too cool
If you are still choosing genetics, start with the seven-factor strain-selection guide. A careful germination setup cannot repair immature, damaged or badly stored seed.
How to germinate cannabis seeds directly in soil
- Use fresh media. Do not start with soil that already has visible mold, pests or a sour smell. Fresh seed-starting mix is cheaper than trying to rescue a seedling from contaminated media.
- Clean the container and your hands. Seedlings are most vulnerable before their roots and true leaves are established. Use a pot with working drainage holes.
- Moisten the mix evenly. Add water in stages and mix thoroughly. The soil should hold together when gently squeezed but should not release water. The demonstration’s 5:1 soil-to-water calculation was one batch, not a formula for every mix.
- Fill without packing it solid. Roots and the germinating seed need oxygen. Lightly settle the media and leave its pore space intact.
- Plant one seed per pot. Make a hole about 1 cm deep, place the seed inside and cover it loosely. One seed per container prevents tangled roots and competition.
- Wet the small planting zone. The video adds 1–2 mL directly over the seed. Use that as a visual example, not a fixed dose for every container. Your goal is even contact without a saturated pot.
- Cover and measure the root-zone temperature. A dome slows moisture loss. A controlled hemp study found an optimal germination range around 24–30°C (75–86°F), with cultivar differences. A beginner-friendly starting band near 75–82°F leaves some margin below the warm end.
- Provide gentle light as the shoot appears. The seed does not require 24-hour light. A normal vegetative schedule such as 18/6 is easier to manage, and the source keeps early intensity below 200 PPFD.
- Leave the seed alone. Watch temperature, condensation and container weight. Do not dig it up on day two. Many healthy seeds emerge in several days, but age, storage and cultivar change the timing.
- Open the dome gradually after emergence. Once the seedling stands up, begin venting. Constant dripping humidity and wet media increase disease pressure.
Penn State’s seed and seedling biology guide explains the balance: a seed needs moisture, but waterlogged or compacted media restricts the oxygen used by the embryo. The cannabis-specific temperature band comes from a controlled industrial-hemp germination study.
Important correction: do not try to sterilize bad soil with a “squirt” of peroxide
The older video recommends peroxide-treated water when soil is known to contain mold or fungus gnats. That is no longer the beginner recommendation. “A squirt per cup” does not define the peroxide concentration, and wetting contaminated soil does not turn it into reliably clean seed-starting media.
Use fresh mix, clean pots and clean tools instead. The University of Minnesota’s damping-off prevention guidance recommends new potting mix, sanitized containers, drainage, warmth and moist—not soggy—media. If a scientific or commercial protocol uses hydrogen peroxide, follow its exact labeled concentration and contact time; do not improvise a dose.
Do you need to test pH and PPM before planting?
With a fresh seed-starting mix used as directed, usually not. The video’s pH 5.8–6.0 and under-1,000-PPM thresholds describe one setup, not a universal soil rule. Different peat, coco, compost and mineral-soil products are buffered differently, and consumer PPM meters use different conversion scales.
If you suspect the media is unusually acidic, alkaline or salty, test it with a repeatable method before making a large correction. Use the soil slurry guide for a home trend check and the pH, EC and PPM guide to keep the units straight. Do not pour concentrated pH Up or pH Down into the seed zone.
When should you transplant the seedling?
You can start directly in the final container, but a small starter pot is easier to water accurately. Move the seedling when it is upright, developing true leaves and has roots beginning to hold the starter plug together or reach the drainage holes. Prepare the receiving hole first and support the root ball—not the stem.
Want to compare this method with plugs, paper towels and water? See the seven-way cannabis germination test. For a compact plug workflow, use the Rapid Rooter germination guide.
Recommended direct-soil seed-starting supplies

Fresh potting mixUse a clean airy mix that drains well. This is the soil used in the source workflow; other suitable seed-starting mixes can work.
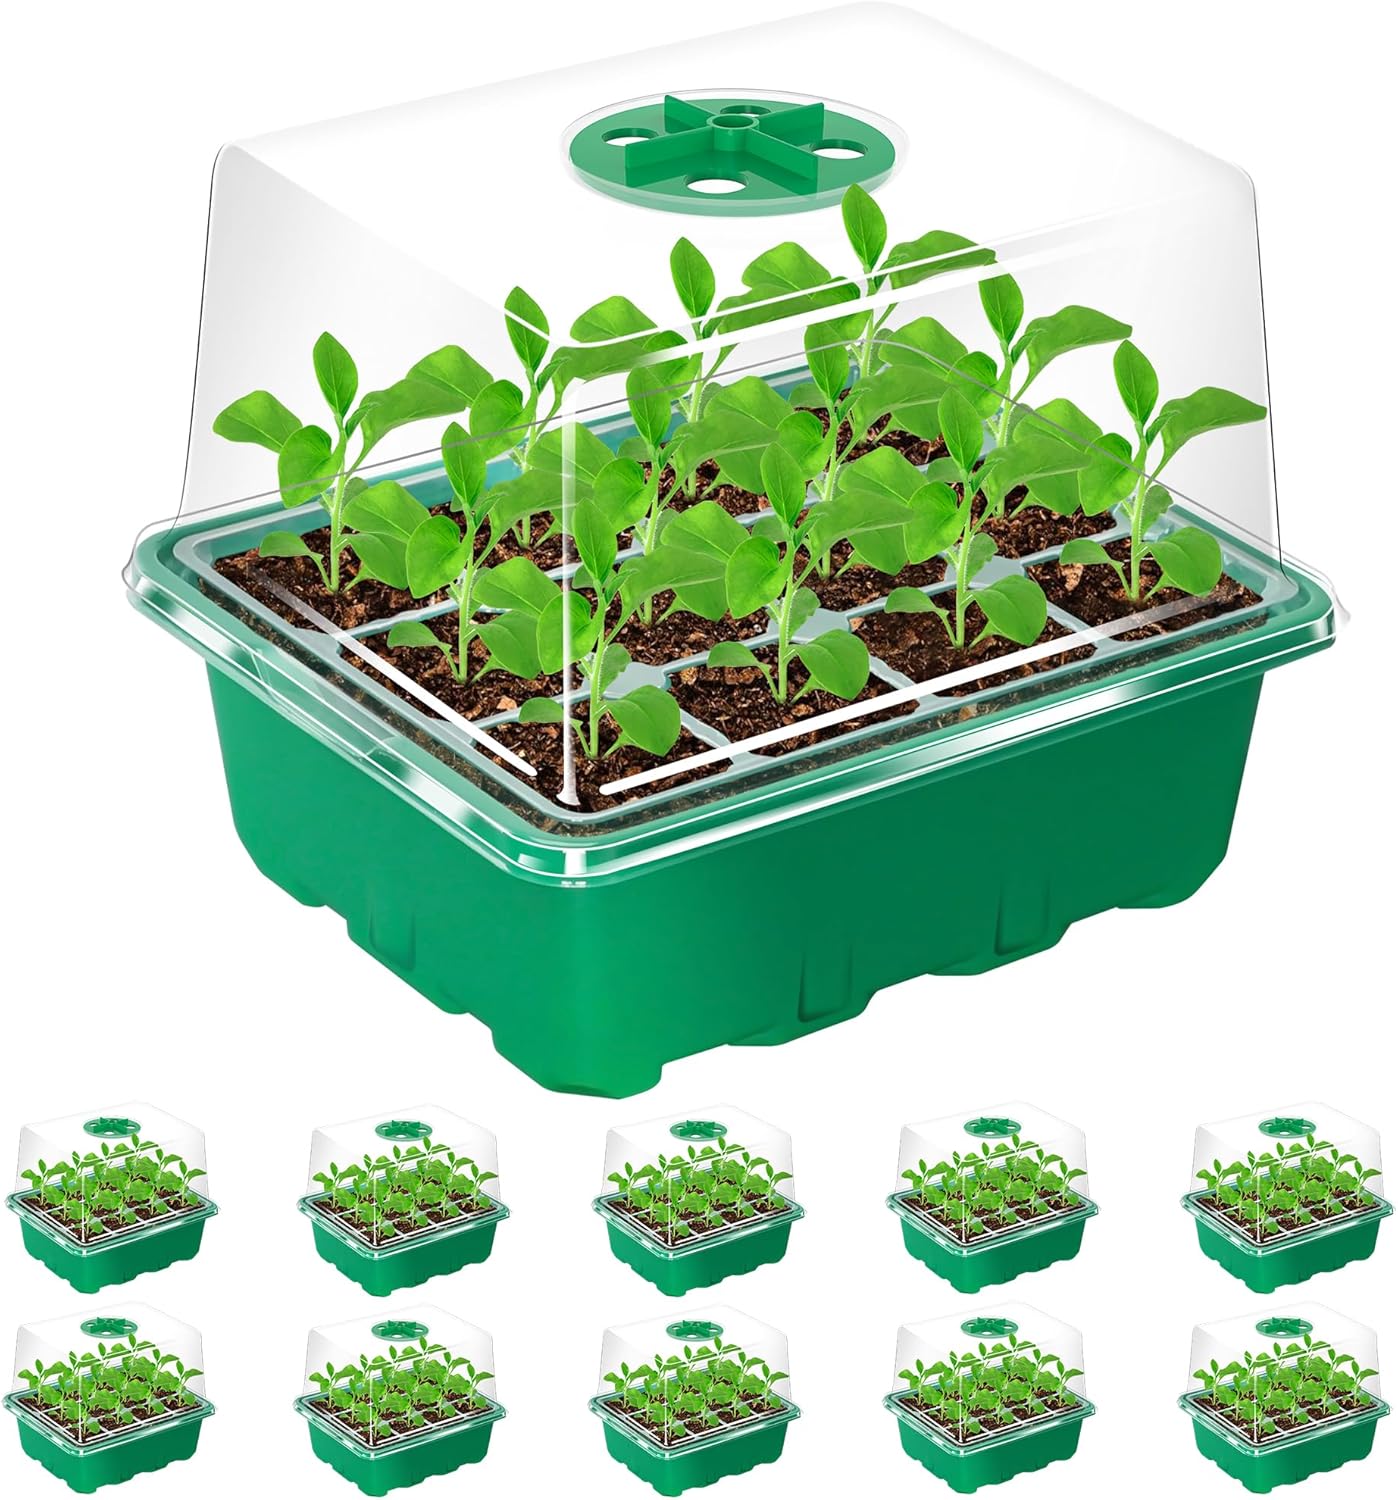
Propagation tray and vented domeHelps organize small containers while the vents allow a gradual transition to normal room humidity.

Seedling heat matOptional when the measured root zone is too cold. Use temperature control and avoid baking a small cup continuously.

Fine-mist spray bottleUseful for gently correcting a dry surface without flooding the whole container. The soil beneath still needs air.

Selfie Seeds™ geneticsRecord the cultivar and lot before planting so the seedling’s genetics stay attached to the grow from day one.
Affiliate disclosure: HWGrow may earn a commission from qualifying Amazon purchases at no additional cost to you. Selfie Seeds™ is HWGrow’s in-house genetics source. Equivalent supplies can replace the linked products without changing the method. Verify local laws before ordering or germinating seeds.
Frequently asked questions
How deep should I plant a cannabis seed in soil?
About 1 cm, or roughly 3/8 inch, is a practical starting depth. Cover it loosely rather than compressing the soil.
Should I point the cannabis seed up or down?
Orientation matters less than shallow depth, even moisture, oxygen and leaving the seed undisturbed. A viable seed can usually redirect its root and shoot.
How wet should the soil be?
Evenly moist, never muddy or dripping. If water squeezes out of the mix or sits in the tray, the seed zone is too wet.
Do cannabis seeds need light before they sprout?
The buried seed does not require 24-hour light. Have gentle light ready for emergence so the new seedling does not stretch.
How long should direct-soil germination take?
Many viable seeds emerge within several days, but older seeds and different cultivars can take longer. Check the environment before digging for the seed.
Comments
Leave a reply
You may also like
Hydroponic Water Chillers: Stop Summer Root Rot Before It Starts
How to Breed Masterclass – Promo Video







Featured Grow


HA!!! I love pictures. Noticed I'm missing a zip tie on a T-piece. Good deal.
Feed at 6 ounces, bring up to 8
Absolutely, just had it set up as I didn't want to disturb anything down there later on stabbing them through.…
I am not excited about em lol. I think my pump is a little on the high side right now,…
Remember Don’t drown them early on, I would start off the first couple of weeks hand feeding them using a…
Just starting to setup 6 plant grow. Oldgrower sign up for grow with me program.
I want to incorporate drip feed is that possible with feed program? How much feed would I put in 27 gal. Tote at a time. Is the programming the same on the same time schedule as your video on drip feeding.
honestly, growing in a tote is completely different from the series. You likely have zero drainage and soil will not be oxygenated nearly as much as a fabric pot. Yes it can be done, but youre going to need a scale to keep track of weights before and after feeds and extrapolate and measure feeds to adapt to the consumption and environmental factors that influence how water evaporates. Even with all that, you still have to understand how moist soil feels which is what the series teaches with the exact steps. If you plan on growing with a tote and need custom guidance than you need to sign up to the custom guidance tier. Otherwise, I would be happy to refund you because most of the concepts are for indoor fabric pot soil growing.
I’m sorry. Was talking about using tour drip system and how to incorporate into 6 plant drip system. How to calculate feed and wasn’t sure if dunk and flush are incorporated into your drip system. I have a simple mind and my 1st grow.
Thank you much.