


When to Harvest Cannabis: Trichome Color & Readiness Guide

Last updated: August 2026
Quick answer: Start checking near the cultivar’s expected finish window, but do not harvest by calendar alone. Inspect glandular trichome heads on the flower bracts—not the sugar leaves—at several middle-canopy buds. Mostly clear heads usually mean the flowers need more time. A broad shift toward cloudy heads signals the harvest window is opening; amber heads indicate further maturation and senescence. Use the whole plant, multiple samples and your cultivar goals to make the final decision.
Video chapters: what trichome colors can tell you
- 0:00 — Trichome-color introduction
- 0:08 — What trichomes are
- 0:31 — Why color changes matter
- 0:51 — The protective role of trichomes
- 1:05 — When trichomes appear
- 1:15 — Why magnification is needed
- 1:26 — Clear trichome heads
- 1:43 — Cloudy or milky heads
- 2:30 — Amber heads and aging
- 2:54 — Where to sample on the plant
Selecting a timestamp opens the video at that moment without moving you away from this section.
Harvest Decision at a Glance
| What you see | What it suggests | What to do |
|---|---|---|
| Many straight white pistils; flowers still adding visible mass; bract trichomes mostly clear | Active flower development | Wait and recheck unless health, weather or safety requires an early harvest |
| Pistils increasingly dark and receding; bracts swollen; trichomes shifting from clear toward cloudy | Harvest window is approaching | Begin a repeatable inspection every few days and prepare the dry space |
| Bract trichomes mostly cloudy with a smaller mix of clear and amber across representative buds | Broad maturity window for many cultivars | Make the decision from the whole plant, cultivar history and desired finish—not one percentage |
| Amber and collapsed heads increasing; fresh flower growth has slowed; plant is clearly senescing | Later maturity | Harvest soon unless a documented cultivar goal supports waiting |
| Top buds amber while middle/lower buds remain clear | Uneven canopy maturity or local light/heat stress | Sample more locations; consider a staged harvest if it fits the plant and drying plan |
No single row is an automatic chop command. The best harvest decision combines trichomes, flower structure, pistils, cultivar timing, plant health and a representative sample.
Pistils vs. Trichomes: Which Signal Matters Most?
Pistils are the hair-like stigmas that emerge from the flowers. They usually begin pale and often darken and curl inward as the flower matures. They are easy to see and useful for recognizing that the harvest window may be getting close, but heat, handling, spraying or pollination can darken them early. Some cultivars also keep producing pale pistils late in flower.
Trichomes are the much smaller resin glands covering the bracts and nearby flower leaves. Their glandular heads progress from translucent toward cloudy and amber as they develop and senesce. Because the heads are tiny, use magnification and inspect the actual flower surface. Pistils can tell you when to start looking closely; representative bract trichomes help you decide whether the flowers are actually inside the harvest window.
A 2025 study of 25 genotypes found that later stigma-color stages aligned with peak total cannabinoid concentration or yield for most—but not all—genotypes. That makes stigma color a useful approximation, not a universal rule. The full harvest-timing study also reinforces why cultivar-specific observations are more reliable than one internet percentage.
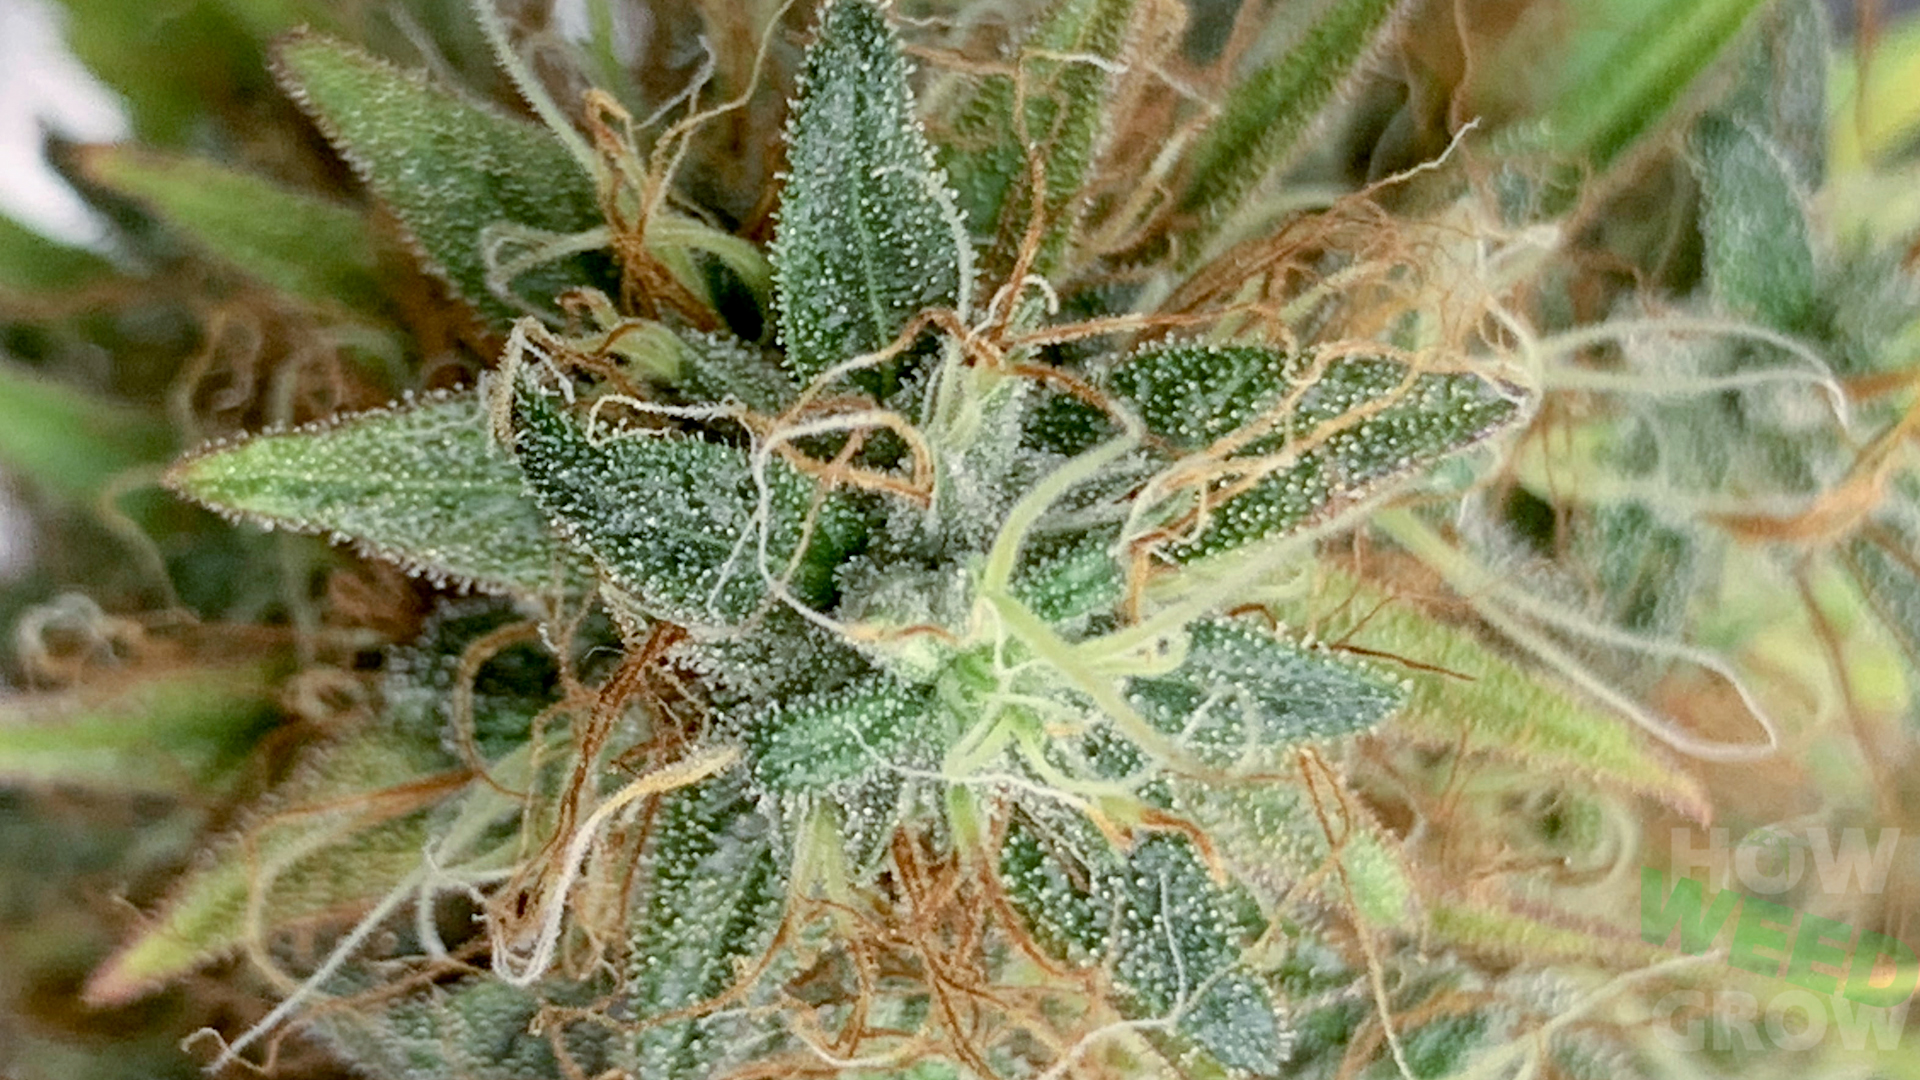
Clear, Cloudy and Amber Trichomes
Clear or translucent heads
Clear heads look glassy and allow light through. When most bract trichomes remain clear and the flower is still visibly building, the crop is generally immature. A few clear heads can remain even inside the harvest window because trichomes form asynchronously.
Cloudy or milky heads
Cloudy heads appear opaque or frosted. Their increasing share is a useful sign that glandular heads are maturing. Growers often describe “mostly cloudy” as the center of the harvest window, but appearance alone cannot prove the exact THC or terpene concentration. Different genotypes can reach different chemical peaks at different visible stages.
Amber or brown heads
Amber heads indicate later maturation and senescence. Microscopy research describes the cloudy-to-amber change as likely reflecting oxidation of phenolic compounds in the head; mature heads can also shrink, collapse or detach. Amber is therefore useful evidence of age, but it should not be translated into a precise CBN percentage or guaranteed “couch-lock” effect.
The peer-reviewed glandular-trichome development study found that genotype, plant age and post-harvest handling all affected trichome development and integrity. It also documented asynchronous trichome formation, which is why a mixed field of clear, cloudy and amber heads is normal.
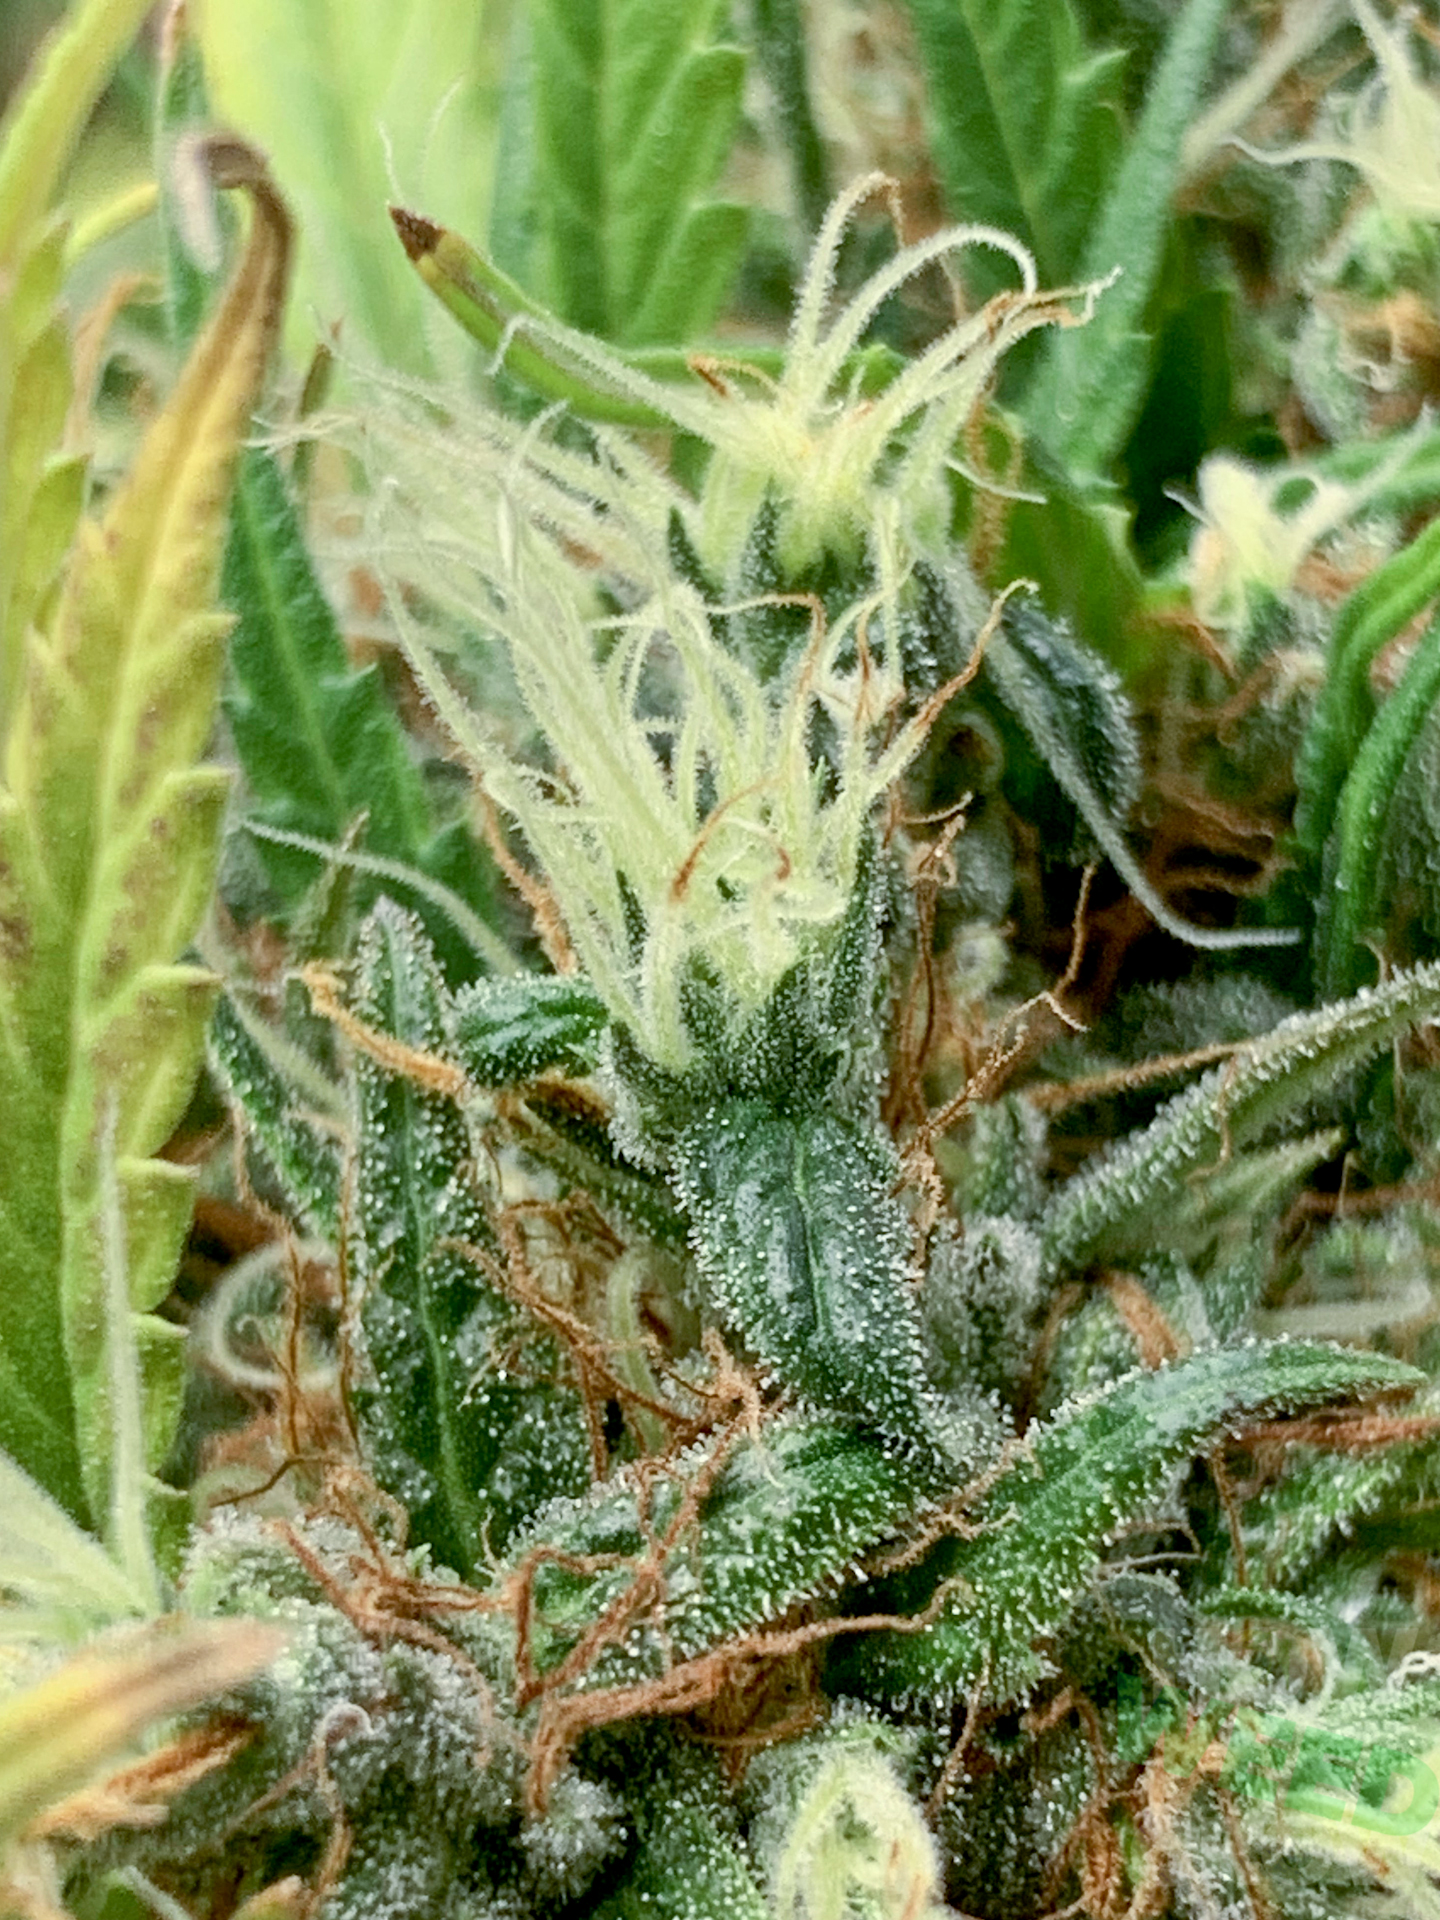
Where to Inspect Trichomes
Inspect the bulbous heads on the bracts that form the flower—not the trichomes on protruding sugar leaves. Sugar leaves sit closer to the light and their heads can turn amber earlier, creating a false impression that the whole flower is ready. Fan leaves are not the harvest sample.
For a plant you plan to cut all at once:
- Choose at least three buds from representative branches.
- Sample around the middle of the canopy rather than only the tallest top.
- Look at the middle portion of each flower where bracts are easy to identify.
- Avoid judging a spot that was pressed, touched, bleached, sprayed or overheated.
- Record the clear/cloudy/amber balance in the same locations each time.
If top flowers are mature and lower flowers remain clear, a staged harvest can let lower sites continue developing. It is optional, not mandatory. Plan it only when the plant, sanitation and drying capacity make it practical.
How to Inspect Trichomes With a Loupe or Phone
Video chapters: how to inspect several representative buds
- 0:00 — Inspection overview
- 0:19 — Jeweler’s loupe setup
- 0:39 — Choose the phone camera lens
- 1:17 — Center and attach the loupe
- 1:38 — Close-focus demonstration
- 2:10 — Why not to sample only the top buds
- 2:35 — Staged harvest versus one cut
- 3:10 — Focus and inspect at close range
- 4:01 — Compare several representative buds
- 5:16 — Mixed-readiness example
- 5:43 — One-third-down averaging method
- 5:50 — Do not sample leaf trichomes
Selecting a timestamp opens the video at that moment without moving you away from this section.
- Use enough magnification. A jeweler’s loupe, clip-on macro lens or digital microscope should let you distinguish the head from the stalk and see whether the head is translucent, cloudy or amber.
- Stabilize the image. Brace your hand or phone, stop air movement briefly and use the camera’s focus lock if available.
- Use neutral light. Colored grow lights can distort amber and cloudy tones. Briefly use white light without heating the flower.
- Focus on heads, not sparkle. Resin can look frosty to the naked eye before individual heads are mature.
- Take photos from the same sites. Side-by-side records are more reliable than memory and make the direction of change obvious.
Why the Breeder’s Flowering Time Is Only a Starting Window
A seed-bank estimate can tell you when inspections should become frequent, but it cannot account for every phenotype or environment. Count consistently from the event the breeder specifies—such as first flower or the photoperiod change—and document your own plant. Light intensity, temperature, root health, nutrition, canopy position and stress can accelerate or delay visible maturity.
Do not force a plant to match an advertised week. Equally, do not keep delaying a healthy, mature flower merely because one fresh pistil appeared. Recheck representative bract trichomes and the whole-flower trend.
Whole-Plant Signs That Support the Trichome Reading
- Flower bracts have swollen and the rate of new flower mass has slowed.
- Many pistils have darkened and receded, while cultivar-specific fresh pistils are considered.
- The flower has reached its expected structure and density for that cultivar.
- Normal late-flower senescence may be present, but the plant is not simply yellow from an early deficiency or root problem.
- The same maturity pattern appears across multiple representative buds.
Yellow leaves alone are not a harvest signal. If decline began early, is spreading abnormally or is accompanied by root-zone problems, use the cannabis nutrient-deficiency guide rather than assuming the plant is finishing.
Do Not Use Trichomes to Schedule an Automatic Flush
A trichome reading tells you about flower maturity; it does not prove that the root zone contains harmful salt accumulation. Do not start a fixed ten-day plain-water flush simply because heads become cloudy. Irrigation and nutrient decisions should follow the medium, current feed, plant health and repeatable root-zone evidence. If salt accumulation is suspected, use the pH, EC, PPM and runoff diagnostic workflow.
Likewise, there is no universal requirement for an extended dark period, ice water or deliberate drought before harvest. Those practices can add stress without making a poor maturity decision correct.
Final Harvest Checklist
- Confirm cultivation and harvest are legal where you are.
- Inspect bract trichomes on several representative buds under neutral light.
- Confirm that whole-flower development and pistils support the same maturity window.
- Check closely for mold, pests and damaged tissue before material enters the dry space.
- Decide whether the plant will be cut at once or in stages.
- Prepare a clean, dark drying space with stable airflow, temperature and humidity before cutting.
- Prepare clean cutting tools, labels and supports so flowers are handled as little as possible.
- Move directly into the documented drying process; harvest timing cannot rescue an uncontrolled dry.
Continue with the complete cannabis drying guide, then the public bud-curing guide. If you need to decide between wet and dry trimming, use the separate cannabis trimming guide.
Frequently Asked Questions
What percentage of amber trichomes is best?
There is no research-backed universal percentage for every cultivar or desired result. Use the clear-to-cloudy-to-amber trend across several bract samples, then combine it with whole-flower maturity and cultivar history.
Can I harvest when all trichomes are cloudy?
A mostly cloudy representative sample often falls inside the broad harvest window, but it does not prove a universal chemical peak. Check multiple buds and confirm that the flower has stopped rapid development.
Should I count trichomes on sugar leaves?
No. Sugar-leaf heads can mature or amber earlier because they are exposed and often closer to the light. Inspect the glandular heads on flower bracts.
Are brown pistils enough to call harvest?
No. Darkened, receding pistils are a useful supporting sign, but heat, touch, spraying, pollination and genetics can change pistil color. Confirm with representative trichomes and flower development.
How often should I check near harvest?
Once the plant enters its expected finish window and heads begin turning cloudy, inspect every few days using the same bud sites. Photographing the samples makes the trend easier to compare.
Can I harvest the top and leave the lower buds?
Yes, a staged harvest can be useful when top flowers are mature and lower bract trichomes remain clearly behind. Keep sanitation, plant stress and drying logistics in mind.
Once the flower is dried and cured, record the finished result with the cannabis smoke-report template so future harvests are easier to compare.
Recommended trichome-inspection tools
Related HWGrow guides: Use the loupe-and-phone trichome inspection guide for the close-up check. If you are worried about handling the flowers during inspection, see what touching buds and pistils can change.

Illuminated jeweler’s loupeEnough magnification to separate clear, cloudy and amber heads when you stabilize the flower and inspect under neutral light.
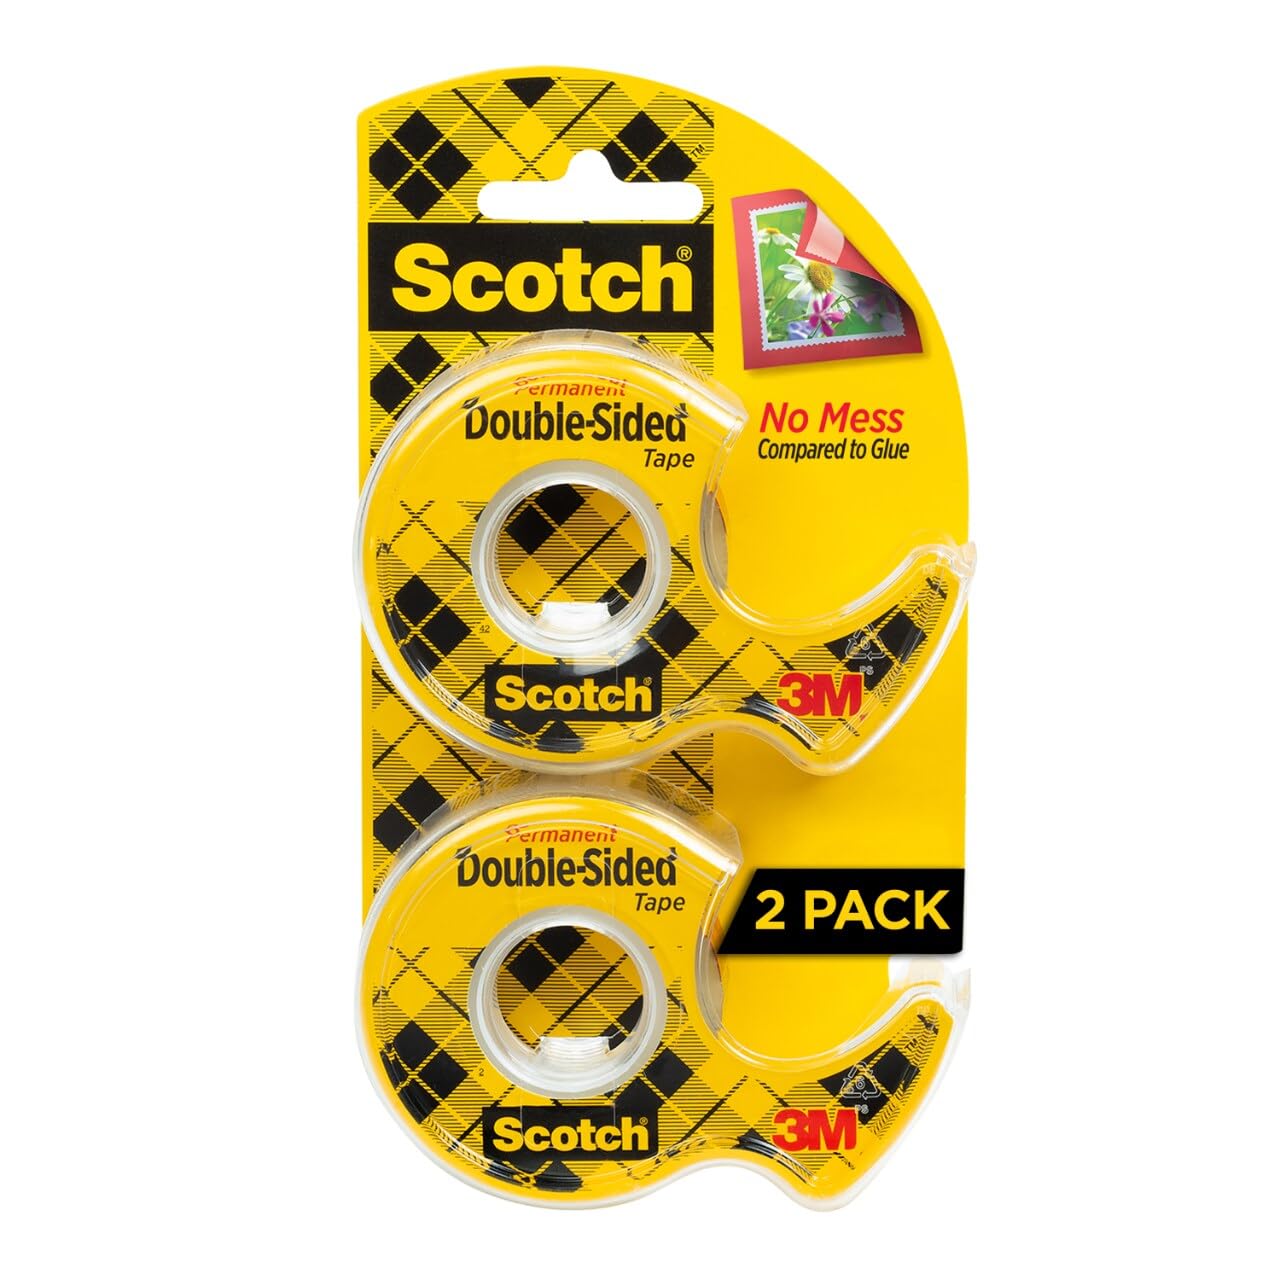
Double-sided tapeA small removable piece can steady the loupe over the correct phone lens for repeatable photos without buying a separate microscope.
Affiliate disclosure: HWGrow may earn a commission from qualifying purchases at no additional cost to you. Any tool that clearly resolves the trichome heads can serve the same inspection method.
Comments
Leave a reply
You may also like
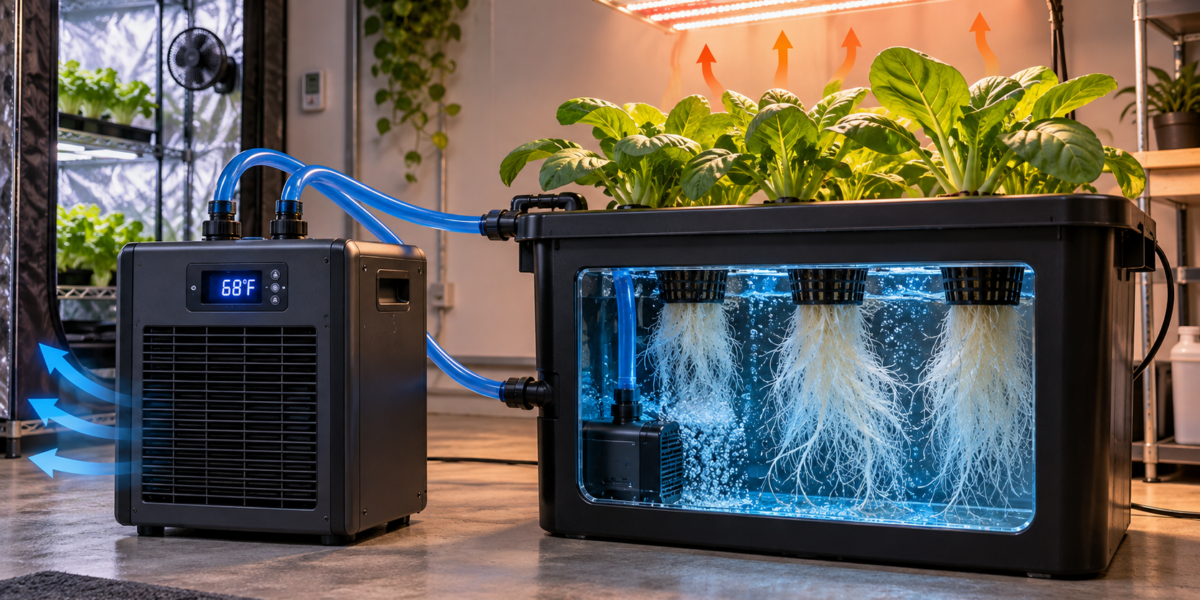
Hydroponic Water Chillers: Stop Summer Root Rot Before It Starts
How to Breed Masterclass – Promo Video




Featured Grow

So they drowned? Use the germination tutorial here.
Looking healthy
Shared a GIF.
kind of looks a little too dry for my liking
of course you will
Great tutorial. One little typo: ‘Amber trichomes just mean that THC has converted to CBD so the psychoactive effects is more for numbing and pain relief.’ THC converts to CBN, not CBD.
The video did say CBN didn’t it?
I am growing as a beginner my Moby Dick I don’t know when to harvest it it’s been in there for 8 weeks from December January February. I’m looking closely I see a lot of brown hairy and leaves with milky frosting is it time
It’s been 8 weeks I have been growing my Moby Dick autoflower it’s very small but very thick when do I harvest I am a beginner
I would need to see a picture, join our discord (scroll bottom right)
When trichomes are to the growers liking, do you then start a 2 week water only flush? Also read somewhere that you should let the girls stay in the dark for 48 hours before the chop – your thoughts.
I tried the 48 hours dark, didn’t do anything noticeable to me and seemed like the perfect conditions for spores to hatch. Not a fan. I start flushing once all the trichomes are milky or the first sight of amber on the buds (not sugar leaves of all the way up top)
Do you still help peaple on when to harvest if they send pictures?
Just go on the discord, scroll down Plenty of people to help there and I check once in a while
How often do we flush?
Only when the soil is dry (they replace feeds)
Hi! For some reason the discord links dont work anymore, can you refresh them?
Just click on the chat on the bottom right
hello all could anyone help me as im new to this growing weed thing im doing a 9 week plant when i put into flower is it from then the 9 weeks start or is it 9 weeks while in veg and flower could anyone help me out please
The fastest bloom I ever saw was 7 weeks Plus veg which is usually around 5-7 weeks So the 9 weeks is likely to mean just the flowering time