


How to Measure LED Grow Lights: PPFD, PAR Meters & Apps

Last updated: August 2026
Quick answer: Measure an LED grow light at plant-canopy height, not at the fixture. Keep the sensor level, take readings across a simple grid, then record the average, brightest point and dimmest point. A phone app can be a practical home tool when it follows the correct device-specific diffuser and calibration instructions. A full-spectrum quantum meter is the stronger reference when accuracy and repeatability matter most.
Video chapters: measure your canopy
- 0:05 — Why a fixture map is only a starting point
- 0:20 — Phone-app introduction
- 0:49 — Diffuser materials used in the original video
- 0:59 — Making the original paper diffuser
- 1:16 — Hold the sensor at canopy height
- 1:23 — Adjust height or dimming from the readings
Selecting a timestamp opens the video at that moment without moving you away from this section.
PAR and PPFD are not the same thing
PAR describes the band of photosynthetically active light, commonly discussed as 400–700 nanometers. PPFD is the amount of PAR-range photons arriving at one square meter each second, reported as µmol·m−2·s−1. In plain English: PAR is the light range; PPFD is the reading you map at the canopy.
That is why “test the PAR” is common shorthand but not the clearest instruction. What you normally want from a grow-light meter is a PPFD map. Apogee describes the MQ-500 as a full-spectrum quantum meter for incoming PPFD and specifies a calibrated 400–700 nm response with ±5% calibration uncertainty. See the current MQ-500 specifications.
How to map an LED grow light correctly
- Let the fixture stabilize. Turn it on at the dimmer setting you actually plan to use and allow its output and temperature to settle.
- Set the real canopy height. Measure from the LED fixture to the tops of the plants. Do not compare a floor reading with a canopy reading.
- Keep every measurement level. Point the phone camera or quantum sensor straight up and keep it at the same height and orientation for the whole map.
- Use a grid. Measure the center, corners and several points between them. A single center reading hides weak edges and hot spots.
- Record the setup. Write down the fixture, dimmer percentage, hanging distance, tent size, sensor/app, diffuser and selected light-source mode.
- Compare the pattern. Record the minimum, maximum and average. The goal is useful coverage across the canopy, not the largest possible center number.
- Change one variable. Adjust either the dimmer or hanging height, then repeat the same grid so you know what caused the difference.

Phone app, quantum meter or lux meter?
| Tool | Best use | Main limitation |
|---|---|---|
| Phone PPFD app | Affordable canopy mapping and repeatable home adjustments | Results depend on the phone, sensor mode, diffuser, selected light source and calibration |
| Full-spectrum quantum meter | Reference measurements, comparisons and documented testing | Higher cost; the sensor still must be held level and used consistently |
| Lux meter | Repeatable checks under the same known spectrum | Weighted for human vision, so lux does not convert to PPFD with one universal number across different spectra |
Use the diffuser the app requests
The original HWGrow video shows a paper diffuser. The paper type changed the reading in the later comparison, which is exactly why you should not assume that any white paper gives the same result.
Photone’s current instructions say the app will tell you whether a diffuser is required. Camera-based measurements use a diffuser; some Android devices without a default camera calibration may instead use the phone’s ambient-light sensor and tell you to remove it. Follow the notice inside the app, select the correct light source and calibrate against a trusted reference when needed. Read Photone’s current setup guidance.
Do not keep using an old homemade setup just because it once matched one meter. A result from one phone, one paper and one spectrum is a useful comparison—not a permanent accuracy guarantee for every device or fixture.
Watch the HWGrow Photone vs. Apogee comparison
Comparison-video chapters
What HWGrow’s comparison actually proved
In that specific test, the devices were measured at the same marked position and sensor height under a Spider Farmer SF2000 at three dimmer settings. The readings increased in a consistent pattern, and some phone/diffuser combinations stayed much closer to the MQ-500 than others.
That supports using a correctly configured phone as an affordable mapping tool. It does not prove that one app is always “95% accurate,” that one brand of printer paper works for every phone, or that the 2023 prices still apply. Your most useful check is repeatability on your own device; your strongest accuracy check is comparison with a trusted reference under the same fixture and spectrum.
Common grow-light measurement mistakes
- Measuring on the floor: plants receive light at the canopy, so that is where the sensor belongs.
- Chasing one bright number: a strong center does not fix dark corners or an uneven canopy.
- Tilting the sensor: angle changes the amount of incoming light seen by the diffuser.
- Changing distance between readings: even a small height change can make the comparison unfair.
- Ignoring the spectrum setting: the same sensor response cannot be interpreted identically for every light source.
- Copying a universal target: plant stage, genetics, photoperiod, environment and CO2 all affect what the canopy can use.
If the tops are bleaching, curling or showing stress while the lower canopy looks normal, use the cannabis light-burn guide. If you are still choosing a fixture, start with the complete LED grow-light buying guide before comparing PPFD maps.
Recommended LED measurement tools
 Photone light-meter appThe affordable starting point. Follow the in-app device, diffuser, light-source and calibration instructions.View product
 Phone PPFD diffuser clipA cleaner, repeatable alternative to loose paper when it is compatible with your phone and the app requests a diffuser.View product
 Full-spectrum quantum meterThe reference option for documented PPFD testing. Keep the sensor level and follow its current calibration instructions.View product
Affiliate disclosure: HWGrow may earn a commission from qualifying Amazon purchases at no additional cost to you. Equivalent tools can be substituted without changing the measurement workflow. Photone is linked to its official download page and is not an Amazon affiliate item.
Turn the readings into better decisions
A meter does not grow the plant for you. It gives you a repeatable way to stop guessing, compare changes and catch uneven coverage before visible damage appears. The Grow With Me Masterclass shows how light measurements fit into a complete seed-to-harvest workflow. If your numbers still do not make sense, ask HWGrow a question and include the light model, tent size, hanging height, dimmer setting, meter/app, phone model and your grid readings.
LED grow-light measurement FAQ
Should I measure PAR or PPFD?
For a canopy map, record PPFD. PAR describes the wavelength range; PPFD describes how many photons in that range arrive at a surface each second.
Can a phone app replace a quantum meter?
It can be good enough for repeatable home mapping when the phone is supported and the diffuser, light-source setting and calibration are correct. A calibrated full-spectrum quantum meter is the stronger reference for formal comparisons.
Where should I take the readings?
At canopy height, with the sensor level and pointed upward. Use a repeatable grid that includes the center, edges and corners.
Is the brightest center reading the most important number?
No. Record the minimum, maximum and average. Useful, even coverage across the whole canopy matters more than one impressive hot spot.
You may also like
pH vs. PPM for Cannabis: EC Scales, Buffering and Nutrient Lockout
Complete Grow Tent Setup: Four Videos, One Working Setup

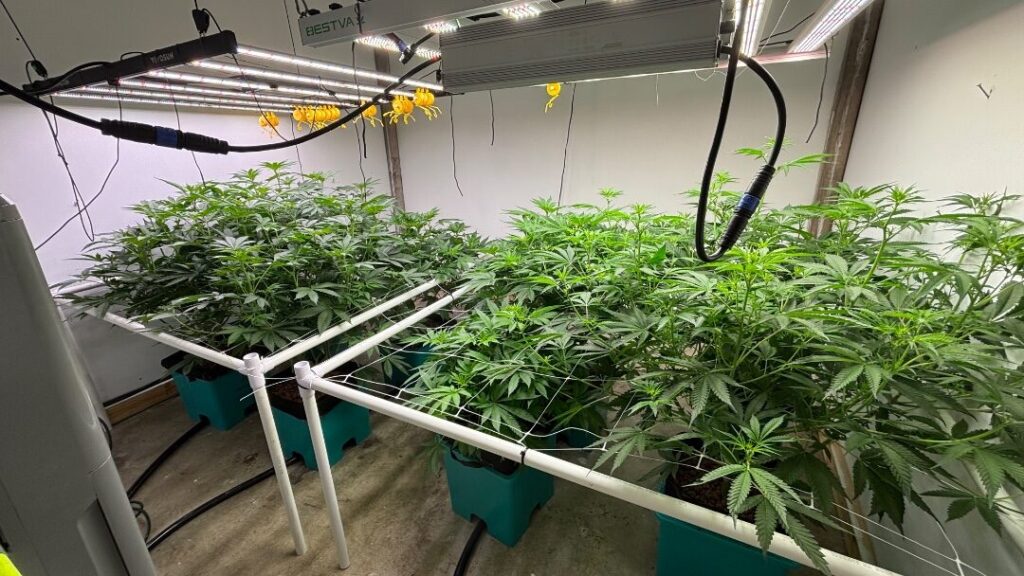

Featured Grow

Mine wasnt that bad, i am low rate afib so just swing between 95 and high as 150 sometimes, up…

Yeah not fun, but as long as it helps thats what matters. Had my heartrate 200+bpm in the hospital for…
Tupac mine is for afib. Just Had cardio version the other week to get me out of it, worst case…
I was hoping for one at least that check the box's, but ya, having a couple is that much better.…
Heart cath ablation? Had one of those for Super Ventricular Tachycardia and it worked well