

How to Germinate Cannabis Seeds in Rapid Rooters (Video)
Read the full video transcript
Warning! This channel is for adults only. I do not condone any illegal activities, and everything I record is for educational purposes only. With that said...
If you haven't already, check out my How to Choose a Strain video. Once you've picked your seeds, let's get started. The tools you'll need for the best results is a rapid router, a seed starting tray, clean water, hydrogen peroxide, pH up or down, and a spray bottle. Take a bowl of water and squirt some hydrogen peroxide in it to kill germs and create oxygen.
Submerge the rapid routers and squeeze them under the water until no more bubbles rise. You want this treated water to touch every nook and cranny of these routers. For the best results, a pH of 5.8 to 6.2 is recommended, so balance your water while you're dunking and squeezing until the final water hits this range. Then take the rapid router out of the water and squeeze it halfway so that it's only halfway.
If you're unsure about how much a halfway squeeze is, it should be around 25 grams after dunk. Now place the routers in your seed starter tray. Reinforce a clear path for the seeds using a clean stick, and now you're ready to plant your seeds. You'll notice two sides on each seed.
One side has a butt hole similar to the hole on a watermelon, and you want this butt hole pointing up toward the ceiling. Poke the seed down the hole about a centimeter to an inch down, then tear a corner of the rapid router off and plug the hole. In the end, take three to four drops of that remaining dunk water and drip it right above the plugged hole. Now you can spray the lid of this container so the humidity stays high, and the most important trick is to place this in a warm spot.
The best temperature I've tested was 85 degrees and with 24-hour lighting. The light should not be more than 200 ppfd. If you're not sure how to measure the light, check the link on the top right. Now, leave it the fuck alone for at least three days.
In that time, the seeds will sprout, and once you see some roots hanging out of the sides, you're good to transfer. Check out our site for more content, our Discord for questions and comments, and if you want to support us on Patreon, links in the top comment.

Last updated: August 2026
Quick answer: Moisten a Rapid Rooter all the way through, let it drain until it feels springy instead of dripping, place one cannabis seed just below the top opening, close the hole loosely and keep the plug warm and humid—but never sitting in water. Leave the seed alone while it opens. Transfer the whole plug once a healthy seedling is established and roots begin showing through the sides.
Rapid Rooters are my “keep it simple” method. The plug holds the seed, moisture and air in one small package, so you are not chasing a loose taproot around a paper towel. Your main job is to stop helping before helping turns into drowning.
Watch: germinate cannabis seeds in Rapid Rooters
The original HWGrow video is the main source for this walkthrough. It demonstrates my water treatment, the “butthole up” seed analogy, plugging the opening and the warm covered tray. The article adds a few important boundaries: peroxide and 24-hour light are optional, 25 grams applies only to the plug I weighed, and 85°F is near the warm end of the measured cannabis germination range—not a target to exceed.

Selecting a timestamp opens the standard HWGrow pop-out at that exact moment without making you lose your place on the page.
What you need
- Viable cannabis seeds
- Fresh Rapid Rooter plugs
- A clean tray and adjustable humidity dome
- Clean water
- A clean cup or bowl and clean hands/gloves
- A spray bottle for the dome—not for repeatedly soaking the plug
- A thermostat-controlled heat mat only if the plug is actually too cool
If you have not chosen the cultivar yet, start with the public seven-factor strain-selection guide. Germination technique cannot repair weak or badly stored seed.
How to germinate a cannabis seed in a Rapid Rooter
- Clean the work area. Wash your hands, tray and tools. Do not reuse a dirty propagation tray without cleaning it first.
- Prepare the water. Clean water is enough for a fresh plug. The source video uses diluted hydrogen peroxide, but it is optional. Never pour concentrated peroxide onto a seed, guess with an unfamiliar strength or mix it with other cleaners.
- Moisten the whole plug. Let water reach the center, then allow the plug to drain. A gentle squeeze can remove excess water, but do not mash the structure flat.
- Use feel, not one magic weight. The video’s plug weighed about 25 grams after draining. Different plug sizes and batches will weigh differently. Aim for evenly moist and springy, with no water running out.
- Open a clean path. If the factory hole is tight, use a clean blunt stick to make room without tearing the plug apart.
- Place one seed. The video puts the dimple—the “butthole”—up. That is an easy repeatable orientation, but a viable seed can often correct itself. More important: do not jam it too deep or crush it.
- Close the hole loosely. Tear a small clean corner from the plug and cover the seed so it stays dark and evenly moist. Do not pack it like concrete.
- Cover the tray. Mist the inside of the dome if the air is dry. Do not leave the plugs standing in a puddle.
- Keep the plug warm. Measure at plug level. A controlled hemp study found an optimum range around 24–30°C (75–86°F), with genotype differences. A beginner-friendly starting band near 75–82°F gives some margin below the video’s 85°F result.
- Add gentle light for emergence. The seed itself does not require 24-hour lighting. Have gentle seedling light ready as the shoot appears; the source keeps intensity below 200 PPFD.
- Stop digging. Check temperature, condensation and plug moisture, but do not pull the seed out every day. Give it time to work.
The temperature range comes from a controlled industrial-hemp germination study, so treat it as a useful biological range rather than a promise for every cultivar. General seed biology also matters: Penn State explains why a germinating embryo needs both moisture and oxygen in an aerated seed-starting medium.
When to open the dome
Before emergence, the dome slows water loss. After the seedling is above the plug, start opening the vents and watch its response. A permanently sealed, dripping dome can keep the stem too wet and increase disease pressure.
Open gradually. If the seedling stays upright, keep stepping humidity down. If it collapses immediately, close the dome partway and try a slower transition instead of drowning the plug again.
When to transplant a Rapid Rooter
Move the whole plug when the seedling is upright, the cotyledons are open and healthy roots begin showing through the sides or bottom. Do not peel the plug away. The point is to move one protected root package without touching the taproot.
Make the receiving hole first, support the plug instead of the stem and place its top close to the surrounding-media surface. Then water the receiving zone lightly enough to connect the plug with the new medium without turning it into a sump.
Common Rapid Rooter mistakes
- Plug sitting in water: moisture without air can stall or kill the seed.
- Rewatering by the clock: check plug weight and feel instead of spraying every few hours.
- Too much heat: a warm room can become a hot sealed tray under lights. Measure the plug.
- Digging for the seed: checking can break the taproot you were trying to protect.
- Leaving the dome sealed after emergence: acclimate the seedling instead of keeping the stem wet indefinitely.
- Forcing one pH number: the source used 5.8–6.2, but the appropriate water and later feed strategy depends on source water and the receiving medium.
Want to compare this plug with other methods? See the seven-way cannabis germination test. If the real choice is only between plugs, use the Rapid Rooter versus rockwool comparison.
Recommended Rapid Rooter supplies

Rapid Rooter plugsThe airy preformed plug used in the method. Moisten it evenly, let it drain and never leave it sitting in water.
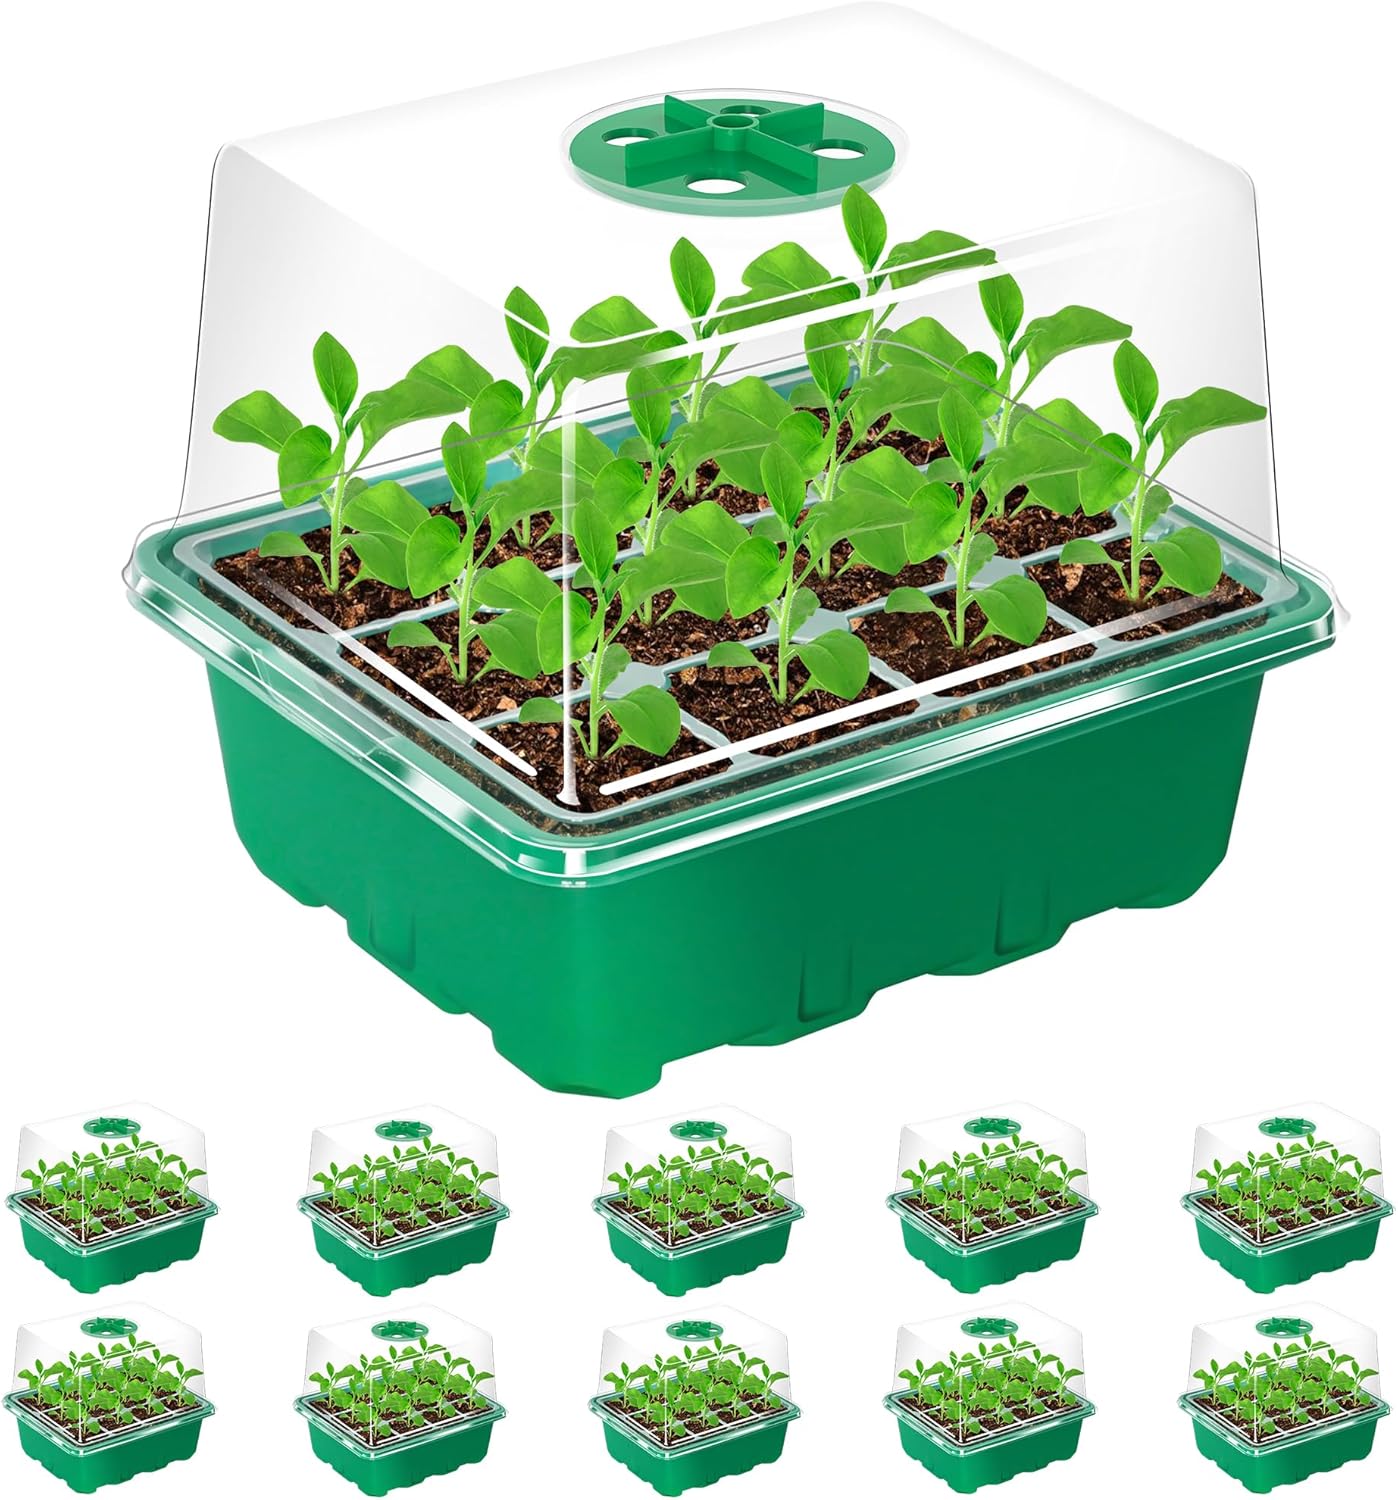
Propagation tray and vented domeKeeps the plugs organized while adjustable vents let you lower humidity gradually after emergence.

Seedling heat matUseful only when the measured plug temperature is too cold. Pair it with temperature control instead of applying nonstop heat.

Selfie Seeds™ geneticsDocument the cultivar and lot before germination so the seedling’s genetics stay attached to the grow record.
Affiliate disclosure: HWGrow may earn a commission from qualifying Amazon purchases at no additional cost to you. Selfie Seeds™ is HWGrow’s in-house genetics source. Equivalent supplies can replace the linked products without changing the method. Verify local laws before ordering or germinating seeds.
Frequently asked questions
How wet should a Rapid Rooter be?
Evenly moist and springy, not dripping or sitting in water. Plug weight and feel are more reliable than watering on a fixed schedule.
Which way should a cannabis seed face in a Rapid Rooter?
The HWGrow method places the dimple or “butthole” up. Orientation is less important than keeping the seed shallow, moist, aerated and undisturbed.
Do cannabis seeds need 24 hours of light to germinate?
No. The video documents a 24-hour-light method, but germination does not require continuous light. Provide gentle light as soon as the shoot emerges.
How long do cannabis seeds take to sprout in Rapid Rooters?
Many viable seeds emerge within several days, but age, storage, cultivar, moisture and temperature change the timing. Do not dig up a slow seed on day three just because another seed already emerged.
Can I plant a Rapid Rooter in soil or hydro?
Yes. Place the entire rooted plug into compatible soil, coco or hydroponic media without removing it from the roots.
Comments
Leave a reply
You may also like
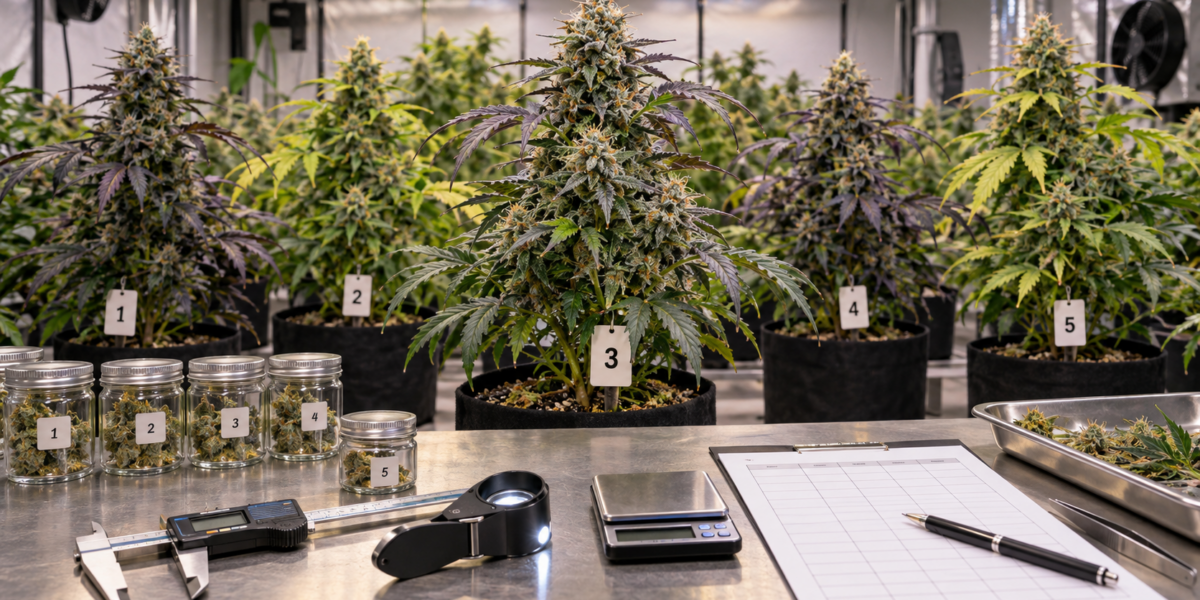
How to Pheno Hunt Cannabis and Choose a Keeper
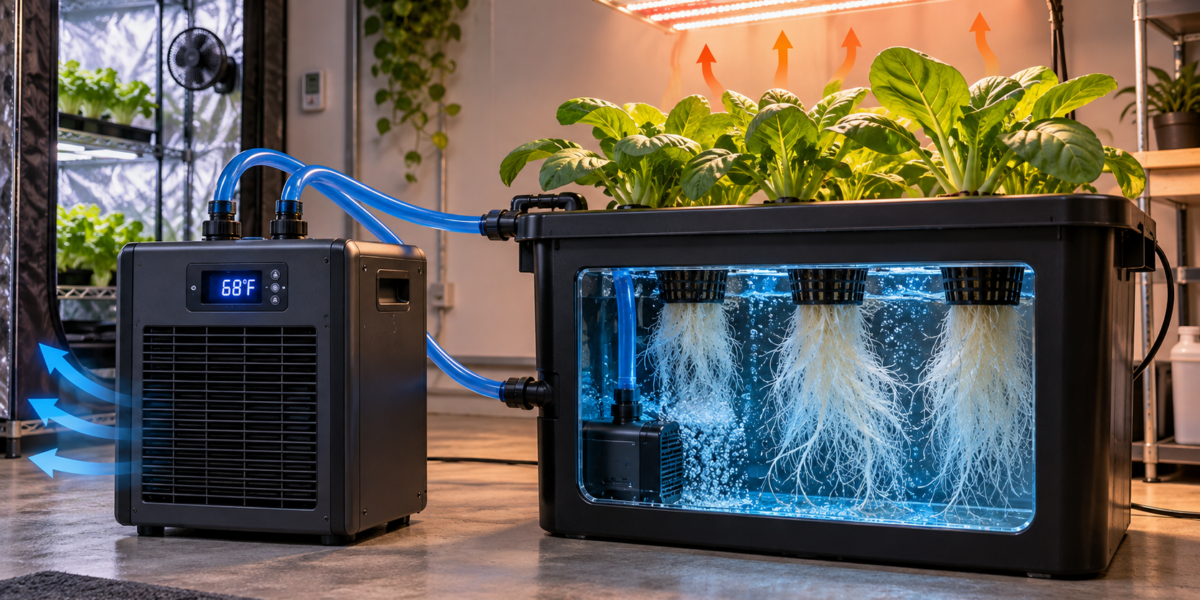
Hydroponic Water Chillers: Stop Summer Root Rot Before It Starts

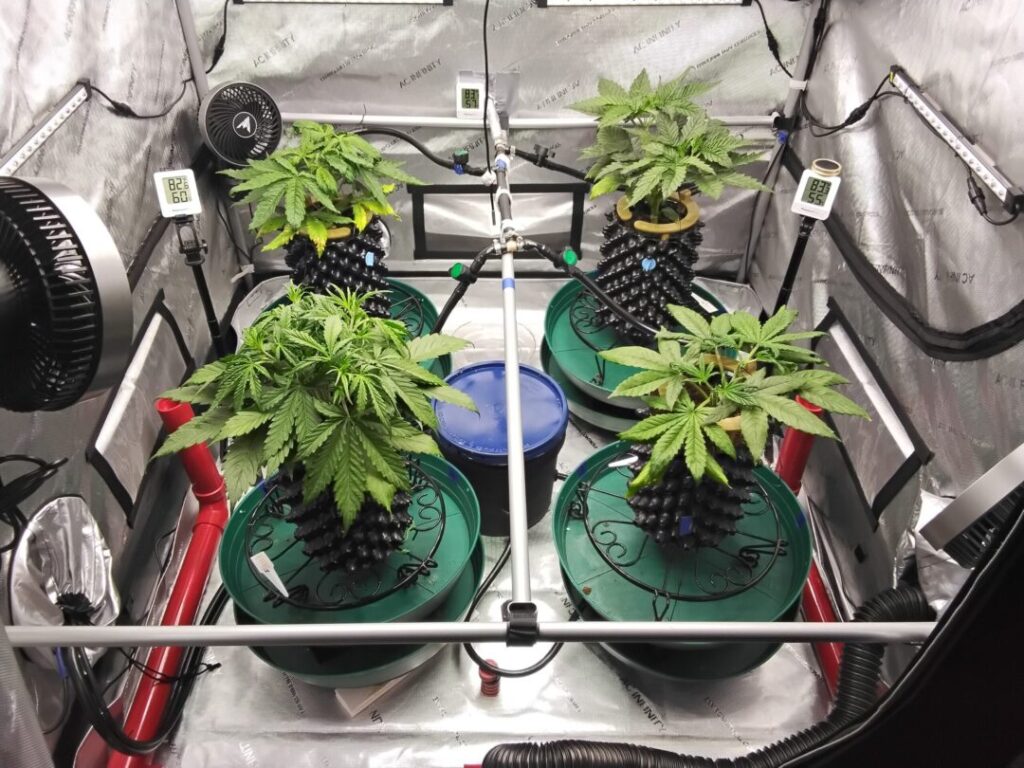



Featured Grow
 Jul 2026 — White Iverson by Selfie Seeds +2 more
White Iverson × Selfie Seeds, Pink Strawberry × Selfie Seeds, Purple Berry × Selfie Seeds • Soil • Started Jul 25, 2026
View journal
Jul 2026 — White Iverson by Selfie Seeds +2 more
White Iverson × Selfie Seeds, Pink Strawberry × Selfie Seeds, Purple Berry × Selfie Seeds • Soil • Started Jul 25, 2026
View journal
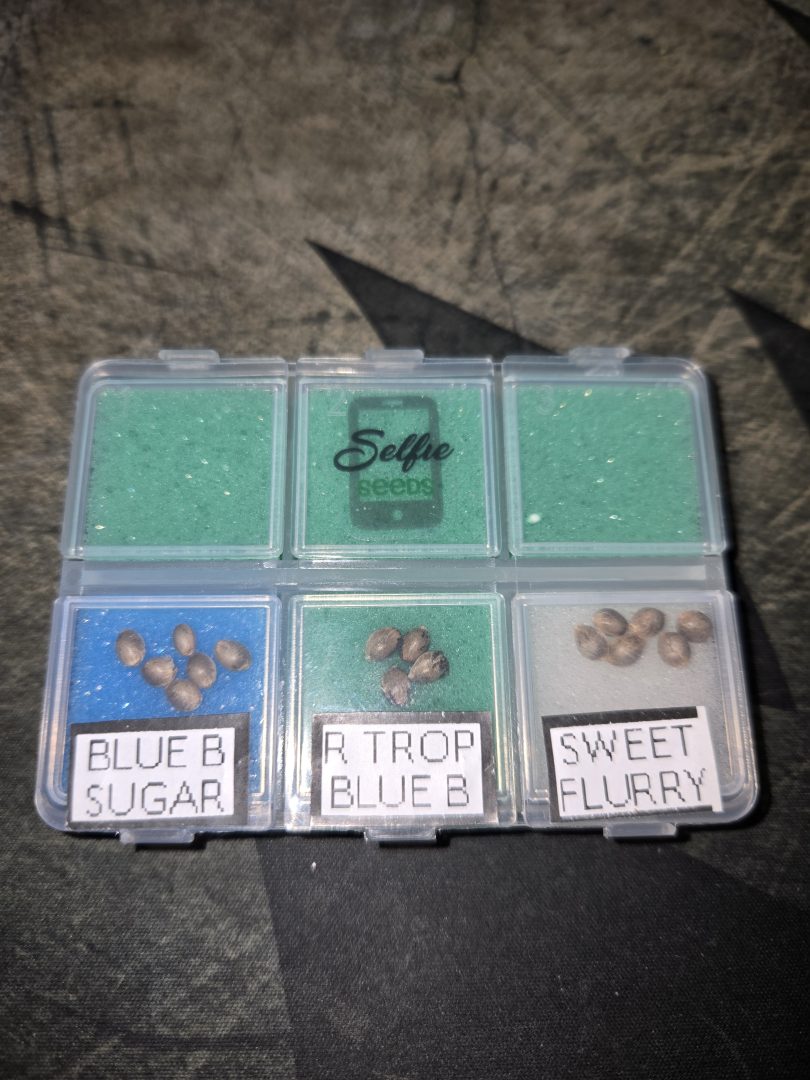 First Selfie Seeds Grow (Blueberry Sugar, Tropical Blueberry, and Sweet Flurry)
Blueberry Sugar × Selfie Seeds, Tropical Blueberry × Selfie Seeds, Sweet Flurry × Selfie Seeds • Soil • Started May 27, 2026
View journal
First Selfie Seeds Grow (Blueberry Sugar, Tropical Blueberry, and Sweet Flurry)
Blueberry Sugar × Selfie Seeds, Tropical Blueberry × Selfie Seeds, Sweet Flurry × Selfie Seeds • Soil • Started May 27, 2026
View journal
Awesome It’ll be a bit chlorophyllie but definitely let me know your opiniones

Walked in this morning before lights out and they are already bouncing back pretty good.
Awesome, fingers crossed for you
Nice LSTing Looks perfectly symmetric

Bananas!!!!! I knew I forgot something today. Thanks, gotta hit the store up in the am anyway. Coming off night,…
You say to leave them alone for at least 3 days. What do you do after the seeds have popped? Do you ever add more water? If so, when do you add more water? I am on day 4 and 1 of my seeds hasn’t broke through yet. How long do you keep them in the humidity dome?
you transfer as soon as the main stem is like a cm long. Add more water when the rooter looks pale/dry keep em under a dome even after transfer for abouut 2 weeks
Thanks for the reply. Just another quick question….in your 7 way comparison video, you busted the myth about seeds requiring darkness….so what is the purpose to plugging the hole on the rapid rooters and rockwool?
They need air and medium to grow into in the beginning, otherwise, what would support the plant and allow it to stand upright?
RE: STEP 6: Cover and place in a warm room with 24 hours lighting.
I will be using Rapid Rooters in an AC Infinity Humidity Dome w/ LED Lights and Heat Pad.
https://acinfinity.com/grow-accessories/propagation/humidity-domes/humidity-dome-germination-kit-with-seedling-mat-and-led-grow-light-bars-5×8-cell-tray/
What is the recommended PPFM Light intensity and inside temperature ranges when using the above set-up and Rapid Rooters?
Am I understanding correctly that starting Week 3 the seedlings should be in 5 US Gallon bags of Grow Mix and moved inside of the grow tent, and after, follow your chart from then to the end?
Thanks in advance!
200 ppfd to begin,
you should transplant the seedlings to the forever pot as soon as the roots poke out of the rooter
Thank you.
Unfortunately don’t have the money for all the bells and whistles as my wife is sick so I am on a very tight budget so will this method work with just using half a cup of water covered and left for 2days or would I be better using the paper towel method? Sorry for long question🙏🏽
no, I like cup of water method better. Hope she gets better fast
ml/gallon got it! apologies I missed that. any other advise you have for this outdoor grow please send my way thank you!
I just planted some seeds that i had germinating via the paper towel method but they didnt fully germinate. They only cracked open a little and then i got inpatient and started planting them in some Root Riots plugs. So far only one has popped and the rest seem dormant. What do you recommend?
in my experience, paper towel method is terrible Best Way to Germinate Cannabis Seeds – 7 Way Comparison
My Selfie Seeds™ have SPROUTED!! When do I fipp the 24hour lighting to 18 and 6? OR after the forever home?
as soon as they breach the surface, run 18/6 check the complete guide here, there’s a chart: https://www.howweedgrow.com/sdm_downloads/general-hydroponics-feed-schedule-soil-cheat-sheet/