


How to Hang an LED Grow Light Safely in a Grow Tent

Last updated: August 2026
Quick answer: Hang an LED grow light from every mounting point the manufacturer requires, use rope ratchets whose combined load rating comfortably exceeds the complete fixture weight, raise it a little at a time, level every corner and keep cords away from water. After it is installed, run the closed tent for one hour and measure both heat and light intensity before plants go underneath it.
This is the part of a tent build where slow and boring is good. A light can survive being crooked; your plants may not. More importantly, you do not want a heavy fixture balanced on two clips, a cord stretched across a sharp frame edge or a timer carrying more power than it is rated for.
LED hanging video chapters
- 0:00 — Fit the light to the tent
- 0:19 — Use adjustable rope ratchets
- 0:35 — Find every mounting point
- 0:56 — Position the fixture on the floor
- 1:05 — Plan the cord direction
- 1:12 — Attach the corner hangers
- 1:29 — Choose the bar layout
- 2:01 — Loop the clips over the tent bars
- 2:13 — Raise and level one corner at a time
- 2:35 — Run the closed-tent heat test
Selecting a timestamp opens the video at that exact moment without moving you away from this part of the article.
1. Make sure the light actually fits
Check the fixture’s assembled length, width and weight—not just the advertised canopy size. Leave room for the exhaust duct, filter, cords, ratchets and your hands. If the tent and light are still being chosen, start with the complete grow-tent setup guide and the current LED grow-light selection guide.
A diode name by itself does not tell you whether the finished fixture is good. Compare its full PPFD map, input power, efficiency, heat, dimming range, safety listing, warranty and complete grows under that exact model. The goal is even usable light over the canopy—not the largest number in the center of a marketing chart.

2. Use the correct hanging points and hardware
Follow the manufacturer’s hanging diagram. Use every point it requires and confirm that the ratchets, clips, carabiners, tent bars and frame can support the complete assembled weight. A wattage number does not decide how many hangers are safe; the fixture design, manufacturer instructions and load ratings do.
Four independent corner ratchets are practical for many large panels and bar fixtures because you can level each corner. A smaller light designed around two reinforced points may properly use two. Never improvise by clipping to a cable, heat sink fin, driver wire or an unapproved frame opening.
3. Plan the cord before lifting
Set the unplugged light on a clean floor with the diodes protected, then point the power cord toward the tent’s electrical exit. That simple step avoids twisting the fixture after it is already hanging. Keep the connection and timer above floor level, away from reservoirs, runoff and spray. Leave enough slack for height changes without creating a loose loop that can touch the canopy.
Attach every fixture-side clip first. Then loop the opposite end over the correct tent crossbar and back into the ratchet. Give each connection a gentle pull test while the light is still close to the floor. If anything slips, binds or looks overloaded, stop before lifting.
4. Raise it slowly and keep it level
Lift one corner a small amount, then move to the opposite corner. Repeat until the fixture is at working height. Do not yank one side to the ceiling while the other side stays on the floor. That twists the light, loads the frame unevenly and makes a heavy fixture harder to control.
Once it is hanging, measure from the canopy plane to each corner of the fixture. Leveling by eye is a decent first pass; matching the distances is better. Leave room above the fixture for airflow, adjustment and any minimum clearance in the manual.
5. Set intensity with measurements—not guesses
Bringing a light closer and dimming it can change the canopy pattern, but it does not automatically save energy or improve coverage. After installation, measure the actual canopy. Record the hanging height, dimmer setting, center, edges and corners so you can repeat the setup. The LED light measurement guide walks through that process.
Start conservatively with young plants and increase intensity gradually. If the manufacturer specifies a minimum distance, treat it as the floor. Watch for bleaching, curling, heat stress and a bright center with weak corners. Fix the pattern instead of chasing one impressive reading.
6. Run a one-hour closed-tent test
Before adding plants, put the temperature and humidity sensor at future canopy height, close the tent and run the light for at least one hour. Check the fixture, driver, plugs, timer, cords and tent temperature. A connector should be fully seated; a cord should not be pinched; a timer or plug should not feel unusually hot.
If heat climbs too quickly, solve the airflow before the grow begins. The inline-fan and airflow guide covers the exhaust side. For a reliable schedule, use the timer, circulation-fan and light-leak guide.
Quick safety checklist
- The assembled fixture fits with room for ducts, cords and adjustment.
- Every manufacturer-required hanging point is in use.
- The combined hardware rating comfortably exceeds the complete fixture weight.
- Every clip is closed and every cable connector is fully seated.
- The light is level and has the required clearance above and below it.
- Cords and timers are supported, dry and not pinched against the tent frame.
- The electrical circuit, outlet and timer are rated for the actual load.
- Canopy intensity has been measured and recorded.
- The closed tent passes a one-hour heat and airflow test.
Recommended LED installation tools

Rated rope ratchet hangersUse every required hanging point and confirm the combined rating exceeds the complete fixture weight.

Programmable light timerChoose a grounded timer rated above the fixture’s real electrical load and keep every connection dry.

Phone PPFD diffuser clipA convenient option for compatible phone meter apps. Calibrate the setup and verify the exact phone when possible.
Affiliate disclosure: HWGrow may earn a commission from qualifying purchases at no additional cost to you. Product destinations may be replaced with equivalent items without changing the installation method.
Frequently asked questions
How many rope ratchets does an LED grow light need?
Use every hanging point required by the manufacturer. Many large fixtures are more stable on four independent corner ratchets, while a smaller light designed for two reinforced points may correctly use two. The design and load ratings matter more than wattage alone.
How high should an LED grow light hang?
Start with the exact fixture manual, then measure intensity at the actual canopy. Height changes coverage and intensity together, so copy neither a generic chart nor another model’s setting.
Should the LED driver stay inside the tent?
Use the manufacturer’s approved location. A removable driver may sometimes be placed outside to move some heat, but only when the design allows it and the driver remains securely mounted, dry and ventilated.
How do I know whether the tent is getting too hot?
Put the sensor at canopy height, close the tent and run the complete lighting and ventilation setup for at least one hour. If temperature keeps climbing or electrical parts become unusually hot, correct the load or airflow before adding plants.
Comments
Leave a reply
You may also like
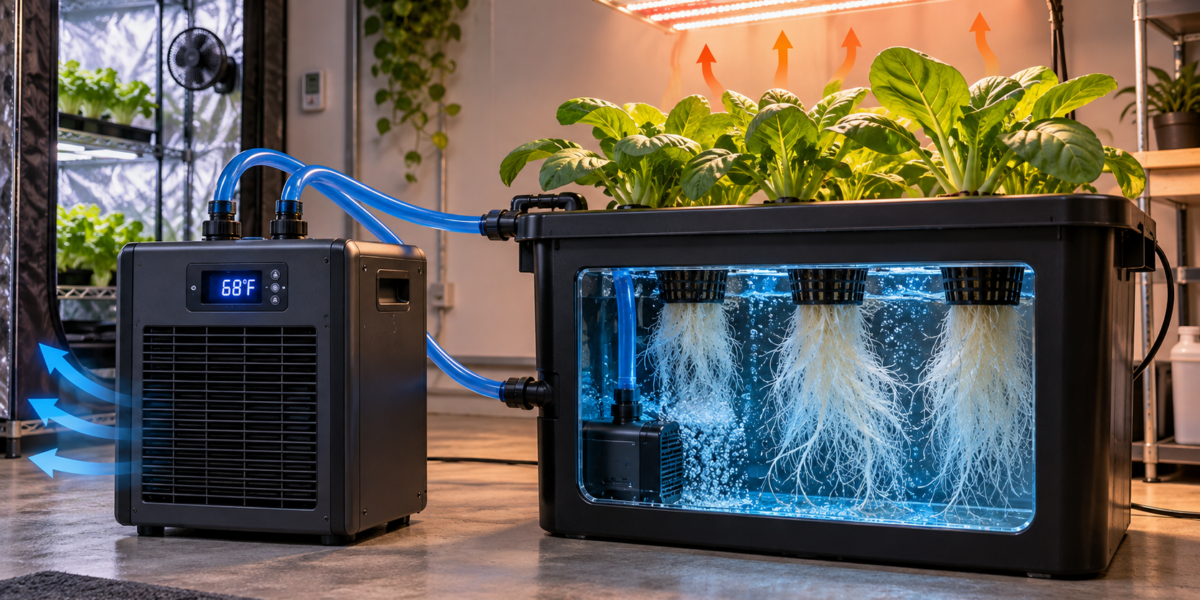
Hydroponic Water Chillers: Stop Summer Root Rot Before It Starts
How to Breed Masterclass – Promo Video





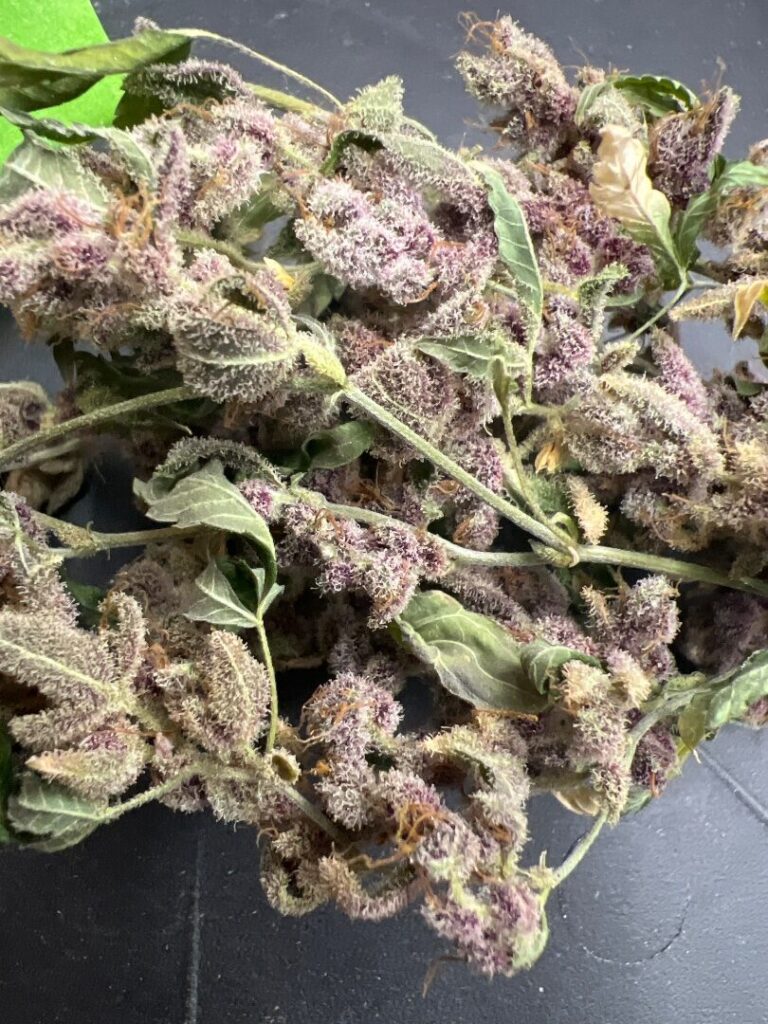
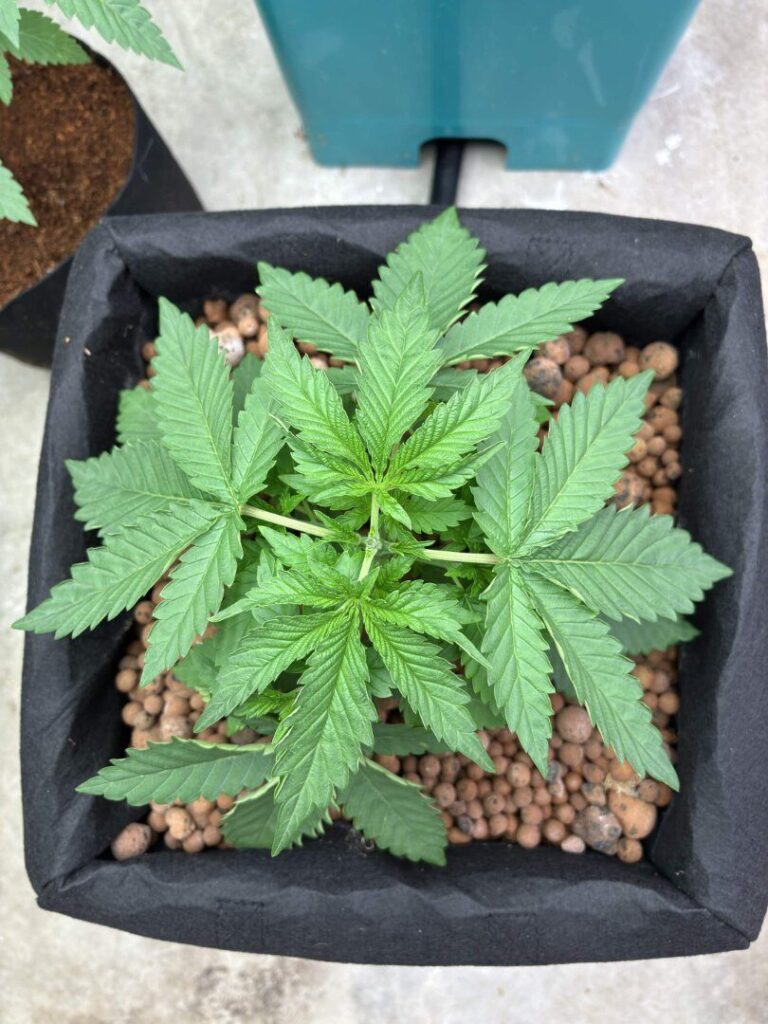


Featured Grow


HA!!! I love pictures. Noticed I'm missing a zip tie on a T-piece. Good deal.
Feed at 6 ounces, bring up to 8
Absolutely, just had it set up as I didn't want to disturb anything down there later on stabbing them through.…
I am not excited about em lol. I think my pump is a little on the high side right now,…
Remember Don’t drown them early on, I would start off the first couple of weeks hand feeding them using a…
💰