

Last updated: August 2026
Quick answer: Put photoperiod cannabis on a dependable timer, verify the actual on/off cycle, and keep the flowering dark period consistent. The beginner default is 18/6 for vegetative growth and 12/12 for flowering. Test the tent for light entering during the scheduled dark period, but do not panic over every tiny pinhole—fix repeated, direct light and timer mistakes first.
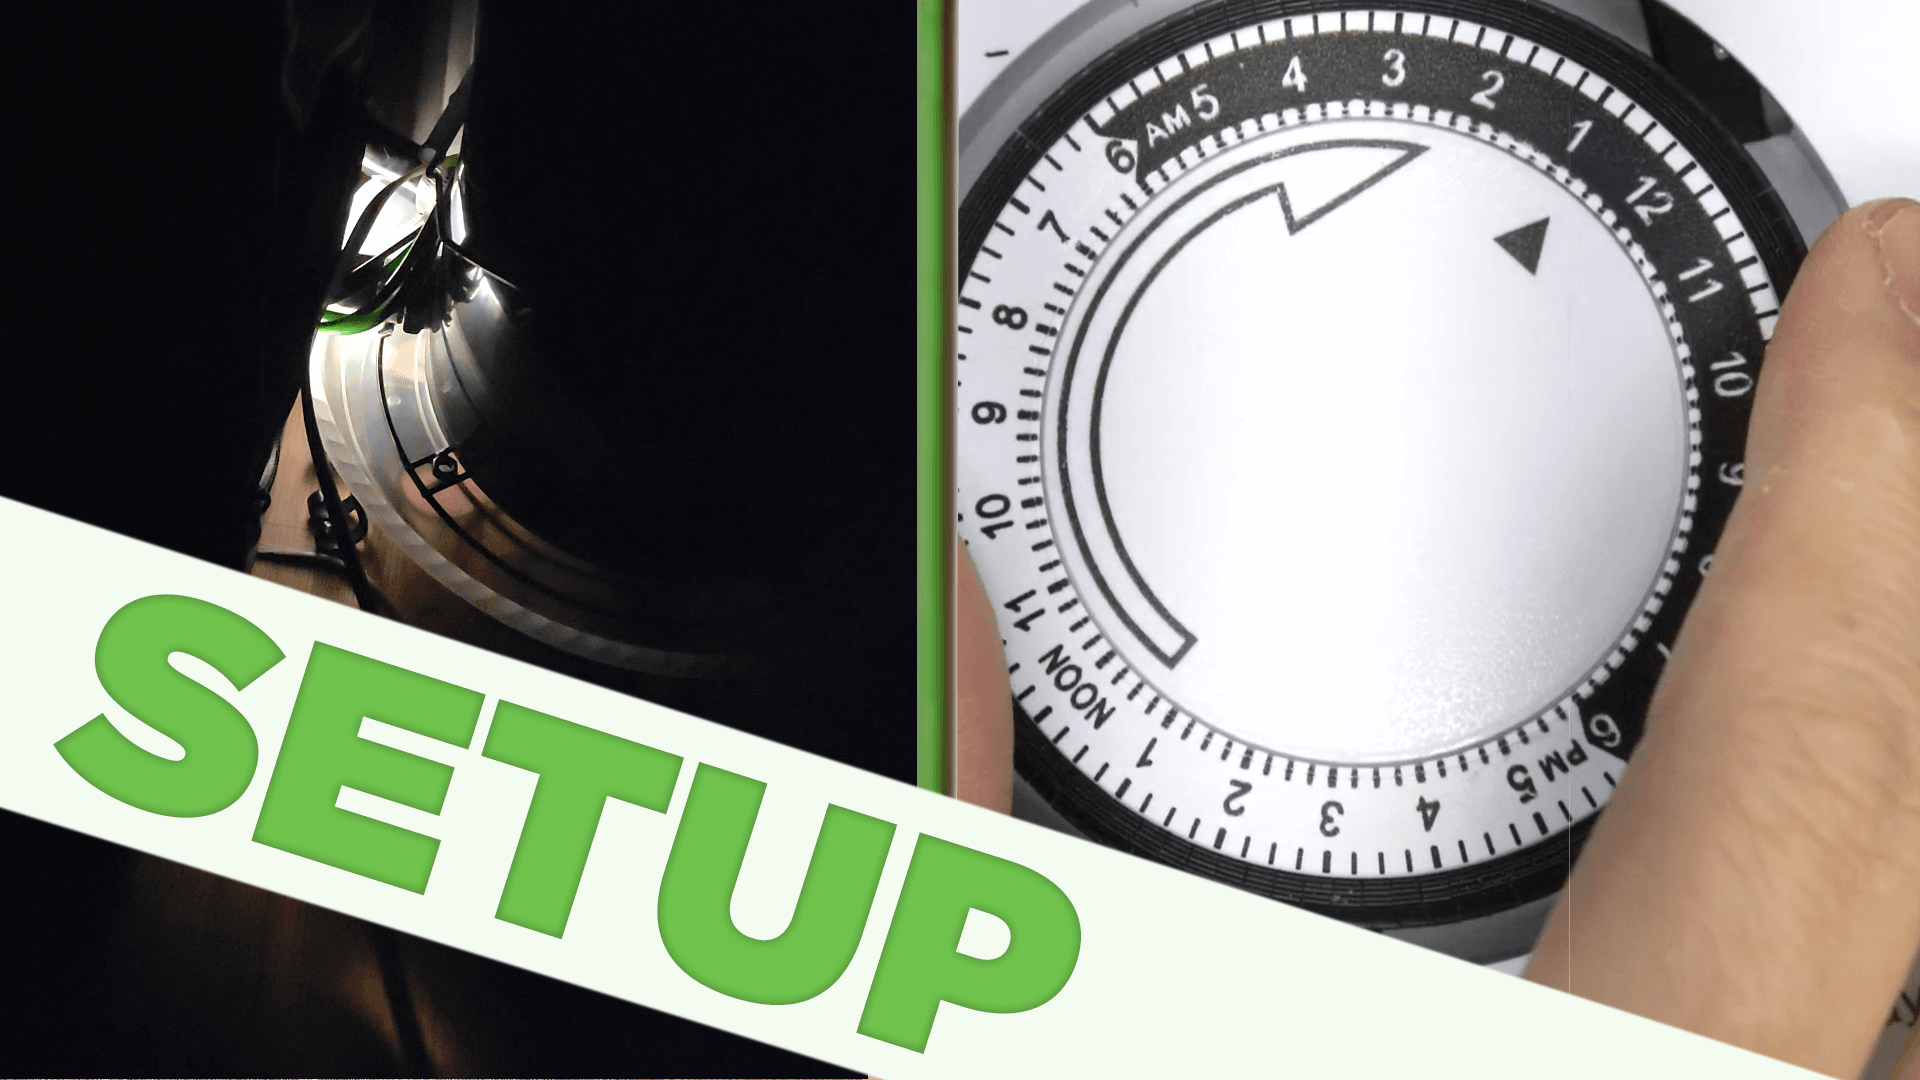
Watch: set the timer and check the tent
This short HWGrow video shows the original mechanical-timer setup and a quick light-leak inspection. The updated guide below adds the part that matters most: test light entering the tent during the plant’s scheduled dark period, not only light escaping from it.

Which cannabis light schedule should you use?
| Plant or stage | Reliable starting schedule | What matters |
|---|---|---|
| Photoperiod seedlings and vegetative plants | 18 hours on / 6 hours off | A repeatable long day keeps most photoperiod plants in vegetative growth. |
| Photoperiod flowering plants | 12 hours on / 12 hours off | Keep the dark period uninterrupted and consistent every day. |
| Autoflowers | 18/6 or 20/4 through the full grow | Autoflowers do not need a 12/12 flip; use the schedule that fits the environment and electricity plan. |
| Mother plants and rooted clones | 18/6 | Consistency matters more than chasing an unusual schedule. |
Some cultivars can initiate flowers under days longer than 12 hours, and controlled studies have measured different responses by cultivar. That is useful advanced information, but it does not make 12/12 a bad beginner setting. Use the when-to-flip guide to choose the date, then use this page to make the schedule reliable.
How to program a mechanical timer
- Read the timer’s segment rule. Some models turn on when tabs are pushed down; others use the opposite position. The label on your exact timer wins.
- Set the current time. Rotate the dial in the marked direction until the correct AM or PM time lines up with the arrow.
- Select every light-on segment. For an 18/6 schedule, choose one continuous 18-hour block. For 12/12, choose one continuous 12-hour block.
- Set the override switch to timer or auto. A timer left in the permanent-on position will ignore the dial.
- Plug the light into a timed outlet. On a timed surge protector, confirm which outlets are actually controlled by the timer.
- Test both transitions. Temporarily move the dial past an on time and an off time, then return it to the correct current time.
- Check it again after a power outage. A mechanical dial may stop while power is out, and a digital timer may lose or shift its program.
For a digital or smart timer, confirm the time zone, AM/PM setting, selected days, saved program and any app automation. Do one hands-on test instead of trusting the screen.
Do not ignore the electrical rating
The timer, cord, power strip and wall circuit all need to support the connected equipment. Check the light manufacturer’s instructions and the timer’s load rating; do not assume a small household timer is suitable for every high-wattage fixture or startup load. Avoid daisy-chaining power strips. Keep plugs and connections off the floor and away from irrigation runoff. If the fixture requires a controller, relay or dedicated circuit, use the specified hardware or a qualified electrician.
How to test a grow tent for light leaks
The video makes leaks easy to see by turning the room dark while the tent light is on. That finds light escaping from the tent. For flowering, repeat the test in the direction the plant experiences:
- Wait for the scheduled dark period and confirm the grow light is fully off.
- Turn on the normal room, hallway and equipment lights outside the tent.
- Inspect zipper seams, stitching, duct ports, intake openings and cable pass-throughs for direct light entering the enclosure.
- Check controller screens, power-strip switches, cameras, humidifiers and other devices inside the tent for bright indicator LEDs.
- Seal a true leak from the outside with opaque repair tape or the tent manufacturer’s patch. Do not cover ventilation openings, electrical cooling slots or anything that becomes hot.
- Repeat the inspection with the door and nearby room lights used exactly as they will be during a normal night cycle.
A phone or camera placed safely inside the closed tent can help reveal direct light without a person climbing into an enclosed space. Do not enter or seal yourself inside a running tent.
How serious is a light leak?
Cannabis is sensitive to night length, and controlled experiments take great care to prevent very low stray-light exposure. Repeated night interruption or meaningful direct light can delay flowering or interfere with normal reproductive development. That is a solid reason to correct timer errors and obvious leaks.
It is not evidence that one faint pinhole or one brief accident automatically creates a hermaphrodite. Genetics, timing, intensity, duration and the rest of the environment all matter. Restore the correct schedule, fix the cause and watch the plant instead of stacking on another stressful treatment.
Common timer and dark-period problems
| Symptom | Likely cause | First check |
|---|---|---|
| The light never turns off | Override switch is set to ON or the light is in an untimed outlet | Set the switch to timer/auto and test the exact outlet. |
| The schedule is shifted | Current time, AM/PM or time zone is wrong | Reset the clock and verify the next programmed transition. |
| The fixture glows faintly when off | Controller, dimmer or incompatible switching hardware | Follow the fixture manufacturer’s timer/controller instructions. |
| Flowering is delayed | Wrong plant type, long day, repeated night interruption or cultivar response | Confirm the genetics, timer history and actual darkness before changing nutrients. |
| The timer feels hot, buzzes or resets | Possible overload or failing hardware | Disconnect it safely and replace it with correctly rated equipment. |
Keep airflow separate from the light schedule
An internal circulation fan should keep leaves moving gently without blasting one spot continuously. It normally does not need to switch off with the grow light. The grow-tent ventilation and airflow guide covers circulation, exhaust and carbon-filter placement; the LED grow-light guide covers fixture height and canopy intensity.
When you want the entire seed-to-harvest sequence in one place, use the complete beginner grow guide. The Grow With Me Masterclass adds chronological support without placing its protected lesson content in this public article.
Recommended light-schedule tools


Affiliate disclosure: HWGrow may earn a commission from qualifying purchases at no additional cost to you. Verify the timer, fixture and circuit ratings before use.
Photoperiod references
You may also like
How to Pheno Hunt Cannabis and Choose a Keeper
Hydroponic Water Chillers: Stop Summer Root Rot Before It Starts





Featured Grow
 Jul 2026 — White Iverson by Selfie Seeds +2 more
White Iverson × Selfie Seeds, Pink Strawberry × Selfie Seeds, Purple Berry × Selfie Seeds • Soil • Started Jul 25, 2026
View journal
Jul 2026 — White Iverson by Selfie Seeds +2 more
White Iverson × Selfie Seeds, Pink Strawberry × Selfie Seeds, Purple Berry × Selfie Seeds • Soil • Started Jul 25, 2026
View journal
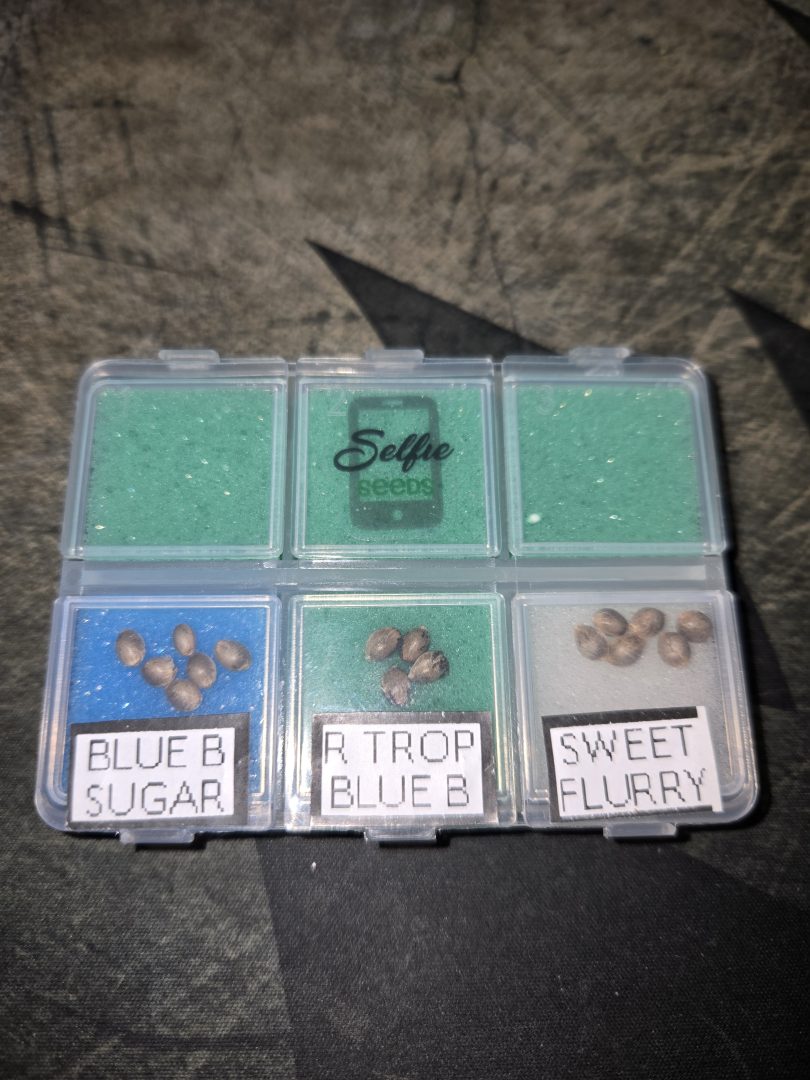 First Selfie Seeds Grow (Blueberry Sugar, Tropical Blueberry, and Sweet Flurry)
Blueberry Sugar × Selfie Seeds, Tropical Blueberry × Selfie Seeds, Sweet Flurry × Selfie Seeds • Soil • Started May 27, 2026
View journal
First Selfie Seeds Grow (Blueberry Sugar, Tropical Blueberry, and Sweet Flurry)
Blueberry Sugar × Selfie Seeds, Tropical Blueberry × Selfie Seeds, Sweet Flurry × Selfie Seeds • Soil • Started May 27, 2026
View journal

Awesome It’ll be a bit chlorophyllie but definitely let me know your opiniones

Walked in this morning before lights out and they are already bouncing back pretty good.
Awesome, fingers crossed for you
Nice LSTing Looks perfectly symmetric

Bananas!!!!! I knew I forgot something today. Thanks, gotta hit the store up in the am anyway. Coming off night,…