

How to Cure Cannabis in a Bucket: Bulk-Curing Method
Video chapters: the bulk bucket-curing method
- 0:07 — Why the bulk method was created
- 0:30 — Dry the harvest before sealing it
- 0:48 — Five-gallon bucket and gasketed lid
- 0:59 — Why the bucket stays half full
- 1:11 — Hygrometer and room conditions
- 1:22 — Check the container every day
- 1:45 — Rotate without packing the buds
- 2:04 — Aroma and stabilization checks

Last updated: August 2026
Quick answer: You can cure a larger batch of cannabis in a clean, food-safe five-gallon bucket with a gasketed lid. Dry the flower first, fill the bucket no more than halfway, add a calibrated hygrometer and gently rotate the flower during early checks. A bucket saves time; it does not make wet flower safe to seal.

Selecting a timestamp opens the video at that moment without moving you away from this section.
Bucket curing is a bigger container—not a different cure
A five-gallon bucket changes the scale, not the rules. The flower still needs a controlled dry before it enters a mostly closed container. Moisture then redistributes from the center of the buds toward the surface while you monitor the container, exchange air when needed and watch for warning signs.
The advantage is simple: one bucket can replace a pile of small jars during the early cure. The tradeoff is also simple: one damp pocket can affect a much larger batch. That is why “half full,” daily inspection and gentle mixing matter.
What you need
- A new or truly clean food-safe bucket: do not reuse a container that held paint, chemicals or strong odors.
- A gasketed lid: the lid should seat evenly around the rim. A gamma-style screw lid is easier to reopen than a tear-strip lid.
- A calibrated mini hygrometer: use more than one during calibration so a bad sensor does not control the whole batch.
- A cool, dark location: keep the container away from heat and direct light.
- Clean gloves or clean hands: avoid adding dirt or moisture every time you inspect the flower.
Step-by-step bulk cure
1. Finish the dry before the bucket
Follow the complete cannabis drying guide first. The video describes waiting until the outside of the largest flowers feels dry. Treat that as a handling clue, not a safety measurement: dense buds can feel dry outside while still holding much more moisture in the center.
Before committing the whole harvest, seal a representative sample with a hygrometer for several hours. If the enclosed humidity rises quickly into the upper sixties or higher, return the flower to a controlled drying space. Do not “burp away” a clearly unfinished dry inside a packed bucket.
2. Load no more than half the bucket
Buck the dried flowers from the stems and place them loosely in the bucket. Leave at least half the container as headspace. This gives the flowers room to move and reduces the chance of a compressed, damp layer at the bottom.
The original video estimated that a half-full five-gallon bucket may hold about half a pound. Treat that as an example, not a capacity formula; flower density and trim style change the weight.
3. Add the hygrometer and close the lid
Place the meter where you can read it without leaving the lid open. Seat the gasket all the way around the rim and let the flower and enclosed air equalize. A small humidity reading is a practical proxy, not the same thing as laboratory water-activity testing.
For a home cure, HWGrow uses the low-sixties range as the practical target zone. The number must be paired with touch, smell and inspection. If you see fuzzy growth, smell ammonia or find warm, wet clumps, isolate the affected material. Do not smoke visibly moldy flower.
4. Inspect daily during the early cure
Open the bucket in a clean room, check the reading and examine flowers from more than one depth. Gently roll or tilt the bucket so material from the bottom moves upward. Do not shake hard or pack the flower down; the goal is redistribution, not compression.
The old page suggested leaving the bucket open anywhere from five minutes to twelve hours. That window is too broad to copy. Opening time depends on the bucket reading and the room’s actual temperature and humidity. If the room is humid, a long opening can add moisture instead of removing it. Move high-reading flower back to a controlled drying space rather than leaving an open bucket unattended all day.
5. Reduce checks only after the reading stabilizes
Early in the cure, the enclosed reading may climb again as internal moisture moves outward. Continue daily checks until repeated closed-bucket readings remain stable and no damp pockets appear. Then reduce the inspection schedule. For smaller long-term portions, clean airtight jars make batch isolation and inspection easier.
Fast decision table
| What you find | What it means | Next move |
|---|---|---|
| Reading rises rapidly into the upper sixties or higher | The batch may still be too wet for bulk curing | Spread it back into a controlled drying space and reassess. |
| Stable low-sixties reading, clean aroma, no damp pockets | Moisture is closer to a workable curing range | Continue brief daily inspection until the pattern repeats. |
| Reading stays below the mid-fifties | The flower may be over-dry | Seal it to prevent more loss; a humidity pack can help storage stability but cannot reverse the lost cure. |
| Ammonia, musty odor, warmth or visible fuzz | Possible microbial activity | Stop the cure, isolate the material and do not consume visibly moldy flower. |
| Top feels dry but lower layer feels soft or wet | The batch is uneven | Remove it, spread it out and correct the dry before resealing. |
Bucket method vs. the controlled cure tote
This page covers a passive bucket cure: meter, inspect, mix and vent as needed. The complete curing guide also shows the monitored DIY cure tote with a compact dehumidifier and controller.
For that automated tote, drill a close-fitting penetration for the dehumidifier cord or outlet and seal the remaining gap with electrical tape so humid room air is not constantly pulled into the chamber. The goal is a controlled enclosure—not a true vacuum. Keep every electrical connection outside the moist chamber, manage condensate safely and never block the appliance’s required airflow.
Humidity packs belong after the flower is stable. HWGrow’s controlled humidity-pack test showed that every pack has a finite amount of moisture it can absorb or release. It cannot replace drying or rescue a wet bulk cure.
Recommended bulk-curing supplies

Food-safe gasketed bucketsA clean, odor-free bulk container with a lid that is easier to reopen for early cure checks.

Mini hygrometerTracks the closed-container trend. Compare or calibrate meters before trusting one sensor with a large batch.

Amber storage jarsUseful for dividing a stable bulk cure into smaller batches that are easier to inspect and isolate.
Affiliate disclosure: HWGrow may earn a commission from qualifying purchases at no additional cost to you. Equivalent clean, food-safe containers and calibrated meters can be substituted.
Evidence and further reading
- Postharvest drying and curing of hemp — controlled drying/curing conditions, moisture movement and microbial measurements.
- Review of cannabis postharvest operations — drying, curing, storage and the limits of current evidence.
- Yeast and mold in cannabis inflorescences — genotype, environment and postharvest handling all affect microbial levels.
Need help with a reading?
If a bucket keeps climbing, do not guess from one number. Ask HWGrow a question and include the closed-bucket reading, room temperature/RH, drying time, flower density and clear photos. The protected Grow With Me Masterclass places harvest, drying and curing inside the full chronological grow without reproducing the paid lessons here.
Bulk bucket-curing FAQ
Can I put freshly harvested cannabis in a sealed bucket?
No. Fresh flower holds far too much moisture. Dry it in a controlled environment before using a bucket for curing.
How full should a curing bucket be?
No more than about halfway full. Headspace lets you gently rotate the flowers and reduces the chance of a compressed wet layer.
Should I leave a high-humidity bucket open for twelve hours?
Do not copy a fixed opening time. If the batch is clearly too wet, return it to a controlled drying space. A humid room can make an open bucket wetter.
Can a humidity pack fix wet cannabis?
No. A humidity pack has limited capacity and should be used only after the flower’s moisture is already stable. It does not replace drying or early cure checks.
You may also like
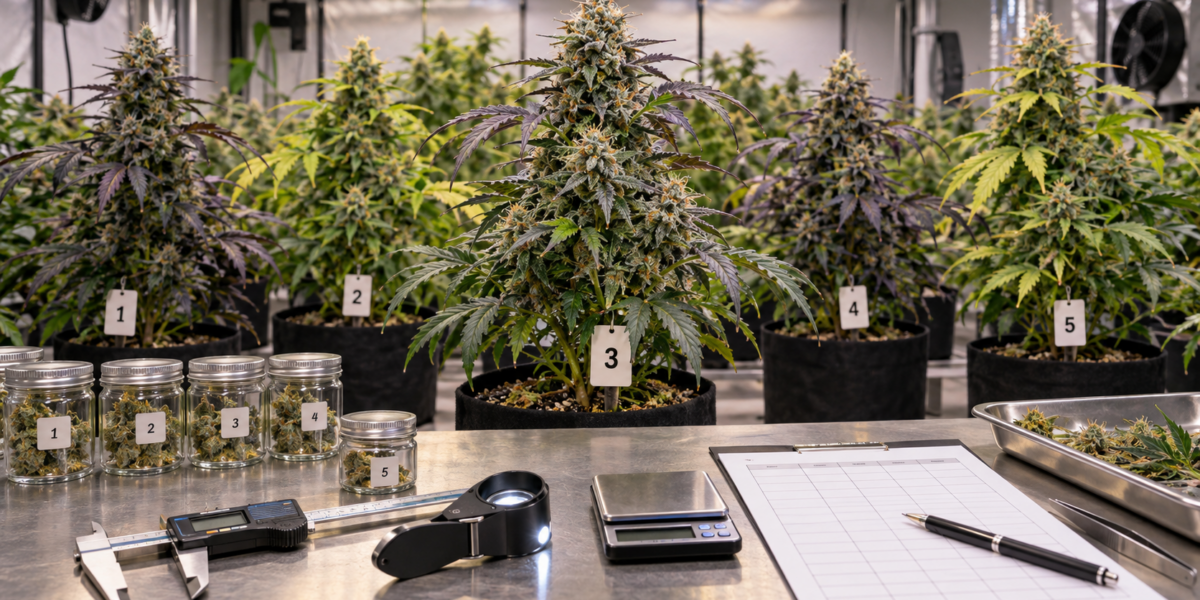
How to Pheno Hunt Cannabis and Choose a Keeper
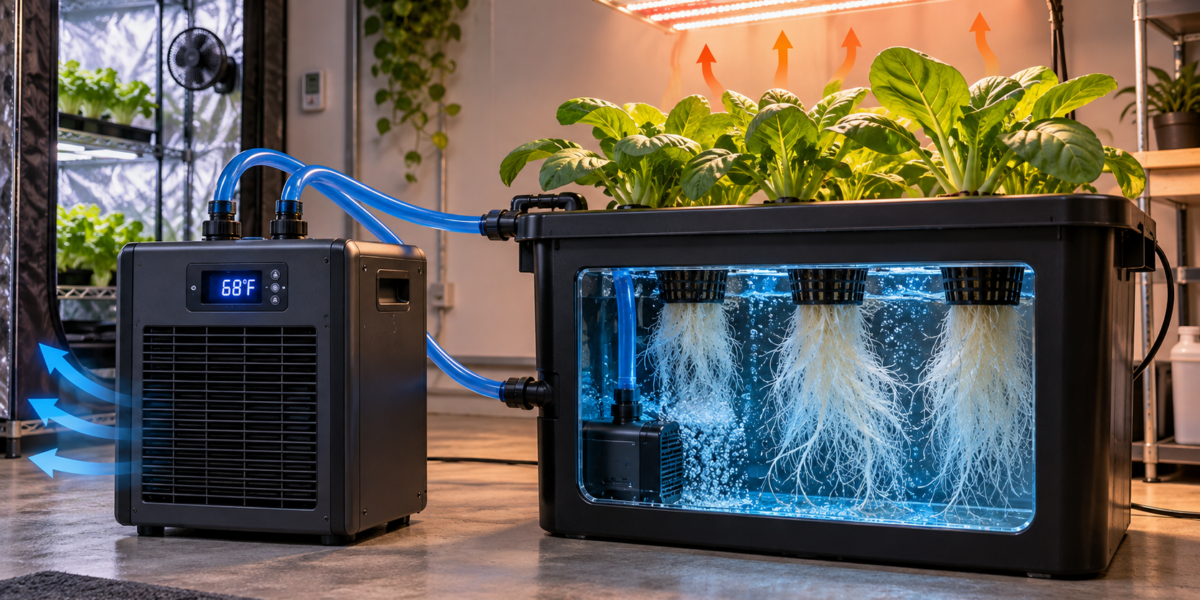
Hydroponic Water Chillers: Stop Summer Root Rot Before It Starts

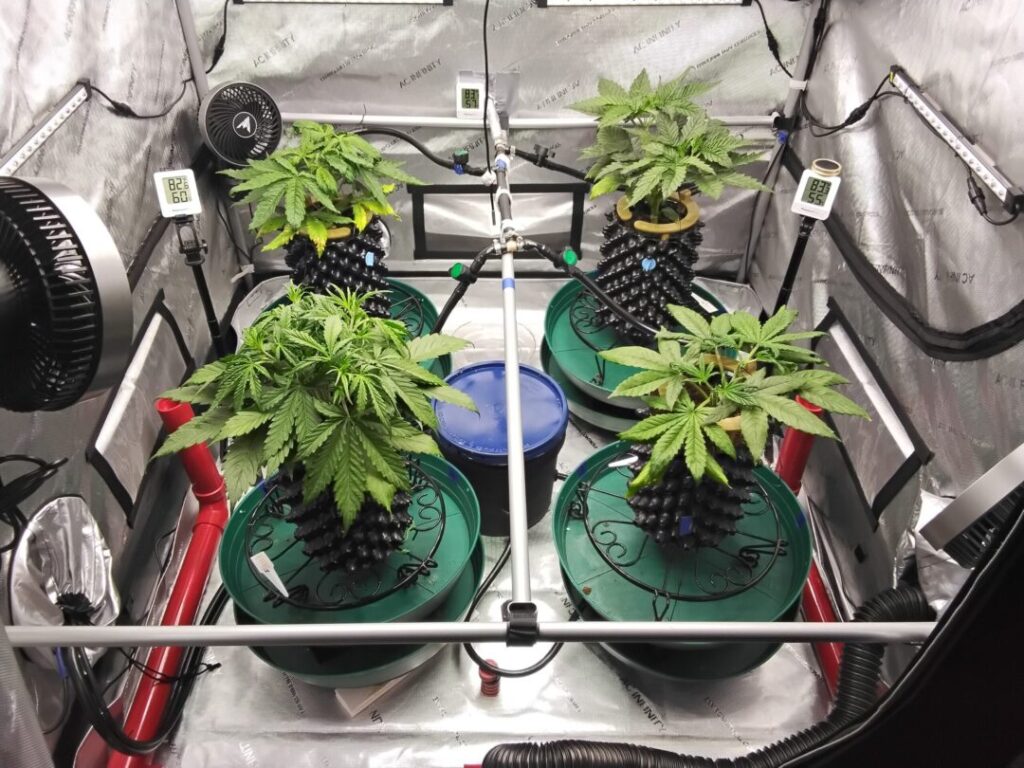



Featured Grow
 Jul 2026 — White Iverson by Selfie Seeds +2 more
White Iverson × Selfie Seeds, Pink Strawberry × Selfie Seeds, Purple Berry × Selfie Seeds • Soil • Started Jul 25, 2026
View journal
Jul 2026 — White Iverson by Selfie Seeds +2 more
White Iverson × Selfie Seeds, Pink Strawberry × Selfie Seeds, Purple Berry × Selfie Seeds • Soil • Started Jul 25, 2026
View journal
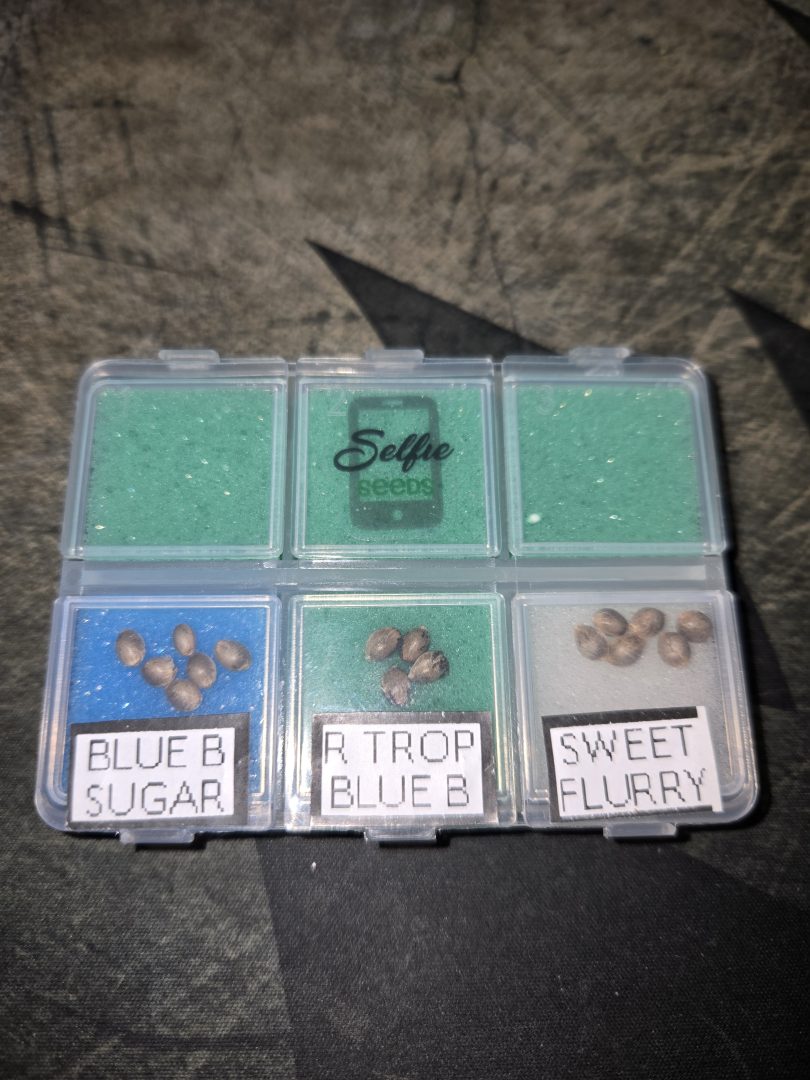 First Selfie Seeds Grow (Blueberry Sugar, Tropical Blueberry, and Sweet Flurry)
Blueberry Sugar × Selfie Seeds, Tropical Blueberry × Selfie Seeds, Sweet Flurry × Selfie Seeds • Soil • Started May 27, 2026
View journal
First Selfie Seeds Grow (Blueberry Sugar, Tropical Blueberry, and Sweet Flurry)
Blueberry Sugar × Selfie Seeds, Tropical Blueberry × Selfie Seeds, Sweet Flurry × Selfie Seeds • Soil • Started May 27, 2026
View journal
Awesome It’ll be a bit chlorophyllie but definitely let me know your opiniones

Walked in this morning before lights out and they are already bouncing back pretty good.
Awesome, fingers crossed for you
Nice LSTing Looks perfectly symmetric

Bananas!!!!! I knew I forgot something today. Thanks, gotta hit the store up in the am anyway. Coming off night,…