

How to Install an Inline Fan & Carbon Filter in a Grow Tent

An inline fan is easy to hang once you stop thinking of it as one heavy object. Support the carbon filter and fan independently, point the fan’s airflow arrow in the correct direction, then connect and seal the short joints.

Want the focused video? Watch the inline-fan and carbon-filter installation with captions and clickable chapters.
Video chapters
- 0:00 — Parts and hanging options
- 0:24 — Choose the airflow direction
- 1:03 — Loop the carbon-filter straps
- 2:01 — Place and level the filter
- 2:17 — Hang the inline fan with rope clips
- 3:51 — Level the fan and filter
- 3:59 — Seal the fan/filter joint
- 4:15 — Route and attach the exhaust duct
- 4:58 — Tighten ports and finish setup
Selecting a timestamp starts the embedded video at that moment without moving you away from this section.
Before you lift anything
- Confirm the tent’s top support bars are installed correctly and are rated for the combined equipment weight.
- Find the arrow molded or printed on the fan housing. For the normal exhaust layout, it should point from the carbon filter toward the outside of the tent.
- Match the fan, filter, clamps and duct diameter. A reducer adds another restriction and another possible leak.
- Test the fan on the floor before hanging it. Verify that the controller and probe work.
- Keep power connections above the floor and away from irrigation, runoff and humidifier output.
How to hang the carbon filter and inline fan
- Hang two rated filter straps. Loop each strap over a structural tent bar. Leave both loose enough to accept the filter.
- Place the filter high in the tent. Spread the straps toward opposite ends so the filter cannot roll. Tighten them evenly while supporting the filter with your other hand.
- Hang the fan separately. Use rated rope hangers or the manufacturer’s mounting straps. Do not make the filter flange carry the fan’s weight.
- Align the airflow arrow. The arrow should point away from the filter for the common inside-filter exhaust layout.
- Join the filter and fan. A short straight connection creates less resistance than a long crushed section. Use the supplied clamp and seal the seam with aluminum HVAC foil tape.
- Connect the exhaust duct. Route it through the nearest upper port, keep it as short and straight as practical, clamp it to the fan and seal the joint.
- Open a low passive intake. Close unused ports. When the fan runs, the tent walls should pull inward slightly—not collapse hard.
- Test before adding plants. Check vibration, rubbing, leaks, unusual noise and whether exhaust air is actually leaving the room.
How to choose the fan size
Start with tent volume: length × width × height. That gives the air volume in cubic feet. Then allow headroom for the carbon filter, duct length, bends, silencers and any heat load. A fan’s free-air CFM rating is not the airflow you will get after restrictions are added.
For a fuller sizing method, use the grow-tent airflow guide. If odor control is the priority, compare the first-party carbon-filter test before choosing a kit.
Recommended installation parts
 Inline fan and carbon-filter kitMatch the diameter and capacity to the tent plus real duct restrictions.Check Current PriceRated rope hangersSupport and level the fan independently; verify the working-load rating.Check Current PriceAluminum HVAC foil tapeSeal clean metal and duct joints after the clamps are tightened.Check Current Price
Affiliate disclosure: HWGrow may earn a commission from qualifying Amazon purchases at no additional cost to you. Equivalent properly rated parts can be substituted.
Common mistakes
- Arrow backward: verify airflow before tightening the final clamps.
- Long, crushed duct: every bend and restriction reduces delivered airflow.
- Fan hanging from the filter: support both pieces so the flange is not carrying the assembly.
- Loose prefilter: on the common inside-filter layout, cover the filter’s exterior mesh as the manufacturer directs.
- All intakes closed: the fan needs a controlled path for replacement air.
- Controller before mechanics: finish the physical airflow path first, then use the CLOUDLINE controller setup guide.
Frequently asked questions
Should the carbon filter go before or after the fan?
For the common inside-tent exhaust layout, air moves through the filter first and then the fan. Exterior-filter exhaust layouts can work when configured according to the filter manufacturer’s instructions.
Can the fan and filter hang from one strap?
They should be supported independently. Separate rated supports make leveling easier and avoid putting the fan’s weight on the filter connection.
Should I use duct tape on the joints?
Use a mechanical clamp first, then seal with aluminum HVAC foil tape. Cloth “duct tape” can loosen in a warm, humid grow environment.
How do I know the tent has enough intake air?
The walls should pull inward slightly while the fan runs. Severe collapse, whistling or sharply reduced airflow suggests the intake path is too restricted.
Comments
Leave a reply
You may also like
How to Pheno Hunt Cannabis and Choose a Keeper
Hydroponic Water Chillers: Stop Summer Root Rot Before It Starts





Featured Grow
 Jul 2026 — White Iverson by Selfie Seeds +2 more
White Iverson × Selfie Seeds, Pink Strawberry × Selfie Seeds, Purple Berry × Selfie Seeds • Soil • Started Jul 25, 2026
View journal
Jul 2026 — White Iverson by Selfie Seeds +2 more
White Iverson × Selfie Seeds, Pink Strawberry × Selfie Seeds, Purple Berry × Selfie Seeds • Soil • Started Jul 25, 2026
View journal
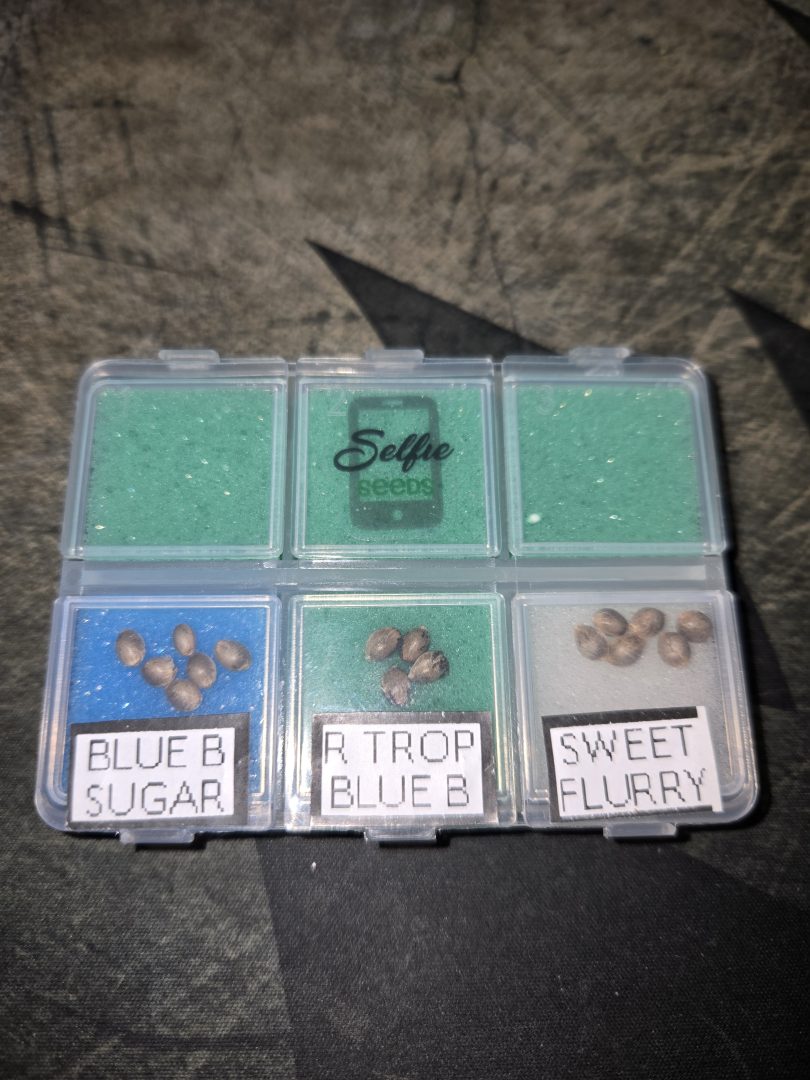 First Selfie Seeds Grow (Blueberry Sugar, Tropical Blueberry, and Sweet Flurry)
Blueberry Sugar × Selfie Seeds, Tropical Blueberry × Selfie Seeds, Sweet Flurry × Selfie Seeds • Soil • Started May 27, 2026
View journal
First Selfie Seeds Grow (Blueberry Sugar, Tropical Blueberry, and Sweet Flurry)
Blueberry Sugar × Selfie Seeds, Tropical Blueberry × Selfie Seeds, Sweet Flurry × Selfie Seeds • Soil • Started May 27, 2026
View journal
Awesome It’ll be a bit chlorophyllie but definitely let me know your opiniones

Walked in this morning before lights out and they are already bouncing back pretty good.
Awesome, fingers crossed for you
Nice LSTing Looks perfectly symmetric

Bananas!!!!! I knew I forgot something today. Thanks, gotta hit the store up in the am anyway. Coming off night,…
What if my tent is outside my house in my backyard under a canopy tent?