

How to Clean a Grow Tent Between Grows
Video chapters

Last updated: August 2026
Quick answer: Empty and unplug the grow tent, vacuum loose debris, wash hard surfaces with a mild detergent and water, wipe them clean, then dry the tent completely. Routine cleaning is usually enough when the previous crop had no pest, mold or disease problem. If disinfection is actually needed, use one label-approved product that is compatible with the tent material—never mix cleaners or spray energized equipment.

Cleaning is not the same as sterilizing
A home grow tent does not become sterile because its walls were sprayed and wiped. Cleaning physically removes dust, residue and many microbes. Disinfecting uses a registered product to kill specified organisms on a compatible surface when the label concentration and wet contact time are followed. Sterilization is a much higher standard and is not the right promise for a routine tent wipe-down.
The practical goal is a clean, dry, uncluttered space with fewer places for pests and mold to survive. Clean reflective walls also return more light than walls covered in dust and foliar-spray residue.
Watch the first-party cleaning demonstration
This HWGrow video demonstrates vacuuming and wiping the tent between healthy crops. It contains older language that is corrected here: rubbing alcohol does not automatically “sterilize” a tent, hydrogen peroxide is not the only material that affects mold, and you do not need to apply both products. Clean first, then use one compatible disinfectant only when there is a reason and its label covers the job.

Before you start
- Remove every plant, pot, saucer, stake and loose tool.
- Turn off and unplug lights, fans, humidifiers, heaters, pumps and controllers.
- Remove electrical equipment when practical. Never spray a light, driver, outlet or energized cable.
- Open the room for ventilation and keep flames, sparks and smoking materials away.
- Read the tent manufacturer’s cleaning instructions and test any product on a hidden patch.
- Use the gloves and eye protection required by the cleaner or disinfectant label.
Step 1: Remove dry debris
Start at the top and work down. Remove dead leaves from tent poles, cable loops, fan guards and zipper folds. Vacuum the floor, corners, seams, underside of removable trays and the area just beyond the tent entrance. Use a crevice tool instead of dragging a hard vacuum edge across reflective film.
This routine assumes there was no visible mold. Dry vacuuming an active mold colony can spread spores. If you see growth, stop and use the mold section below.
Step 2: Wash the hard surfaces
Use a clean cloth with warm water and a small amount of mild detergent that the tent manufacturer allows. Wipe the ceiling, walls, support poles, zippers, intake screens, spill tray and floor. Pay attention to sticky residue from foliar sprays and the ring where pots or saucers sat.
Change the water or cloth when it becomes dirty. Cleaning comes before disinfection because organic material can block a disinfectant from reaching the surface. CDC guidance makes the same distinction: cleaning removes soil and impurities; disinfectants act on the germs that remain.

Step 3: Decide whether disinfection is needed
When the previous crop was healthy and the tent is visibly clean, a complete wash and dry may be enough. If a known plant disease or contamination event occurred, choose an EPA-registered disinfectant whose label covers the organism and hard nonporous surface. Follow its dilution, application, ventilation, protective-equipment and wet contact-time directions.
Do not copy the old two-chemical sequence by default. Never mix a disinfectant with a cleaner, another disinfectant or an unknown residue. If you use isopropyl alcohol on an approved surface, remember that it is highly flammable and can damage some plastics, coatings and adhesives. Keep all power and ignition sources off and ventilate the area.
If a compatible hydrogen-peroxide product is selected, use its label instead of a homemade universal dose. The hydrogen peroxide safety guide explains why fizzing is not proof of sterility and why peroxide should not be mixed with other cleaners.
Step 4: Clean the equipment separately
Wipe cords and housings with the equipment unplugged and follow each manufacturer’s directions. Vacuum fan guards and washable prefilters; replace filters that are damaged, moldy or past their useful life. Clean saucers, risers, irrigation fittings and tools outside the tent so dirty wash water does not run back onto the floor.
Inspect power strips, extension cords and connectors for heat damage, corrosion or cracked insulation. Cleaning time is the easiest point in the grow to fix a cable that was hidden behind a plant.
Step 5: Dry and inspect
Wipe away standing liquid, keep the tent open and allow every seam and tray to dry. Do not reinstall electrical equipment while the liner or floor is wet. Once dry, inspect the walls with a bright light. Look for missed residue, pinholes, torn seams, blocked intake screens and places where runoff previously pooled.
Rebuild with clean hands and clean equipment. Then use the grow-tent setup guide and ventilation guide to restore airflow without reintroducing dust.
If you found mold or pests
A routine wipe-down is not remediation. Remove the plant or contaminated material from the clean area, identify the organism and correct the moisture or pest route that allowed it to spread. EPA guidance emphasizes fixing the water problem and drying materials completely. Porous items that stay moldy may need replacement rather than another spray.
For a mold area larger than roughly 10 square feet, significant water damage, contaminated HVAC equipment or a health concern, EPA recommends professional guidance. Do not run contaminated ventilation equipment that can spread the problem into the building.
Between-grow checklist
- Plants and loose equipment removed
- All power disconnected
- Leaves, dust and spilled medium vacuumed
- Walls, poles, zippers, floor and tray washed
- Disinfectant used only when justified and label-compatible
- No cleaners or disinfectants mixed
- Fans, filters, irrigation parts and tools cleaned separately
- Electrical cords inspected
- Tent fully dry before equipment returns
For the complete public workflow, continue with the beginner seed-to-harvest guide. The Grow With Me Masterclass adds chronological member support without placing its protected routine inside this public cleaning page.
Recommended grow-tent cleaning tools


Affiliate disclosure: HWGrow may earn a commission from qualifying purchases at no additional cost to you. Product destinations can be replaced with equivalent tools without changing the cleaning workflow.
Safety and remediation references
- CDC: the difference between cleaning and disinfecting
- CDC: label directions, contact time, ventilation and never mixing products
- NIOSH: isopropyl alcohol exposure and flammability
- EPA: mold cleanup, moisture correction and professional-remediation thresholds
- EPA: registered disinfectants, labeled organisms and wet contact time
You may also like
Hydroponic Water Chillers: Stop Summer Root Rot Before It Starts
How to Breed Masterclass – Promo Video

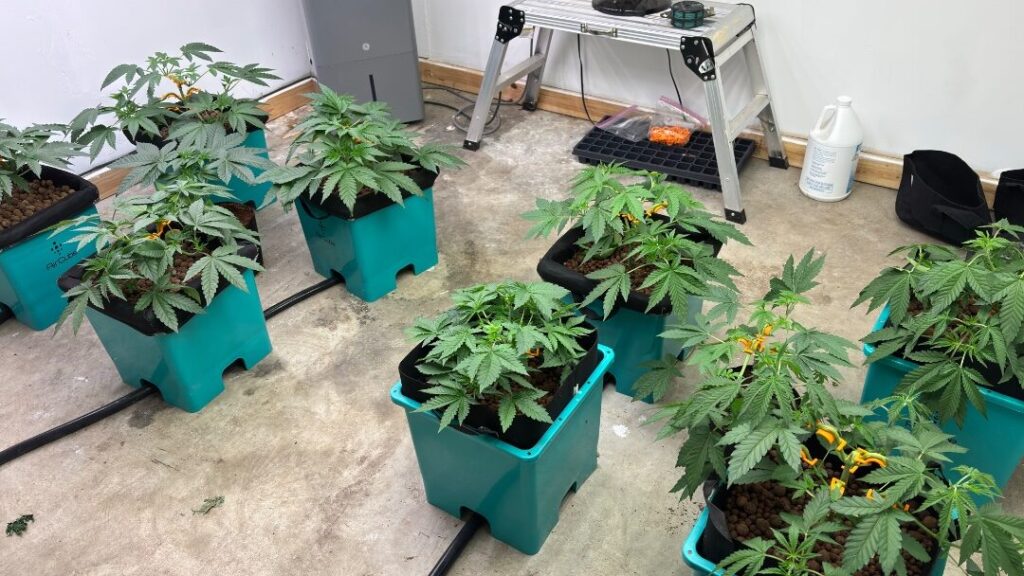



Featured Grow
 Jul 2026 — White Iverson by Selfie Seeds +2 more
White Iverson × Selfie Seeds, Pink Strawberry × Selfie Seeds, Purple Berry × Selfie Seeds • Soil • Started Jul 25, 2026
View journal
Jul 2026 — White Iverson by Selfie Seeds +2 more
White Iverson × Selfie Seeds, Pink Strawberry × Selfie Seeds, Purple Berry × Selfie Seeds • Soil • Started Jul 25, 2026
View journal
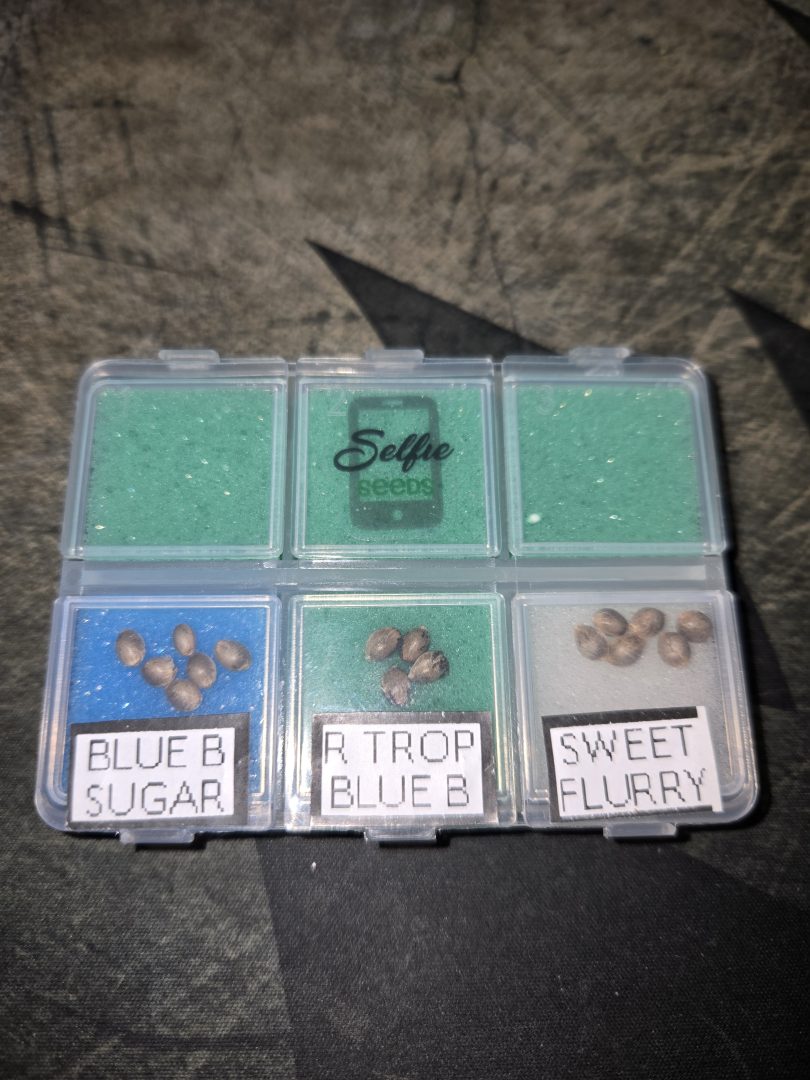 First Selfie Seeds Grow (Blueberry Sugar, Tropical Blueberry, and Sweet Flurry)
Blueberry Sugar × Selfie Seeds, Tropical Blueberry × Selfie Seeds, Sweet Flurry × Selfie Seeds • Soil • Started May 27, 2026
View journal
First Selfie Seeds Grow (Blueberry Sugar, Tropical Blueberry, and Sweet Flurry)
Blueberry Sugar × Selfie Seeds, Tropical Blueberry × Selfie Seeds, Sweet Flurry × Selfie Seeds • Soil • Started May 27, 2026
View journal
Awesome It’ll be a bit chlorophyllie but definitely let me know your opiniones

Walked in this morning before lights out and they are already bouncing back pretty good.
Awesome, fingers crossed for you
Nice LSTing Looks perfectly symmetric

Bananas!!!!! I knew I forgot something today. Thanks, gotta hit the store up in the am anyway. Coming off night,…