

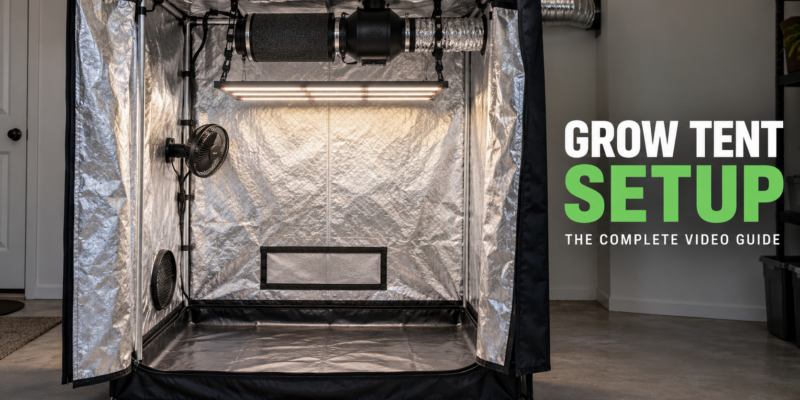
Complete Grow Tent Setup: Four Videos, One Working Setup

The boxes have arrived. Now comes the part where a pile of poles, cables and ducting needs to become a working setup. These four videos walk through it in order, without sending you on a ten-tab scavenger hunt.
Still choosing equipment? Start with the updated grow tent setup buying guide, then come back here to put it together.
1. Build the tent
Assemble it where it will stay. Seat the frame connections fully, fit the reflective cover, then add the spill tray and hanging bars. Check the tent’s load limits before hanging equipment.
Open the full tent assembly guide
2. Install the inline fan and carbon filter
Secure the filter and fan, check the fan’s airflow arrow, and keep the duct run short with as few sharp bends as possible. Leave a suitable intake path open so replacement air can enter.
Choose the setup that fits your tent
This video covers three ventilation setups, plus internal fan placement. First, measure the temperature inside your tent with the lights on. Measure near where your plants will be, then click the timestamp that fits your setup.
- A. Above 78°F: 0:00. Hot air exits through the top, drawing cool air in through the bottom.
- B. Below 78°F, limited space inside the tent: 6:29. Warm air is drawn in from above, while cooler air is pushed out through the bottom.
- C. Below 78°F, enough space inside the tent: 8:21. Warm air is drawn in from above, while cooler air is pushed out through the bottom.
- D. Internal oscillating fan setup: 9:41. Air circulation helps strengthen young stems and reduce the risk of bud rot.
Open the full ventilation installation guide
3. Hang the LED light
Use the supplied or properly rated hanging hardware, level the fixture, and route cords away from moving parts and water. Follow the fixture manufacturer’s clearance and mounting instructions.
Open the full LED installation guide. For choosing a light, understanding plant lighting and cutting unnecessary electricity costs, read How to Choose an LED Grow Light.
4. Add circulation, set the timer and check for light leaks
Mount the circulation fan securely with room to oscillate. Test the timer’s actual on/off operation, inspect seams and ports for unwanted light, and keep ventilation openings clear.
Open the full fan, timer and light-leak guide
Before you leave it running: Check every hanging connection, keep electrical connections dry and off the floor, and stay within the ratings of the equipment, outlets and circuit.
Two optional upgrades that solve real annoyances
AC Infinity savings: Use code EVYGROWS for additional savings on eligible products. When shopping on Amazon, clip any available coupon first.
Affiliate disclosure: As an Amazon Associate, HWGrow earns from qualifying purchases at no additional cost to you.
 AC Infinity 6-inch light-blocking duct vents, 2-packLet replacement air in without leaving a wide-open light leak. These screened vents fit standard 6-inch duct ports and help limit incoming insects and dust. Check the port size and keep the screens clean.View product
 EIGHTREE Wi-Fi smart plugs, 15A, 2-packSet on/off schedules and switch compatible equipment remotely instead of reaching into the tent to adjust a timer. Requires 2.4GHz Wi-Fi. Match the connected load and startup requirements to the plug’s rating; this listing is not an electricity-use monitor.View product
Need the tent, light and ventilation kit to go with this walkthrough? Compare the recommended complete setups in the buying guide.
You may also like
Lawrence Brooke: The Godfather of Cannabis Nutrients
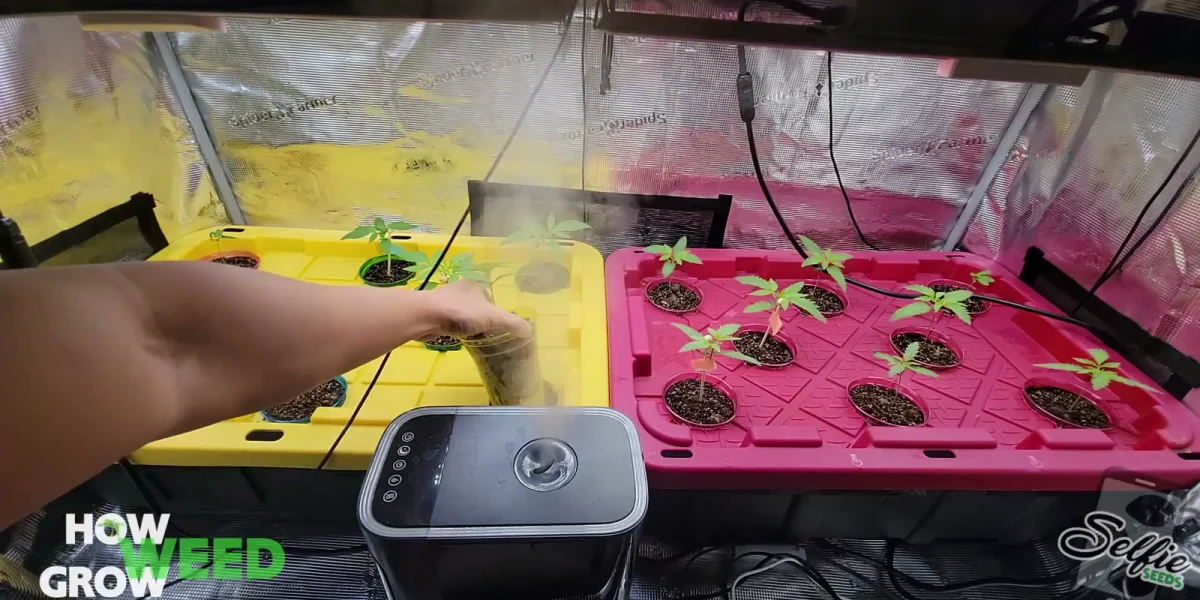
Making the Strain, Episode 2: Sixteen Seedlings, Two Oddballs and the First Cut






Featured Grow
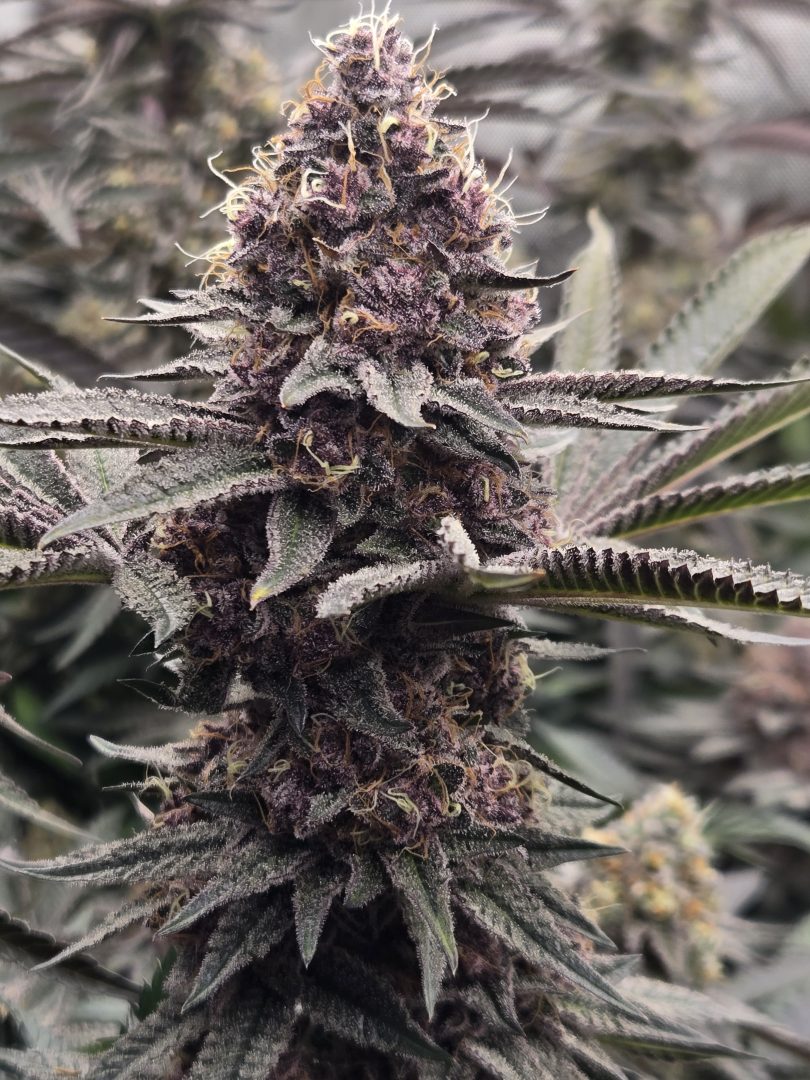
Passion matches the task at hand, looking good

Also the 2 on the far right are the Purple Berry plants
Thanks I think tonight when the lights come on at 8pm I will do some more tucking
Looking real proper
Looking ready to flip any day now