

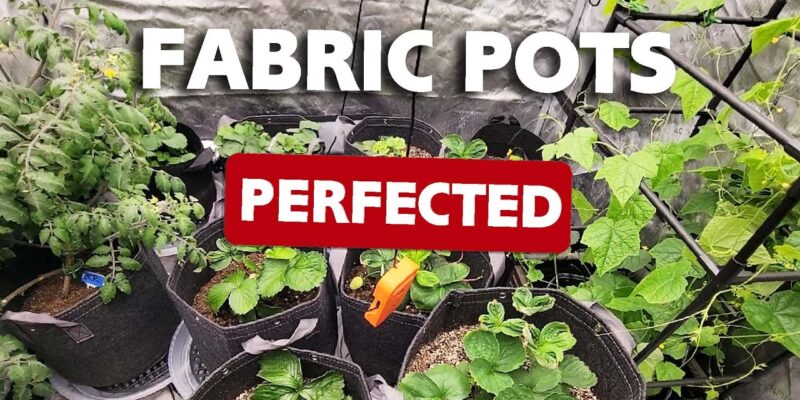
How to Prepare Fabric Pots and Grow Bags for Soil

Last updated: August 2026
Quick answer: Pick a fabric pot that fits the plant and the length of the grow, use a light container mix instead of dense garden soil, moisten that mix evenly before planting, and fill the bag without packing it down. Leave watering space at the top and keep the drainage path open. If the mix needs more aeration, blend perlite through the entire mix—do not make a separate layer at the bottom.
The five jobs to finish before planting
- Choose a pot that gives the roots enough room without creating a huge wet soil mass.
- Start with a container mix that holds water but still drains and breathes.
- Decide whether the mix already contains nutrients and biology before adding more.
- Pre-moisten the mix evenly so the transplant does not land in dry pockets.
- Fill the bag loosely, leave headspace and confirm runoff can escape.
That is the whole game. You are building a root zone that is evenly moist, airy and predictable—not trying to cram the maximum amount of soil and fertilizer into a bag.
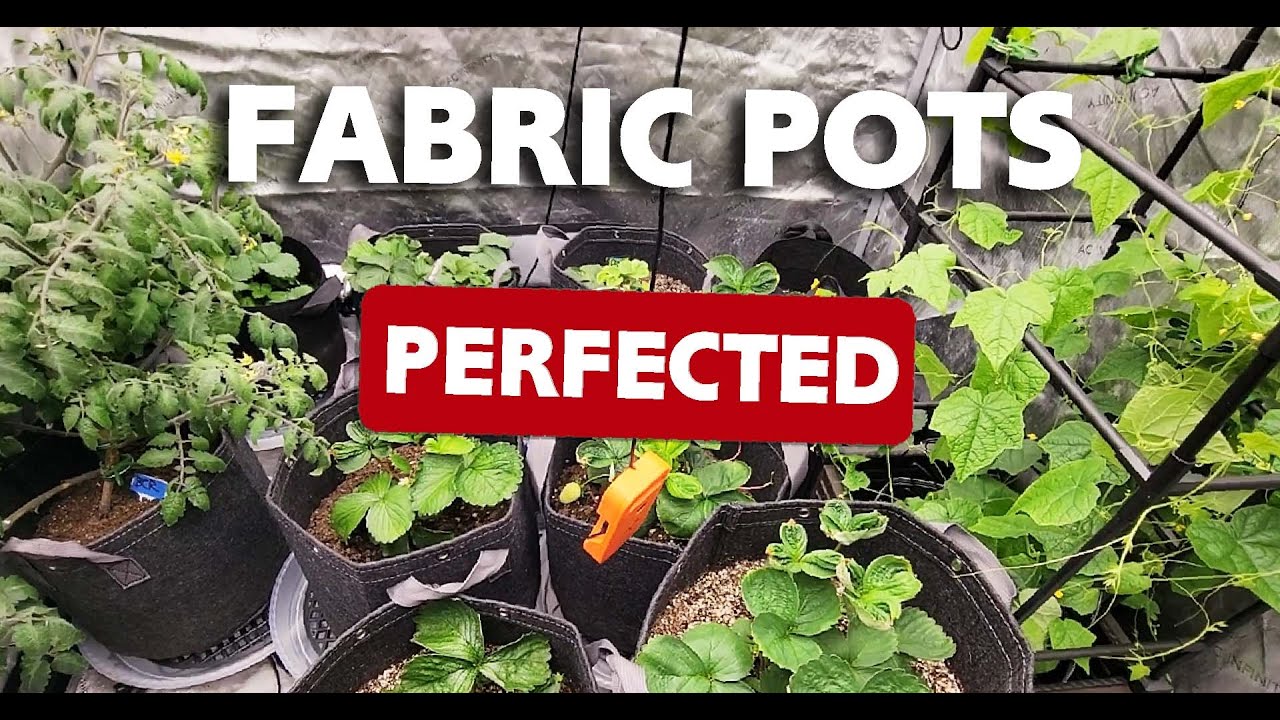
Watch the first-party setup demonstration
This HWGrow/EvyGrows video is the firsthand source for the physical setup. Use it for the visual workflow, then follow the current corrections in this article: container plants need potting mix rather than straight topsoil, moisture should be judged by feel instead of a universal gallons-per-pot formula, and a bottom layer of perlite does not improve drainage.
Video chapters
- 0:19 — Choose the pot
- 0:58 — Choose the potting mix
- 1:29 — Soil biology and mycorrhizae
- 2:31 — Pre-moisten the mix
- 3:00 — Decide whether amendments are needed
- 4:00 — Fill the pot; see the drainage correction below
- 4:49 — Keep the mix fluffy instead of compacting it
1. Choose the fabric-pot size for the plant
Fabric pots are porous, easy to move and good at releasing excess water. That same airflow also means they can dry faster than hard plastic, especially in a warm tent with strong circulation. Bigger is not automatically better: an oversized pot can leave a small root system surrounded by wet mix, while an undersized pot can demand constant watering.
Match the pot to the root space, expected plant size, length of the grow and your watering method. A shallow-rooted crop such as strawberry can use a different container shape than a long-season cannabis plant. UConn notes that more than 75% of a strawberry plant’s roots may be in the top six inches; that is a crop-specific example, not a rule for every plant.
Also plan where the pot will sit. Put it on a riser, grate or saucer that lets runoff leave the bottom. Fabric resting in runoff can wick that water back into the mix.
2. Use container mix—not straight garden soil
A container mix needs two things that fight each other: enough small pores to hold water and enough large pores to keep air around the roots. Straight garden soil or heavy topsoil usually compacts inside a pot and drains too slowly. Penn State recommends a soilless container mix built from materials such as peat or coir, composted bark, perlite and vermiculite.
Open the bag and check it with your hands. The mix should spring apart after a gentle squeeze. If it turns into a dense mud ball when saturated, adding more fertilizer will not fix the physical problem. If it is extremely light and hydrophobic, it needs careful pre-wetting before the transplant goes in.
If you need more aeration, blend perlite or another suitable amendment evenly through the mix. Wear a well-fitting particulate mask and dampen dusty perlite before handling it.
Important correction: skip the perlite drainage layer
The older demonstration puts coarse perlite in a separate layer at the bottom. Current container-science guidance does not support that as a drainage fix. Water can remain perched in the finer mix above a coarse layer until the upper material becomes saturated. Illinois Extension specifically identifies bottom gravel layers as a drainage myth; the same physical principle applies to a separate coarse-perlite layer.
Keep the bag’s drainage openings clear and distribute aeration through the root-zone mix instead. Then place the bag where runoff can leave rather than pooling underneath it.
3. Pre-moisten the mix evenly
Dry pockets make the first watering deceptive: liquid races down one channel, appears at the bottom and leaves much of the pot untouched. Put the mix in a clean tote or tray, add water in small passes and turn the pile between passes. Stop when a squeezed handful holds together lightly but does not drip like a soaked sponge.
There is no universal half-gallon or gallon amount for every five-gallon bag. Peat, coir, bark, compost, initial moisture and storage conditions all change the volume needed. Use the feel of the mix as the endpoint.
If you rest a moistened organic mix before use, keep it in a clean, covered but gas-exchanging container. Do not seal wet soil airtight. Roots and aerobic organisms need oxygen, and an airtight wet tote can create the opposite environment.
4. Add only what the mix actually needs
Read the bag before opening an amendment jar. Some mixes are lightly charged; others already contain substantial fertilizer, compost or inoculants. Stacking a complete soil, worm castings and a full dose of 4-4-4 can start a young plant in an unnecessarily strong root zone.
For a synthetic program, a lightly charged mix gives you more control through measured liquid feeding. For an amended organic program, follow the soil and fertilizer labels, account for what is already present and test the finished batch before trusting a fixed recipe. The public soil-slurry test guide explains how to check a representative sample without copying the paid Grow With Me formula.
Mycorrhizae are real root-associated fungi, but a retail inoculant is not a guaranteed yield button. The organism must be compatible with the plant and reach living roots. Healthy mixes may already contain useful biology, and extension trials show that broad commercial inoculants do not produce a benefit in every setting. If you use one, follow its label and place it where new roots can contact it.
5. Fill the bag without crushing the air out
Open the bag fully, square the bottom and add the moist mix in loose lifts. Do not lean your body weight into it. A few side taps or a gentle shake settles large voids while preserving pore space. Leave roughly one to two inches of headspace so you can water slowly without washing mix over the edge.
Prepare the final planting hole for the actual root ball. The top of a rooted plug or nursery root ball should normally finish close to the surrounding surface unless the plant has a specific reason to be buried deeper. For the move itself, use the cannabis transplant guide.
Fabric-pot setup checklist
- The pot size fits the plant and expected grow duration.
- The bag sits above standing runoff.
- The mix is made for containers and breaks apart easily.
- Any extra aeration is distributed through the mix, not layered at the bottom.
- The mix is evenly damp with no dusty or muddy pockets.
- Amendments account for the nutrients already in the bag.
- The mix is loose, with watering headspace at the top.
- The planting hole matches the root ball.
What to do after the transplant
Water slowly around the new root zone, let the pot drain and record the wet weight if you want a repeatable reference. Do not keep the entire container saturated simply because the plant is small. As roots spread, use pot weight, plant demand and runoff trends instead of a calendar. The fabric-pot watering and feeding guide covers that next stage.
Still choosing a medium? Compare the workload and watering tradeoffs in the cannabis soil-versus-coco guide. If you want the entire seed-to-harvest sequence, start with the complete beginner grow guide. The protected Grow With Me Masterclass adds the chronological member workflow without publishing its recipes here.
Recommended fabric-pot setup products
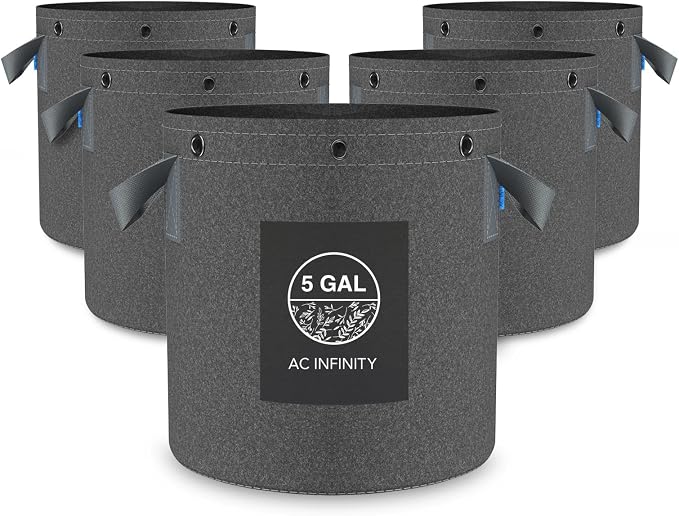


Affiliate disclosure: HWGrow may earn a commission from qualifying purchases at no additional cost to you. Product destinations can be replaced with equivalent items without changing the preparation method.
Evidence references
- Penn State Extension: container size, drainage and soilless potting mix
- Illinois Extension: why a coarse layer at the bottom does not improve drainage
- University of Connecticut: strawberry root depth and waterlogging sensitivity
- Colorado State Extension: mycorrhizae and the limits of general-purpose inoculants
- HortScience: container type, substrate and air-pruning effects
You may also like
Hydrogen Peroxide for Plants: Uses, Risks and Safer Alternatives
How to Breed Masterclass – Promo Video


You have to bring it up to the targets listed in the chart.

i have a dwc 4 pot hydroponic system with no res… so how much juice do i put together i’m…
Hey! Please tell me the selfieseeds site is coming back up for at least a little bit?
Hi everyone, I'm building a new indoor grow and I'd like some advice from growers with real long-term experience. My…
What is the PPM for 3 gallons I’m new to all this and have no idea what I’m doing


