

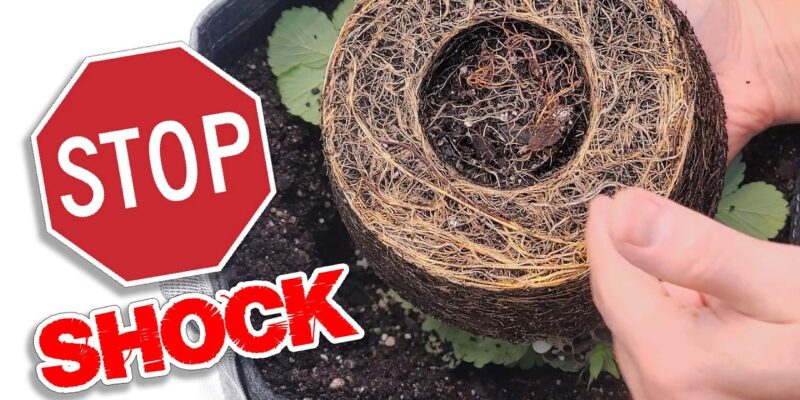
How to Transplant Cannabis Without Shock

Last updated: August 2026
Quick answer: Transplant cannabis when the roots hold the starter plug or small root ball together—not when the plant reaches one magic height. Prepare the new medium so it is evenly moist, make a hole that fits the root ball, move the plant without pulling or exposing its roots, backfill gently, and keep the first day’s light, temperature and humidity close to the environment it already knows.
Transplant shock is usually a stack of sudden changes. The roots get handled, the moisture level changes, and the plant may land under stronger light in a different climate—all at once. The goal is simple: make the move feel boring.
Video chapters
- 0:00 — Prepare the receiving pot
- 0:19 — Mix water through the whole medium
- 0:57 — Use pot weight as your own baseline
- 1:22 — Check seedling readiness
- 1:43 — Check clone roots
- 1:51 — Shape a snug transplant hole
- 2:28 — Place the root ball and backfill gently
- 2:42 — Settle the root zone
- 2:49 — Match the old environment
- 2:55 — Time the next watering by the plant and pot
Selecting a timestamp opens the correct moment in the zero-scroll HWGrow popout player, so you keep your place in the guide.
When is cannabis ready to transplant?
Ignore one-size-fits-all rules such as “transplant at one inch tall.” Height can tell you that a seedling is stretching, but it does not tell you whether the roots can survive the move. Transplant when:
- the plant is actively growing and not already fighting heat, drought or a deficiency;
- roots have reached the sides or bottom of the starter container;
- the plug or small root ball holds together when handled carefully; and
- the current container is drying much faster or beginning to limit the root zone.
A rooted clone can be ready with a small canopy because the root system is already developed. A seedling can be taller and still be too fragile. If you are starting from seed, begin with the seven-method cannabis germination comparison. For cuttings, use the public cannabis cloning guide.
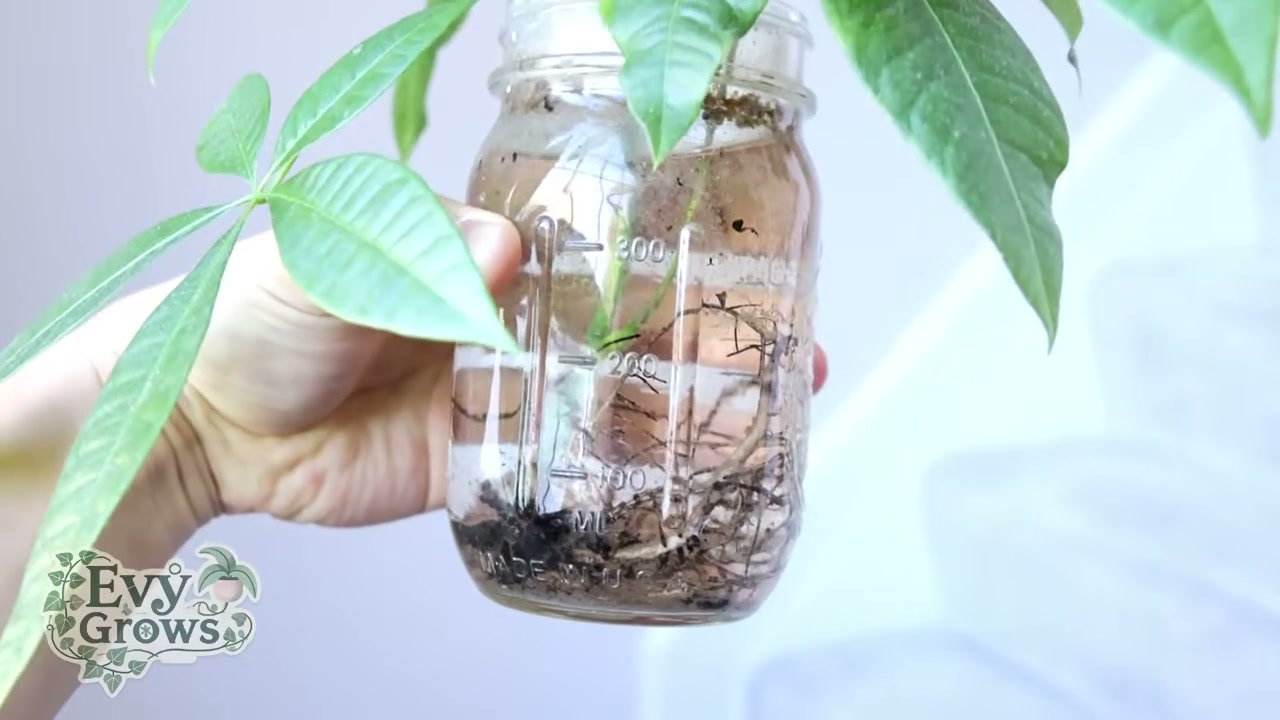
How to transplant cannabis without shock
1. Prepare the new pot before touching the plant
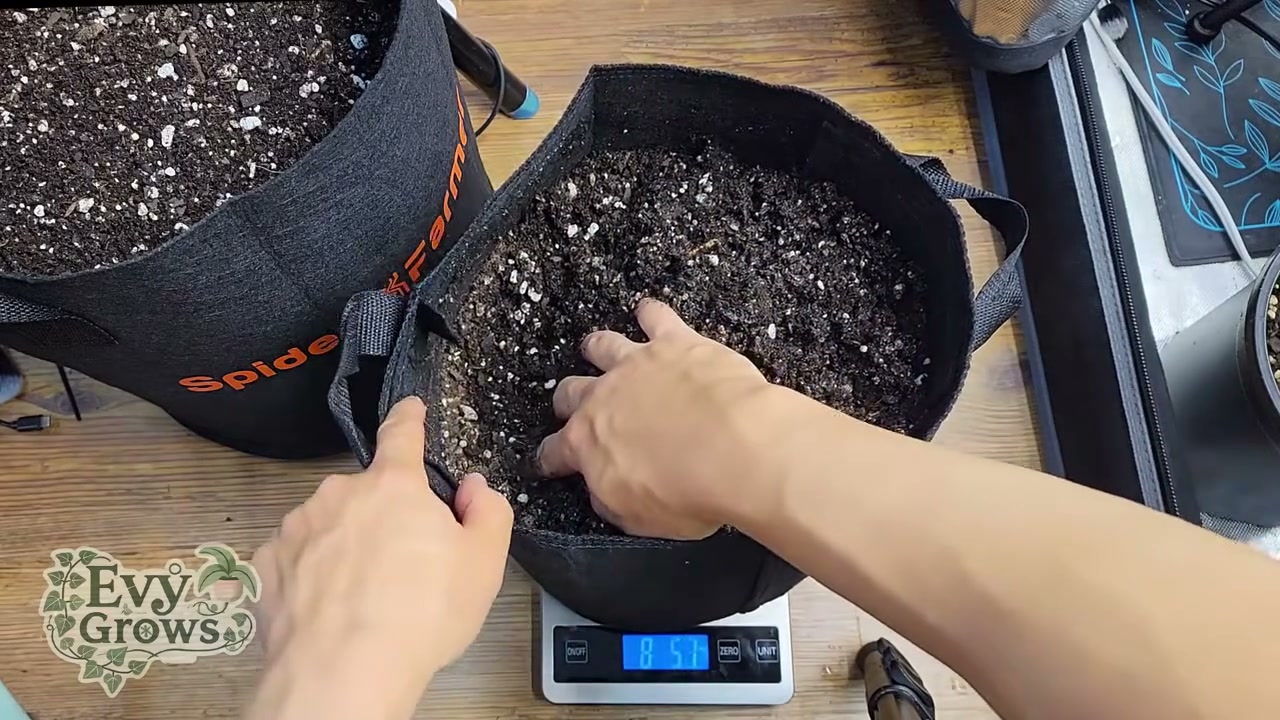
Fill the receiving container with your chosen medium and mix in water until the moisture is even from the center to the edges and bottom. The soil should hold together lightly when squeezed, then break apart without dripping. Wetting only the surface can leave dry pockets that young roots will avoid.
The pounds shown in the video are measurements from one specific mix, pot and fill level. They are useful as a demonstration, not as targets to copy. Pot size, fabric, soil composition, hardware and plant mass all change the number. If you use a scale, record your pot after an even watering and compare its change over time.
2. Make the hole fit the root ball
Use the empty starter cup, nursery pot or a similar-sized object as a mold. You want a hole that fits closely enough to avoid a large air gap but does not squeeze the roots. Have the hole ready before you remove the plant from its original container.
3. Move the plant by its root ball—not by the stem
Support the container and root ball, tip them together, and let the plant slide free. Do not tug on the stem. Keep exposed roots out of bright light and dry air, and do not tease apart a healthy young root ball unless you have a specific reason.
Set the top of the original medium close to the surrounding soil line. Do not follow a universal instruction to bury every seedling until exactly one inch remains. Planting depth depends on stem strength, container shape and how the plant was started. Keep leaves and the crown above the damp medium.
4. Backfill gently
Pull the surrounding medium into the gap and press only enough to remove obvious air pockets. Packing the soil hard defeats the reason you chose an airy root zone. The plant should stand securely without the container becoming a brick.
5. Settle the root zone with the right amount of water
Water around the original root ball so the old and new media make contact. The correct amount depends on how moist the pot already is, the size of the root ball and how the medium drains. One or two cups can be a useful example in one setup, but it is not a rule for every transplant.
Skip the routine peroxide squirt. Hydrogen peroxide is not required to prevent transplant shock and can injure fresh roots or disrupt beneficial microbes. Clean containers and tools, healthy roots, evenly moist medium and careful handling do the real work.
6. Make the first day predictable
Return the plant to roughly the same light intensity, temperature, humidity and airflow it had before the move. Do not combine transplant day with maximum light, a heavy feed, topping and a dramatic humidity drop. Once new growth resumes, make changes gradually. The temperature and humidity guide and LED grow-light guide help you avoid piling environmental stress on fresh roots.
What does normal transplant shock look like?
A slight droop or pause can happen after handling. It should begin improving as the root zone regains contact and the plant resumes water uptake. Fast collapse, spreading discoloration, a soaked stem or a pot that stays saturated is not something to dismiss as “normal shock.” Check root-zone moisture, temperature, light intensity and the health of the original roots.
Do not reflexively add more water or nutrients to a drooping transplant. A wet root zone can look thirsty because stressed roots are not taking up water. Use pot weight, the moisture below the surface and the plant’s trend together. The fabric-pot watering guide explains how to build your own wet-to-dry baseline.
Seedlings and clones need slightly different handling
| Plant | Readiness signal | Main risk |
|---|---|---|
| Seedling | Rooted plug or small root ball holds together | Fragile stem and underdeveloped roots |
| Clone | Multiple active roots and healthy new growth | Moving from high humidity to a much drier room too quickly |
With either one, healthy white root tips are encouraging, but color by itself is not a complete diagnosis. Some media stains roots. Smell, texture, growth and the overall root pattern tell you more than one shade.
Transplanting checklist
- New container filled and evenly moistened
- Snug hole prepared before removing the plant
- Root ball developed enough to hold together
- Original media surface kept close to the new soil line
- Backfill placed gently without hard compaction
- Root zone settled without automatically saturating the whole pot
- Light and climate kept familiar for the first day
- Next watering based on the pot and plant—not a copied schedule
Recommended transplanting tools
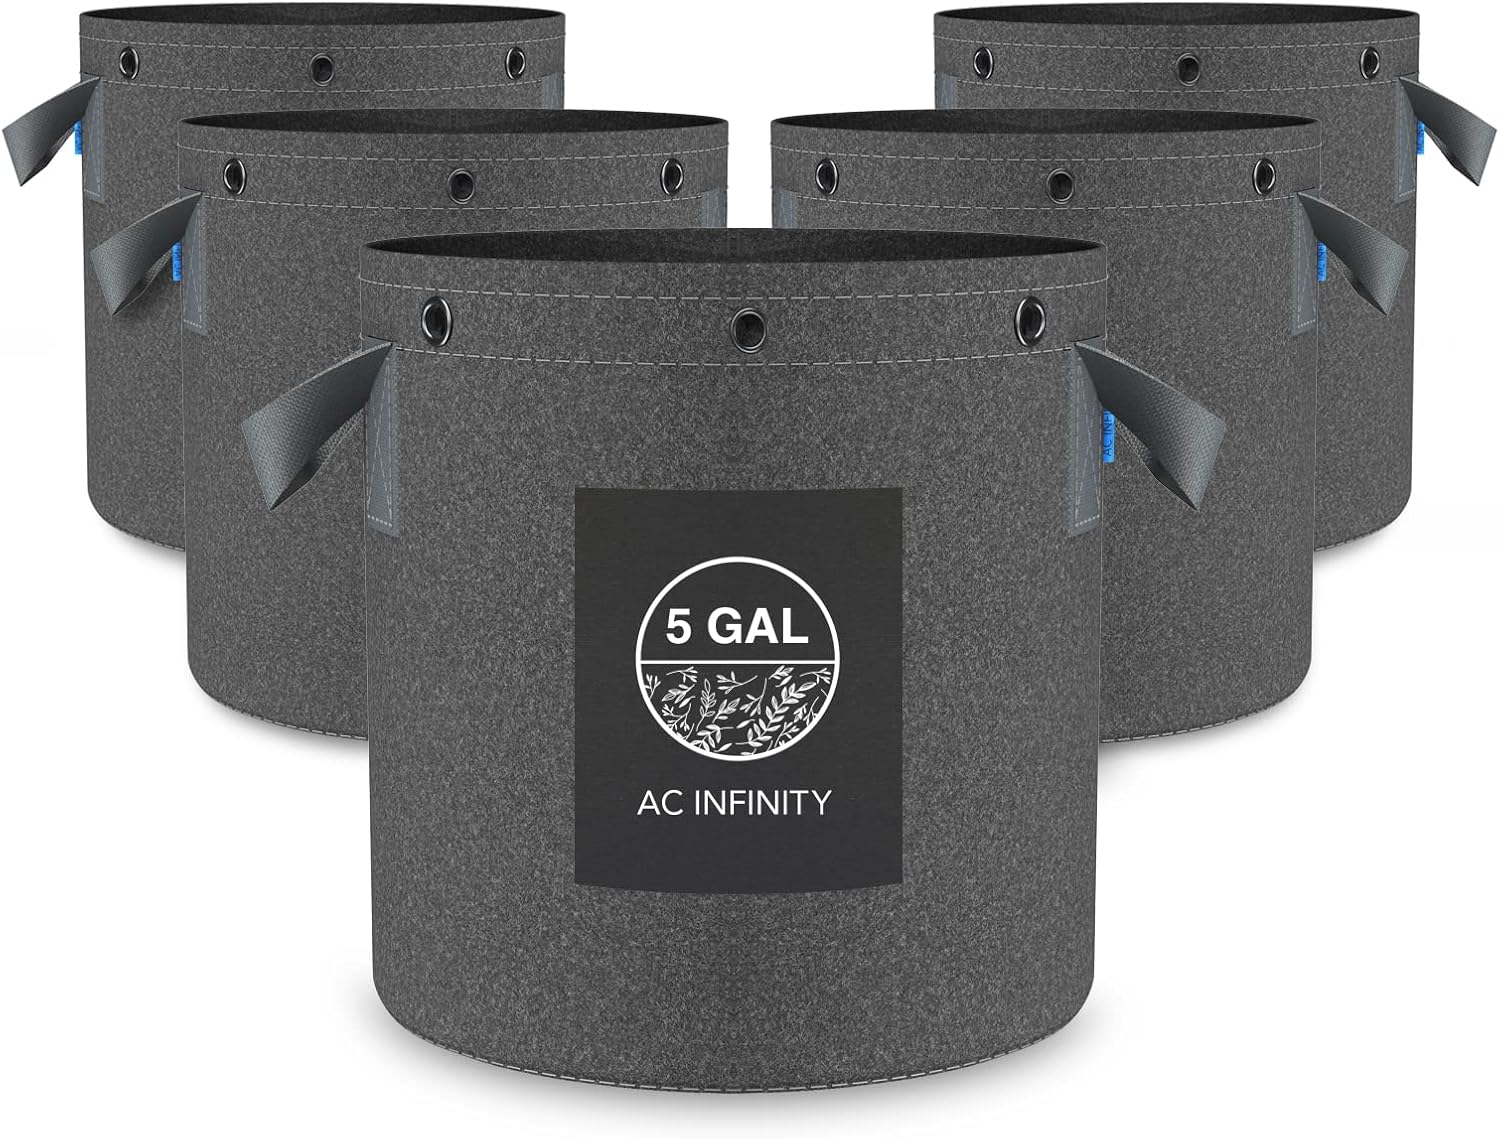 Five-gallon fabric grow potsA breathable final container with handles; choose the size that fits your plant, medium and watering plan.View product
 50-pound digital scaleRecord your own wet-to-dry pot-weight change instead of copying somebody else’s pound target.View product
 Rooting plugsA supported starter root ball can move into the new medium with less handling and less root exposure.View product
AC Infinity savings: Use code EVYGROWS for additional savings on eligible products. When shopping on Amazon, clip any available coupon first.
Affiliate disclosure: HWGrow may earn a commission from qualifying purchases at no additional cost to you.
Affiliate disclosure: HWGrow may earn a commission from qualifying purchases at no additional cost to you. Product destinations can be replaced with equivalent items without changing the transplanting method.
Keep learning
For the complete public workflow from setup through harvest, continue with How to Grow Weed: Complete Beginner’s Guide from Seed to Harvest. If you want the structured day-by-day grow system, see the Grow With Me Masterclass. The public guide teaches the transplant safely; paid lesson content remains inside the membership.
Something about your plant does not match the examples? Ask HWGrow a question and include the container size, medium, root photo, recent watering and environment.
You may also like
pH vs. PPM for Cannabis: EC Scales, Buffering and Nutrient Lockout
Complete Grow Tent Setup: Four Videos, One Working Setup

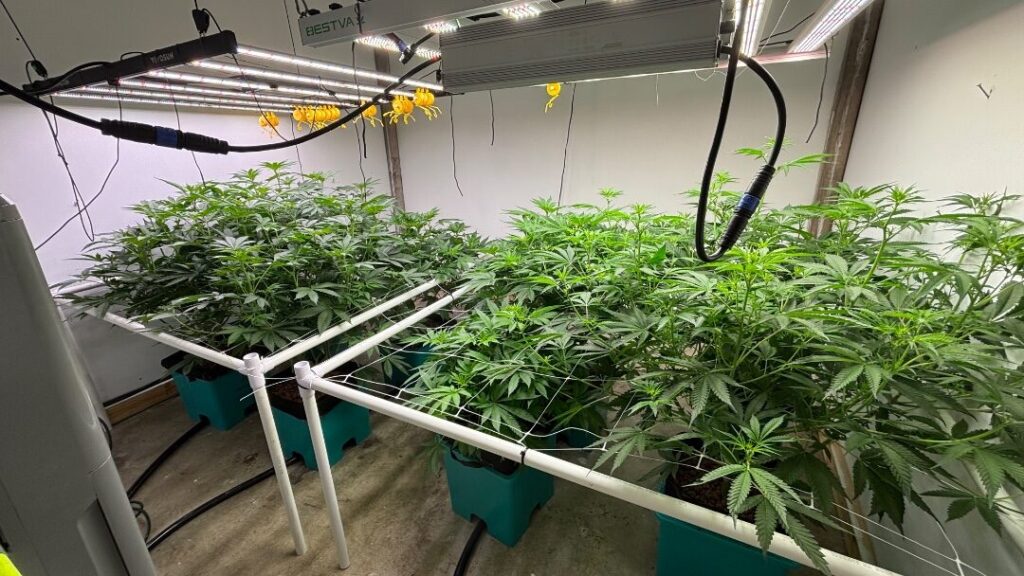


Featured Grow

Mine wasnt that bad, i am low rate afib so just swing between 95 and high as 150 sometimes, up…

Yeah not fun, but as long as it helps thats what matters. Had my heartrate 200+bpm in the hospital for…
Tupac mine is for afib. Just Had cardio version the other week to get me out of it, worst case…
I was hoping for one at least that check the box's, but ya, having a couple is that much better.…
Heart cath ablation? Had one of those for Super Ventricular Tachycardia and it worked well