

AC Infinity CLOUDLINE Controller Setup: Probe, Modes & Triggers

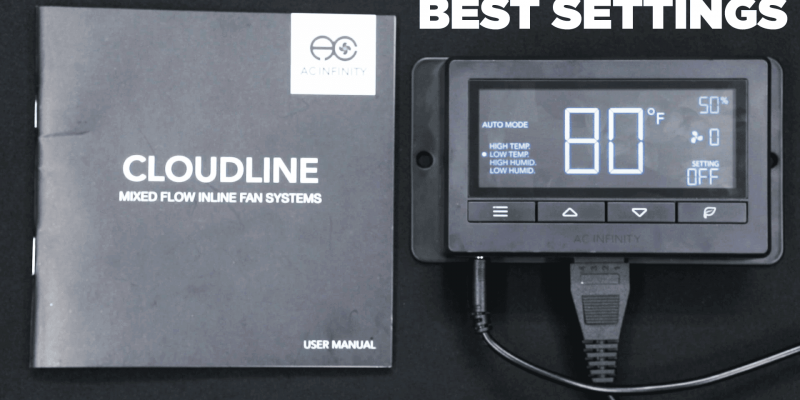
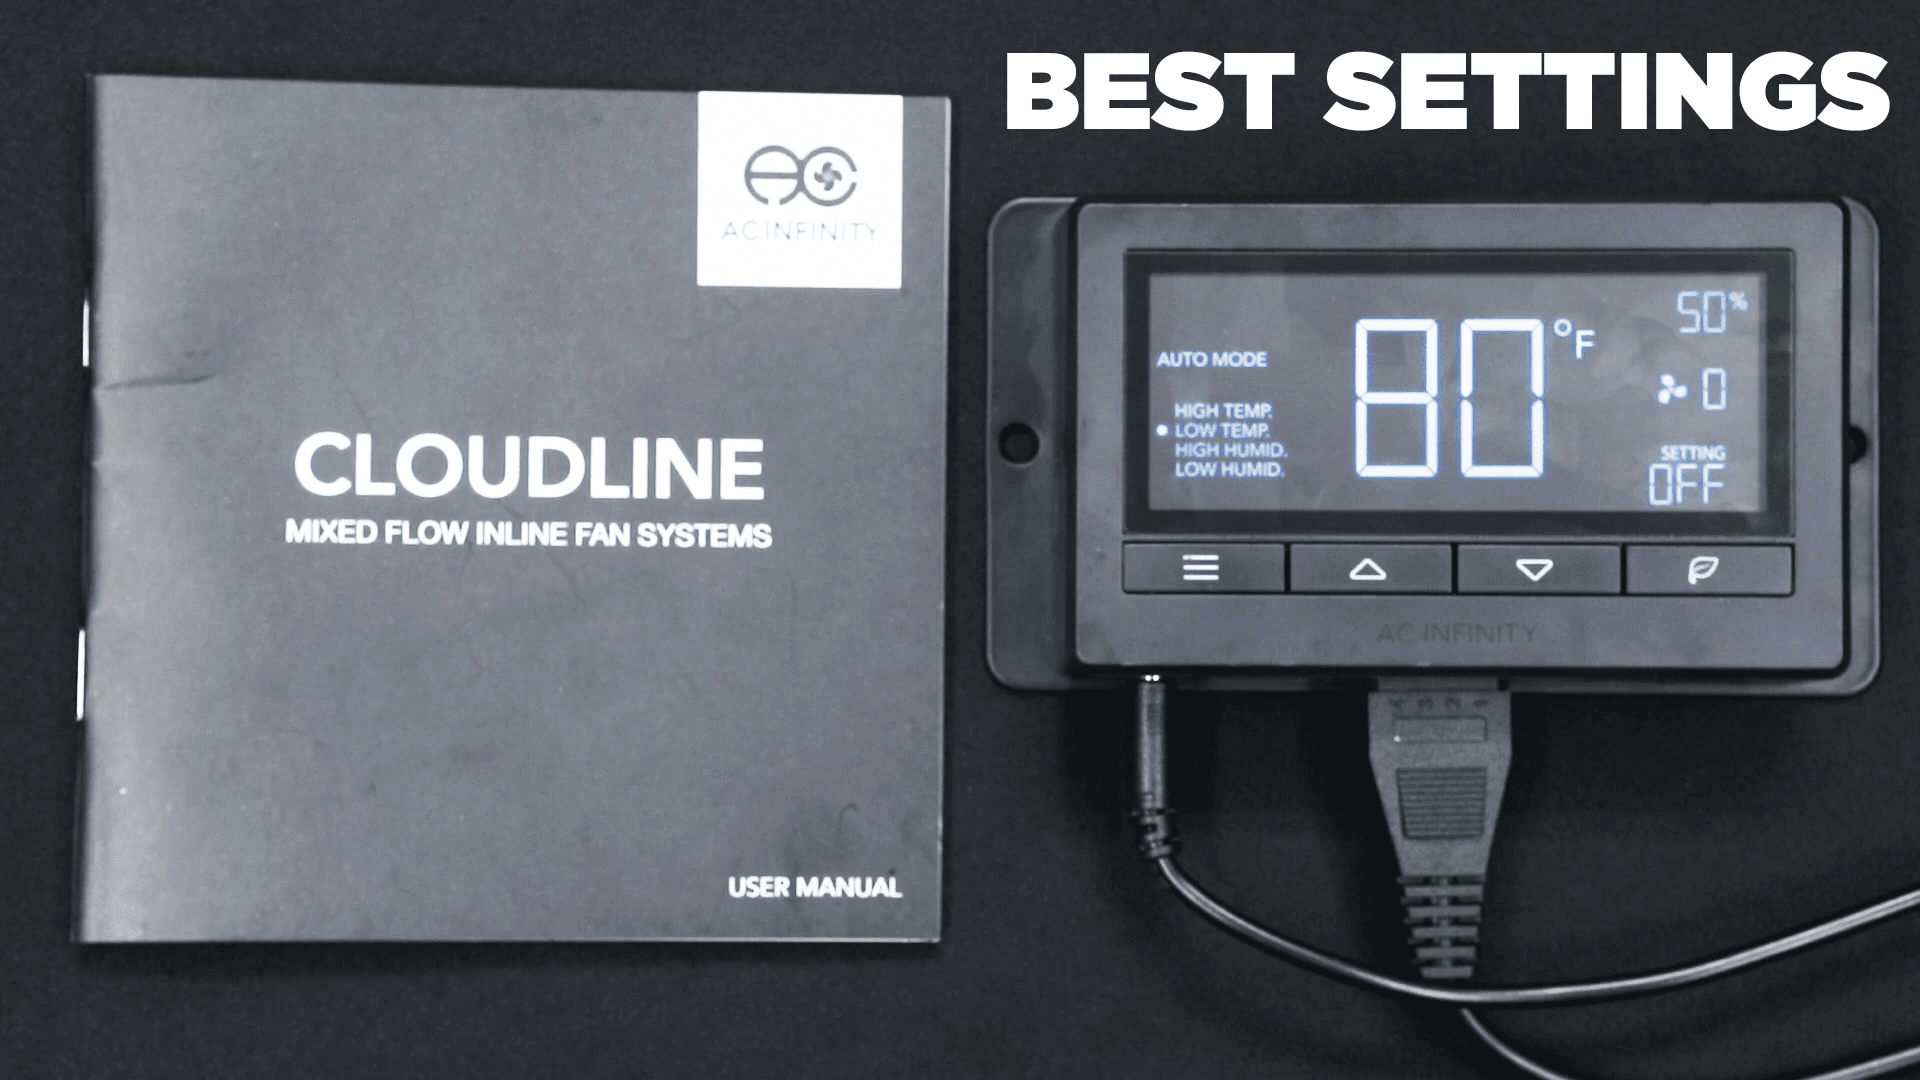
Quick answer: Put the climate probe at canopy height, set a quiet minimum airflow, then use the high-temperature and high-humidity triggers to increase exhaust only when the air outside the tent can actually improve the condition. The 2022 video below shows an older AC Infinity CLOUDLINE controller. Current Controller 67/69 hardware, ports, app features and programming screens can differ, so identify the controller number on your unit and keep its manual open.
Watch the legacy CLOUDLINE controller walkthrough
Step 1: identify your controller generation
Look for the controller model printed on the unit, packaging or manual. An older integrated CLOUDLINE controller, Controller 67, Controller 69 and Controller 69 Pro are not the same interface. Current models may add UIS ports, independent port programming, Bluetooth or Wi-Fi, transition levels, buffers, VPD modes and app automations that do not appear in this video.
AC Infinity’s current Controller 67 overview is a good example: it supports shared programming for two compatible fan devices, ten speed levels, triggers, timers, cycles, schedules and app features. If your label says something else, use that exact manual rather than forcing these button presses onto it.
Step 2: put the probe where the plant lives
- Hang the probe near canopy height in open air.
- Shade it from direct fixture radiation without enclosing it.
- Keep it away from the humidifier plume, intake opening, wet leaves and tent wall.
- Do not rest it on the light, driver, pot or reservoir lid.
- Compare it with an independent thermometer/hygrometer before trusting an offset.
The probe controls what the controller believes. A perfect program with a badly placed sensor will still run the fan at the wrong time.
Step 3: understand the modes before setting numbers
| Mode | What it does | Useful for |
|---|---|---|
| OFF | Stops the fan or holds a programmed minimum on some newer controllers | Maintenance, testing or a baseline minimum |
| ON | Runs continuously at the selected level | Testing airflow and establishing a steady minimum |
| AUTO | Changes fan output when enabled temperature or humidity triggers are crossed | Normal climate-responsive exhaust |
| TIMER / CYCLE / SCHEDULE | Runs by elapsed time or clock rather than a climate reading | Specific equipment and repeatable routines |
| ALARM | Warns about a condition; it is not always the same as an automation trigger | Out-of-range alerts |
On current controllers, maximum and minimum levels, transition settings, buffers and port assignments can change how AUTO behaves. Do not assume the old video’s ON speed controls every newer mode in the same way.
Step 4: set triggers based on what exhaust can do
High-temperature trigger
An exhaust fan can lower tent temperature only when the replacement air is cooler enough. If the lung room is already hot, more exhaust may simply move hot air faster. Compare the room and canopy before raising the trigger speed.
High-humidity trigger
Exhaust can lower tent humidity when the incoming air contains less moisture. If the lung room is equally humid, condition that room with a correctly sized dehumidifier. A carbon filter removes odor; it does not dehumidify the air.
Low-temperature and low-humidity triggers
The video calls both low triggers useless. That is too broad. On an exhaust-only setup, turning the fan up during a low-temperature or low-humidity event often moves the tent even closer to the cooler or drier room, which is the opposite of what you want. In that common setup, disabling those triggers can be sensible.
They can still be useful when the connected device and incoming air move the condition in the correct direction—for example, a compatible heater, humidifier or intake drawing warmer or more humid air. Newer multi-device controllers also assign different jobs to different ports. The rule is simple: before enabling a trigger, say out loud what the connected device will do when it turns on.
There is no universal 82°F and 55% setting
The video presents 82°F and 55% RH as easy defaults for one room and plant stage. Do not treat those as permanent targets. Stage, light intensity, leaf temperature, cultivar, air speed, root-zone health and whether CO2 is naturally replenished all change the acceptable range.
Use the cannabis temperature and humidity guide to choose a stage-appropriate band, then use the controller to avoid large excursions. Chasing one perfect screen number can make the fan surge all day while the plant sees unstable air.
A practical exhaust setup
- Open the passive intake. The tent should not collapse hard around an undersized inlet.
- Set a gentle continuous minimum. Maintain fresh-air exchange and slight negative pressure without unnecessary noise.
- Record lung-room conditions. Know the air the fan will pull into the tent.
- Enable only useful triggers. Start with high temperature and high humidity for a normal exhaust fan.
- Set a maximum that the duct and filter can handle. More fan speed is not useful when a dirty filter, crushed duct or closed intake is the restriction.
- Use transition or buffer settings when available. Gradual changes reduce rapid cycling and noise.
- Test lights-on and lights-off. Watch the canopy, lung room and controller history through a complete day.
- Recheck after plant growth. A full flowering canopy releases more water and obstructs more air than an empty tent.
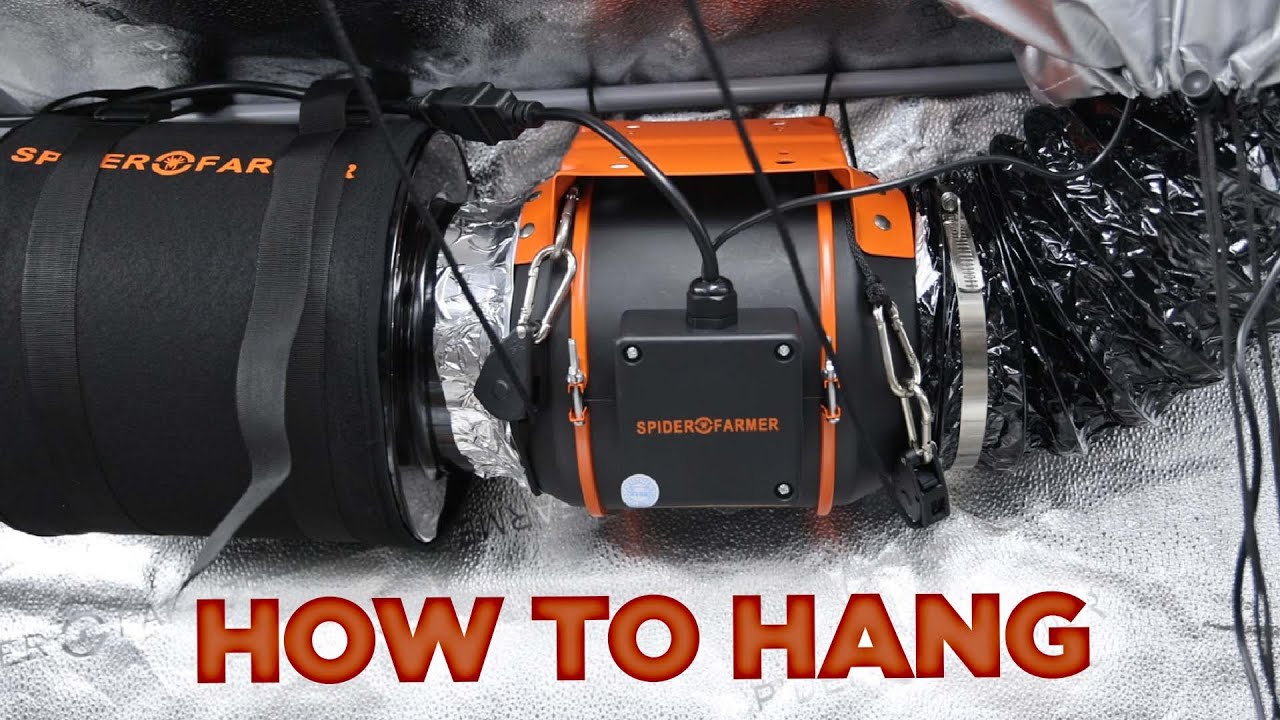
The complete grow-tent ventilation guide covers sizing, negative pressure and duct resistance. The fan and carbon-filter installation guide shows the physical layout.
Recommended controller and airflow tools
CLOUDLINE inline fan and controllerMatch the fan diameter, controller generation, connector and app features to your exact tent and duct system.

Oscillating clip fanHandles circulation inside the tent while the CLOUDLINE system exchanges air with the lung room.

Independent thermometer and hygrometerCompare canopy and lung-room conditions and check whether the controller probe needs a documented offset.
AC Infinity savings: Use code EVYGROWS for additional savings on eligible products. When shopping on Amazon, clip any available coupon first.
Affiliate disclosure: HWGrow may earn a commission from qualifying purchases at no additional cost to you. Controller generations and bundles change; verify the exact model, seller, compatibility, warranty and return terms.
AC Infinity CLOUDLINE controller FAQ
Where should the controller probe go?
Place it in open air near canopy height, shaded from direct fixture radiation and away from the humidifier plume, intake, wet leaves and tent wall.
Should the inline fan run all the time?
A gentle continuous minimum usually supports air exchange and negative pressure. Let useful high-temperature or high-humidity triggers increase output when needed.
Are the low-temperature and low-humidity triggers useless?
No. They are often counterproductive on an exhaust-only setup, but they can be useful when the connected device or intake air moves the condition in the right direction.
Is 82°F the best temperature for every grow?
No. It was a historical setting for one room. Choose a stage-appropriate range using leaf temperature, humidity, light, cultivar and plant response.
Does this video match Controller 69 or 69 Pro?
Not exactly. The video shows an older interface. Current controllers can have different ports, app features, modes, buffers and programming behavior. Follow the manual for the model printed on your unit.
Comments
Leave a reply
You may also like
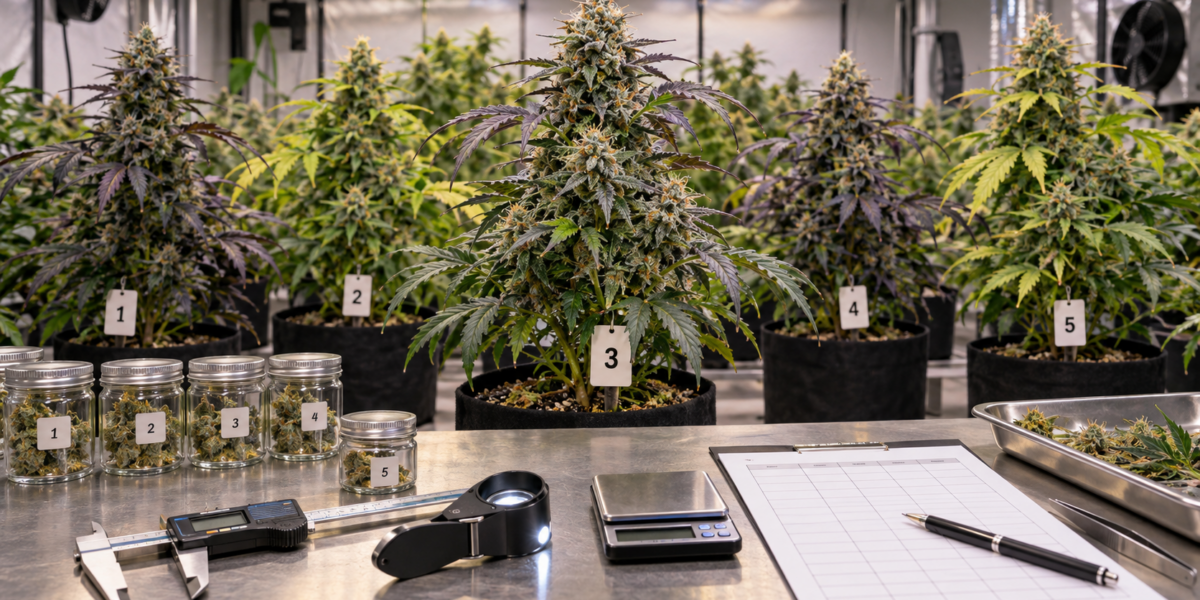
How to Pheno Hunt Cannabis and Choose a Keeper
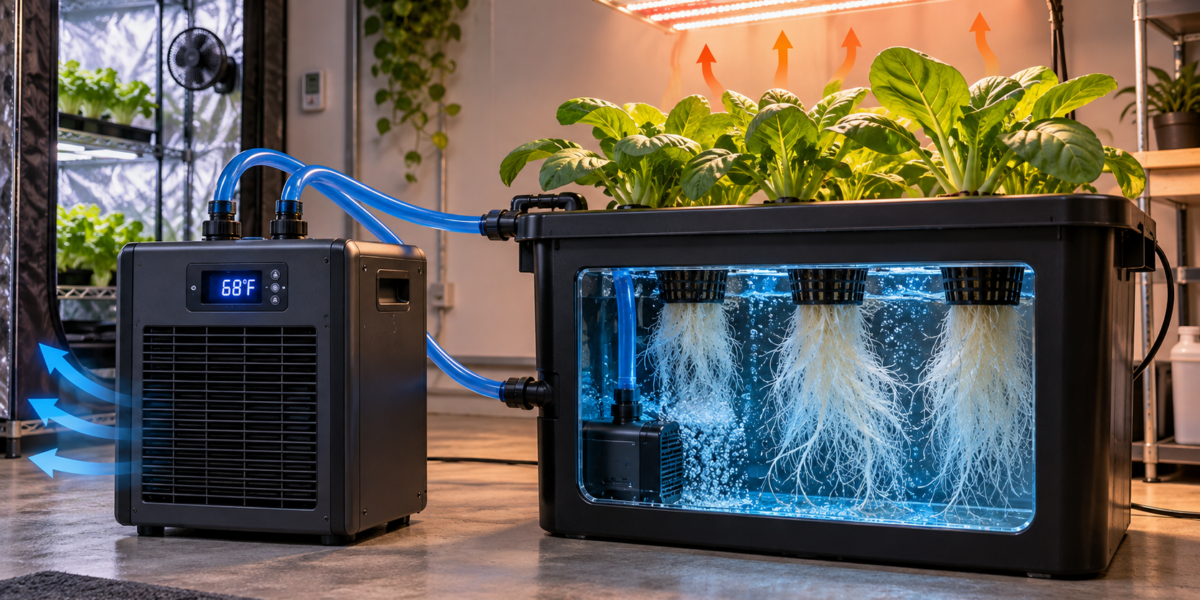
Hydroponic Water Chillers: Stop Summer Root Rot Before It Starts





Featured Grow
 Jul 2026 — White Iverson by Selfie Seeds +2 more
White Iverson × Selfie Seeds, Pink Strawberry × Selfie Seeds, Purple Berry × Selfie Seeds • Soil • Started Jul 25, 2026
View journal
Jul 2026 — White Iverson by Selfie Seeds +2 more
White Iverson × Selfie Seeds, Pink Strawberry × Selfie Seeds, Purple Berry × Selfie Seeds • Soil • Started Jul 25, 2026
View journal
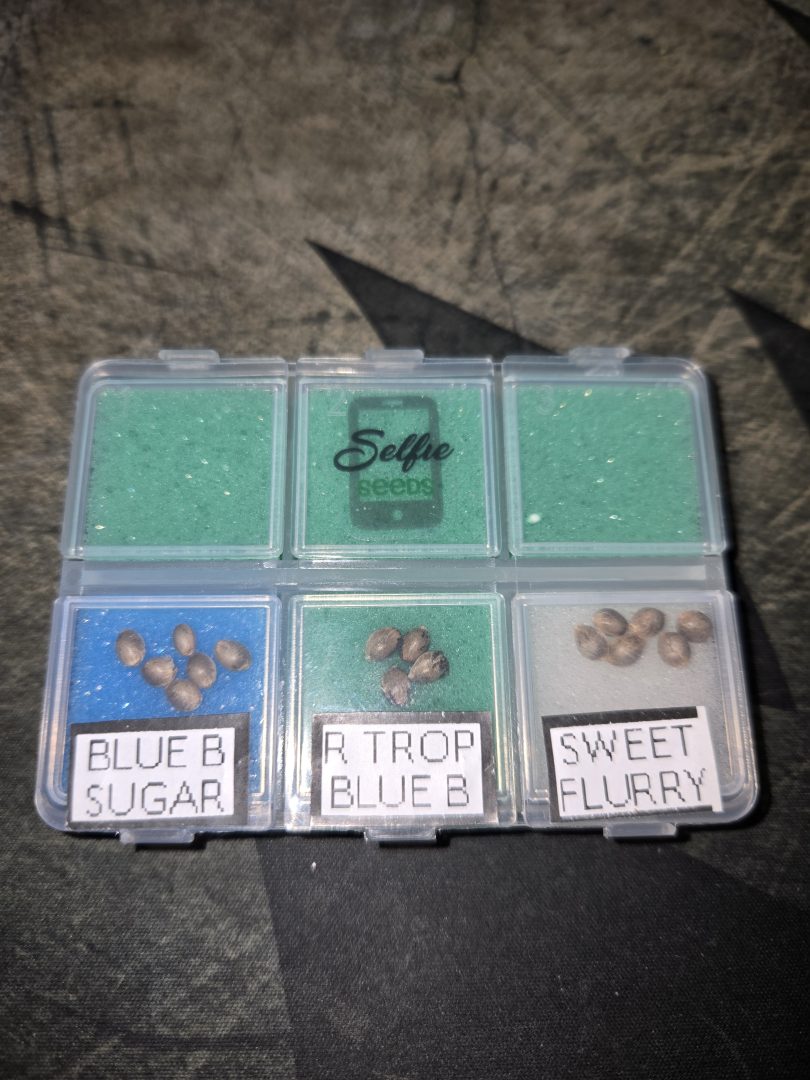 First Selfie Seeds Grow (Blueberry Sugar, Tropical Blueberry, and Sweet Flurry)
Blueberry Sugar × Selfie Seeds, Tropical Blueberry × Selfie Seeds, Sweet Flurry × Selfie Seeds • Soil • Started May 27, 2026
View journal
First Selfie Seeds Grow (Blueberry Sugar, Tropical Blueberry, and Sweet Flurry)
Blueberry Sugar × Selfie Seeds, Tropical Blueberry × Selfie Seeds, Sweet Flurry × Selfie Seeds • Soil • Started May 27, 2026
View journal
Awesome It’ll be a bit chlorophyllie but definitely let me know your opiniones

Walked in this morning before lights out and they are already bouncing back pretty good.
Awesome, fingers crossed for you
Nice LSTing Looks perfectly symmetric

Bananas!!!!! I knew I forgot something today. Thanks, gotta hit the store up in the am anyway. Coming off night,…
Do you have a setup video for the Vivosun E42A Controller?
Im pretty sure its the same thing. Regardless, if you just go to any of my grow charts, it shows you what to manually set it at week by week