


How to Cure Weed: Complete Cannabis Curing Guide

Opening a few jars is easy. Opening a whole harvest’s worth every day gets old fast. In the video, I show the cure-bin setup I used to manage humidity around several open jars at once.
Still drying? Start with How to Dry Weed. Working with a bigger harvest? See bucket bulk curing.
The video, in plain English
The setup combines a plastic tub, a humidity controller and a compact dehumidifier. Open jars sit inside, with the controller’s probe near the center of the jars. The video walks through the controls, calibration, loading and probe placement. The idea is less repetitive jar opening, not less attention to the harvest.
Start with properly dried flower. Watch the humidity trend, check the jars, and keep the finished batch cool and dark. Rising humidity, condensation or damp flower means you need to address moisture, not seal it in. Never consume flower with visible mold or a musty smell. My humidity-pack test explains why packs are for maintaining an already-stable batch, not rescuing wet buds.
Update: seal the cord opening
Don’t run the power cord under the lid and leave a gap. For a dedicated opening, gather a drill, a step bit rated for plastic, a clamp, scrap wood, safety glasses, a marker, a ruler, a deburring tool or fine sandpaper, a correctly sized cord fitting and electrical tape. Use the tools you already own; the supplies are linked below.
Empty the tub and unplug everything. Mark the opening to match the fitting’s specified mounting-hole size. Wear safety glasses, support the plastic against scrap wood and clamp it securely. Drill slowly without hammer mode, then smooth the edge and remove every shaving. Fit and secure the intact cord, and tape the remaining exterior gap to reduce air and humidity leakage. Use a split fitting for a cord with a molded plug; don’t cut off the plug to make it fit. Keep plugs, adapters and the controller outside the tub.
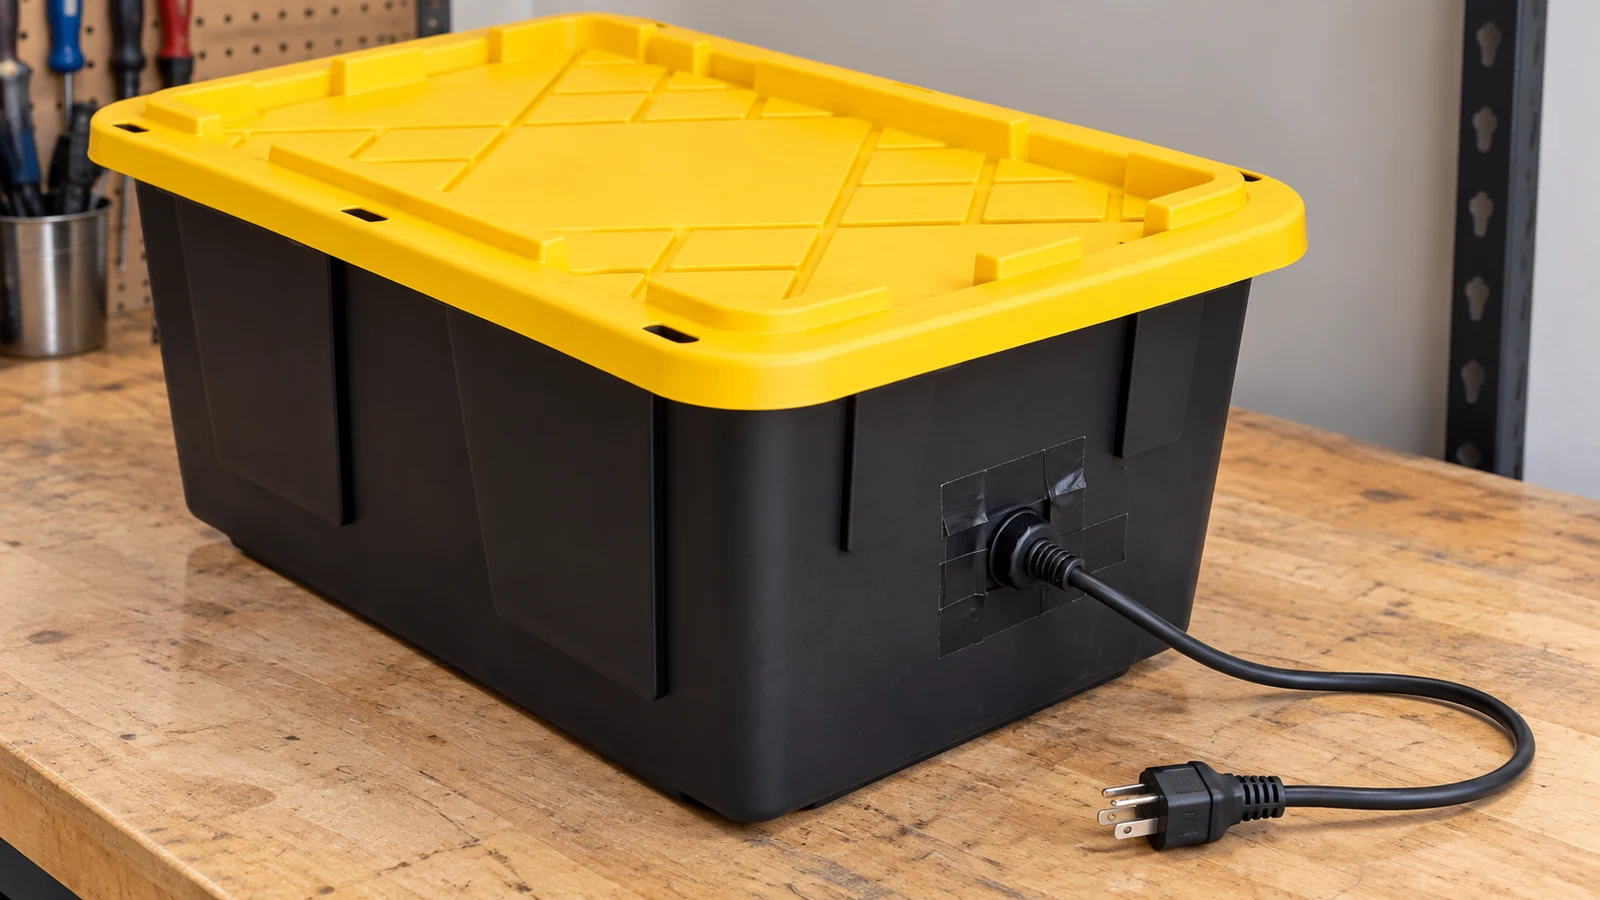
You want it nearly airtight, not under vacuum. Seat the lid fully. Only add evenly distributed weight if the tote manufacturer permits it, and never bow the lid or pinch the cord. A properly fitting, gasketed lid is a better fix for a persistent leak. Tape alone does not guarantee an airtight or waterproof seal.
Before copying the setup: Check your exact appliance’s manual for enclosure clearance and external-controller restrictions. If it prohibits either, don’t use that pairing. Keep airflow clear and connections dry. The settings and cure duration in the video are for that batch.
Jump to a part of the video
Choose a timestamp to open the video at that point.
| Timestamp | Topic |
|---|---|
| 0:19 | Why daily jar burping becomes difficult |
| 0:46 | Automated cure-bin concept |
| 0:54 | Core parts and equipment |
| 1:29 | Humidity controller and probe |
| 2:35 | Controller wiring and setup |
| 2:56 | Humidity set value |
| 3:27 | Dehumidification differential |
| 4:17 | Sensor calibration |
| 5:03 | Loading the cure tote |
| 5:33 | Opening and rotating jars |
| 6:19 | Probe position and sealing the tote |
| 7:02 | My stability endpoint and duration |
Curing equipment
The existing products are below. Check each appliance’s current instructions before use.
 Humidity controllerA separate probe and switched outlets provide tighter control than relying on a compact dehumidifier’s built-in sensor.View product
 Compact dehumidifierFor a monitored automated tote only; confirm enclosure clearance, heat output, condensate handling and electrical safety.View product
 Amber wide-mouth jarsAirtight glass containers that simplify inspection and help limit light exposure; clear jars stored in darkness also work.View product
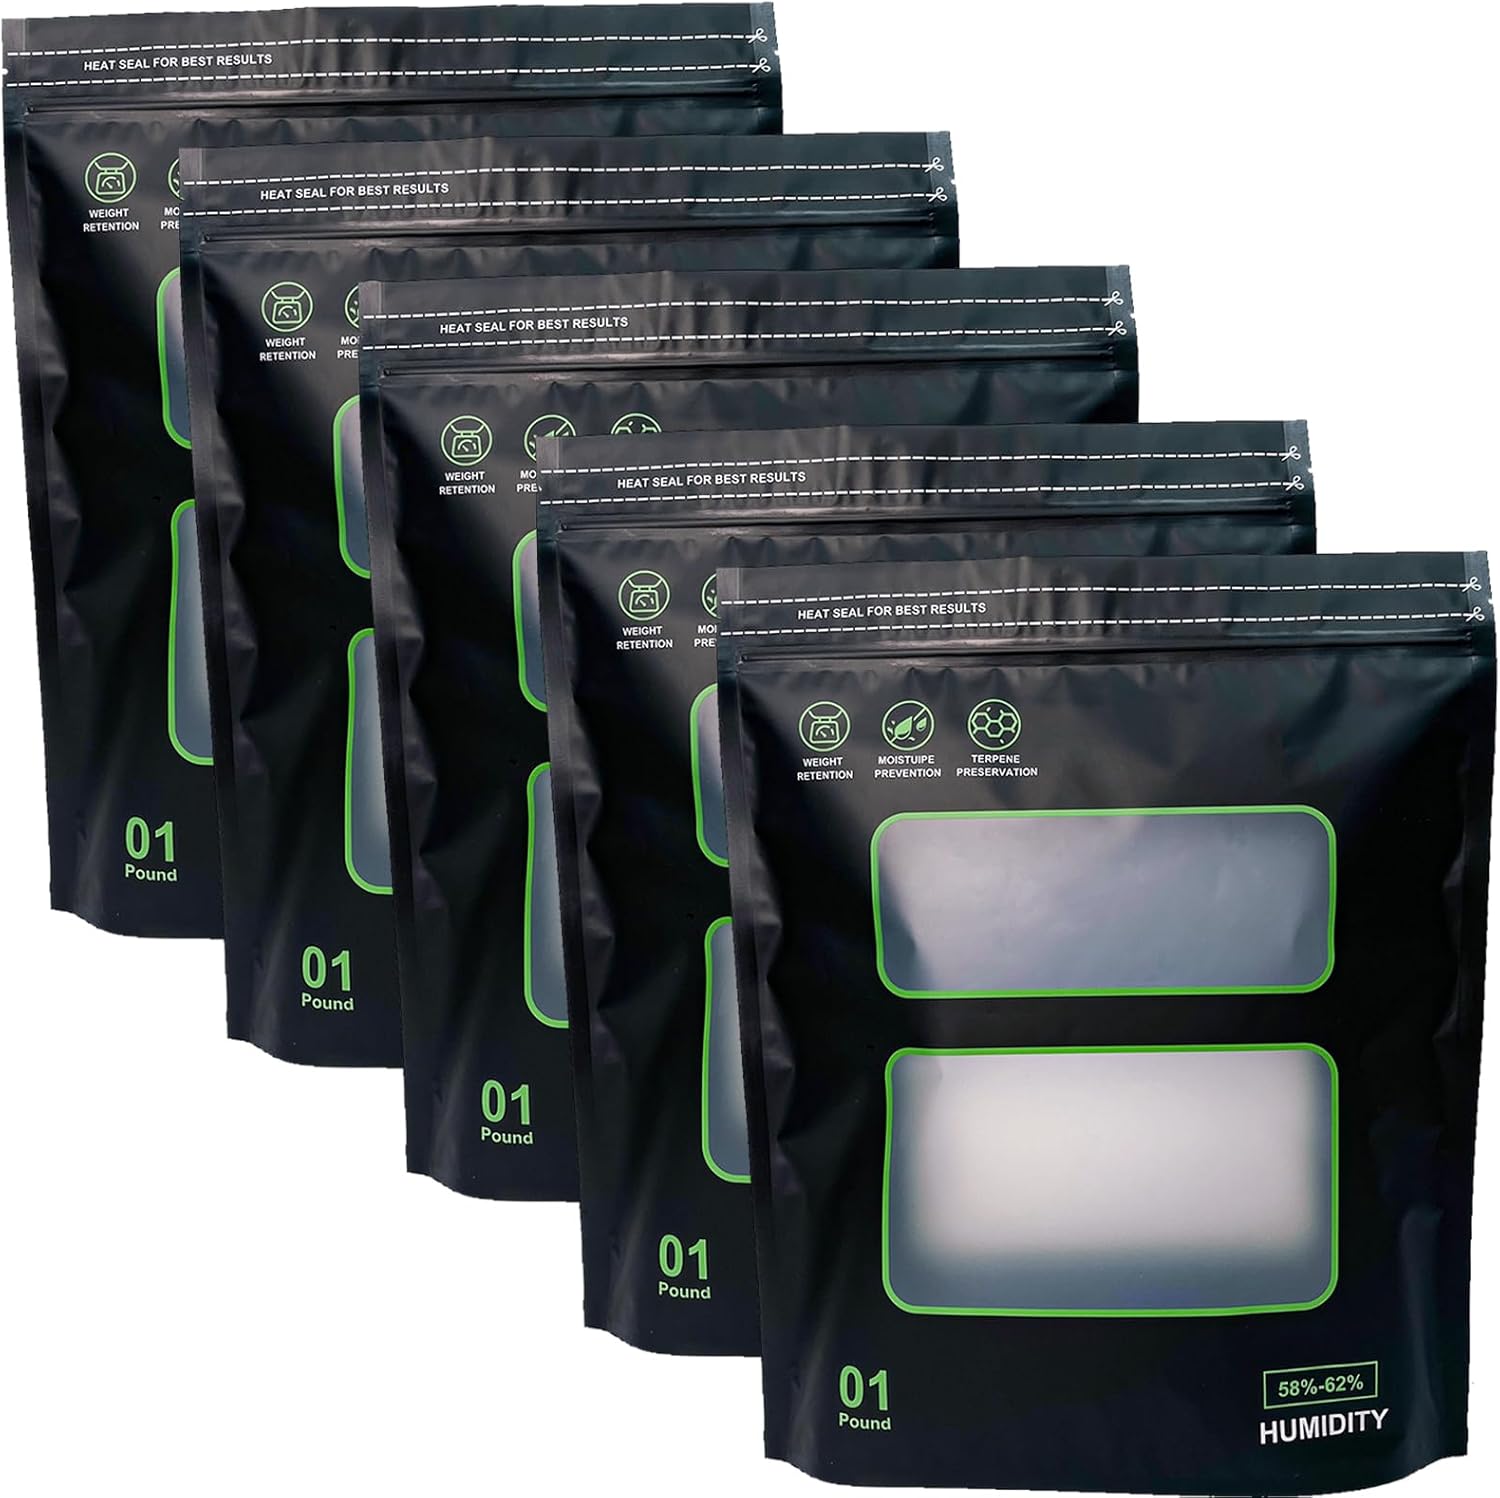 Two-way storage bagsAn optional storage format for already-stable flower; the humidity layer does not replace proper drying or early cure checks.View product
Affiliate disclosure: HWGrow may earn a commission from qualifying purchases at no additional cost to you. Product destinations can be replaced with equivalent items without changing the curing protocol.
Hole-making and sealing tools
For the cord opening shown above. A marker, ruler and scrap wood are ordinary workshop supplies. Choose the cord fitting and hole size for your actual cable, not by guessing from the picture.
 3M Scotch Super 33+ electrical tapeFor the supplementary exterior seal around the cord entry. Protect the cable with a correctly sized fitting first; tape is not strain relief or a waterproof enclosure rating.View product
 BLACK+DECKER drill and accessory kitA cordless drill kit with battery, charger and workshop accessories. Use slow drilling, not hammer mode, and support the plastic against scrap wood.View product
 NEIKO step drill bit for plasticTen marked sizes from 1/4 to 1-3/8 inches, with a 3/8-inch shank that fits the linked drill. Check that a step matches your cord fitting's required hole size before buying.View product
 IRWIN quick-grip mini clampsHold the tub wall and scrap-wood backing securely while drilling. The non-marring pads help protect the plastic; don't rely on your hand to hold the work next to the bit.View product
 General Tools deburring toolRemove sharp plastic burrs after drilling so the opening won't scrape the cord or fitting. Work gently, then clear every shaving from the empty tub.View product
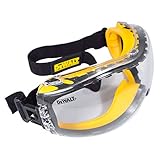 DEWALT clear safety gogglesImpact-rated eye protection for drilling chips and debris. Wear a comfortable, secure fit while drilling, smoothing the opening and clearing the shavings.View product
Affiliate disclosure: HWGrow may earn a commission from qualifying purchases at no additional cost to you.
Next in your grow
Before this step: Wet Trim vs. Dry Trim: How to Trim Cannabis Buds
Next step: Cannabis Smoke Report Template: How to Review Bud Quality
Related: How to Cure Cannabis in a Bucket: Bulk-Curing Method · Best Mason Jars for Curing Cannabis: Size, Color & Lids · Boveda Humidity Packs for Weed: What the Test Actually Showed
Go deeper (supporter membership required): These advanced guides are for HWGrow supporters: Grow With Me – Finale – Chop & Dry Room Prep. Become a supporter.
Want to watch this done step by step? The Grow With Me Masterclass follows one complete grow, day by day.
Sources and further reading
Cannabis postharvest review · Cord protection and electrical hazards · Purpose-built sealing and strain-relief fittings


Comments
Leave a reply
You may also like
pH vs. PPM for Cannabis: EC Scales, Buffering and Nutrient Lockout



Thanks for your advice it helps a lot
Anytime. Glad I could help
Thankyou! We’ve started curing, slowly but surely. Most of what we’ve put in is around 12 to 13%. The first bucket is done and we have a massive amount to do. May have to buy some more hygrometer!
thats a good problem to have!
Have heaos of hygrometers now but all have different readings. Can you calibrate them? All seem to be between 5 to 6 % out.
Still learning though. Bought a moisture meter and slow dried/ cured for two weeks at a temperature of 18 degrees Celsius and 55 % humidity. We used a dehumidifier to stay at 55% and also used a humidifier to sloooooow it down. We have now harvested some of the finest resiny sparkly heads. 10 pounds worth! And the next lot are in bubbleponics.