

Can You Grow Cannabis in a Pringles Can? Full Grow Test

Last updated: August 2026
Quick answer: Yes, cannabis can grow in a Pringles can—but this experiment also shows why “can” and “should” are two different things. HWGrow took flowering Blue Dream clones back through vegetative growth, flower and harvest in narrow snack cans. The plants finished, but restricted roots, fast moisture swings, runoff trouble and fungus gnats made the grow harder than it needed to be.
This is a fun two-part grow diary, not a recommendation to use food packaging as a permanent planter. Watch the original experiment below, then use the updated notes to separate what happened in this run from the more repeatable way to manage a small container today.
Part 1: clones, cans and the original setup
The project began with flowering clones that had to re-vegetate—not seedlings—so the old “seed to harvest” title was misleading. Part 1 documents the closet, rooted cuttings, drainage holes, soil mix and transplant. The video remains the primary record; the article corrects the old fixed temperature, light-distance and watering rules.
Selecting a timestamp opens the standard HWGrow pop-out player at that moment without moving you away from your reading position.
What to update from Part 1
- Measure the actual environment. About 80°F was the condition used in this closet, not a universal target. A light does not always add exactly 10°F. Measure temperature and humidity at canopy level and adjust airflow, exhaust and light output from real readings.
- Set light intensity, not a memorized distance. The old 18-inch or 3-foot rule cannot account for fixture power, optics or plant response. Start conservatively, follow the fixture’s current guidance and use canopy response or a light meter.
- Use a deliberate vegetative schedule. An 18/6 cycle is a practical default for photoperiod plants in vegetative growth. Leaving lights on for 24 hours is not required.
- Use a repeatable cloning method. Raw honey appeared in the original experiment, but it is not the standard this page recommends now. Follow the complete cloning guide for clean cuts, rooting media, humidity and transplant readiness.
- Do not turn one seed method into a rule. Peroxide is optional, not required. Compare the seven tested germination methods before choosing a workflow.
- Never water by “once a week.” A narrow container can move from wet to dry quickly. Check pot weight and the root zone, then water evenly and confirm that drainage remains open. Waiting for severe droop adds avoidable stress.
The Pringles-can setup that was tested
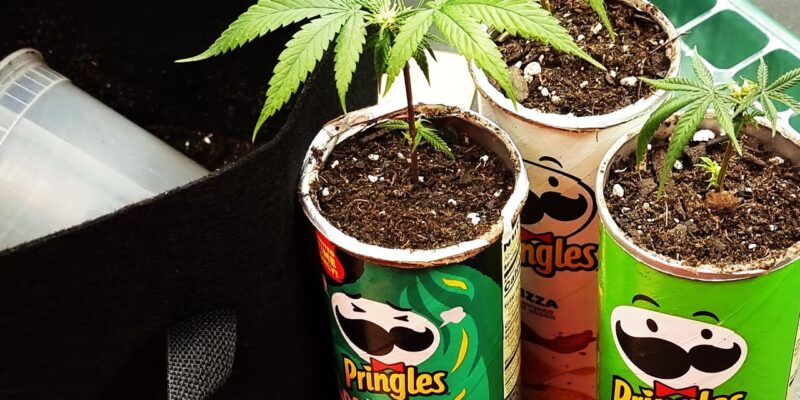
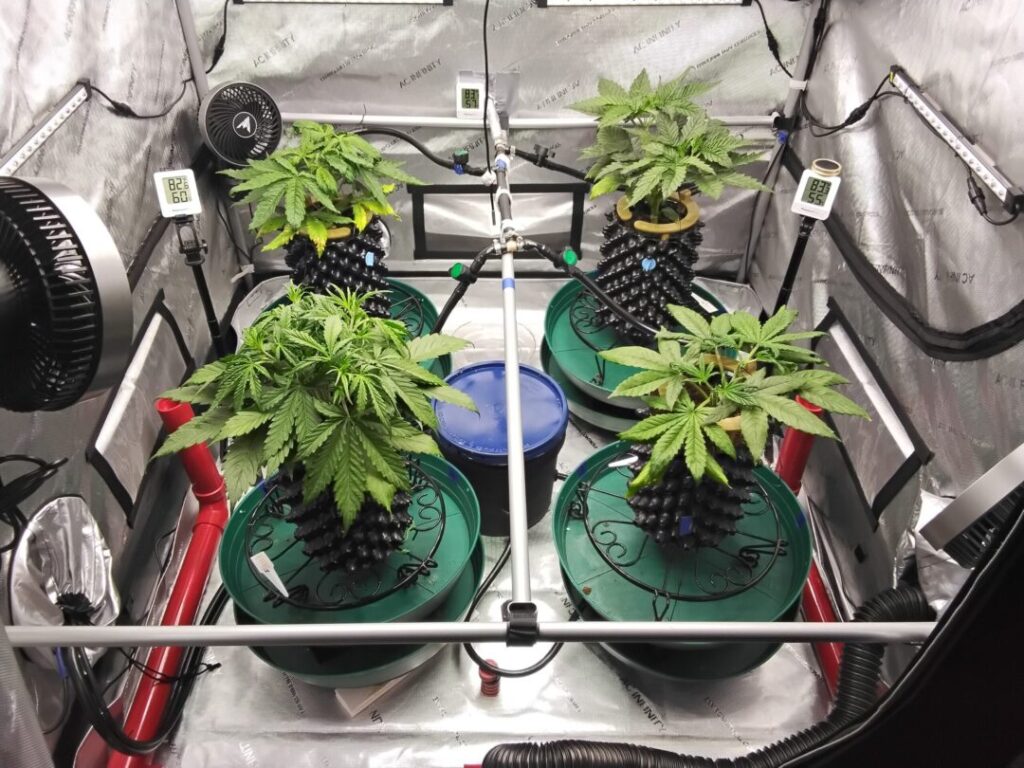
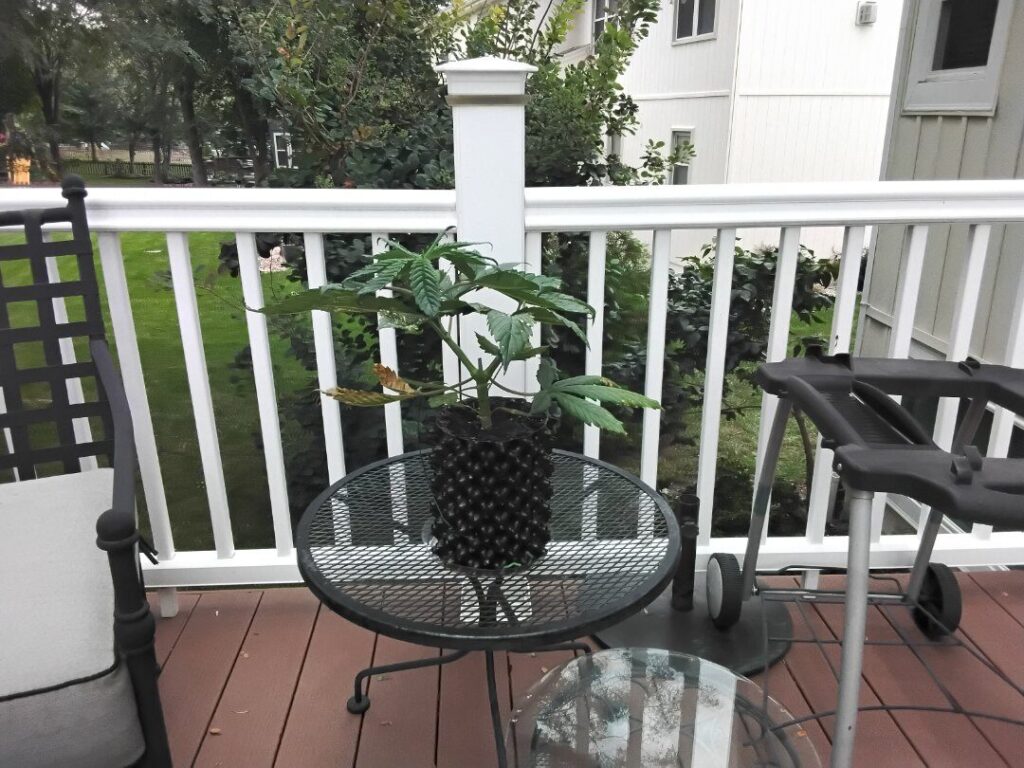
The cans were rinsed, given roughly ten small bottom holes, filled with a two-to-one blend of Happy Frog and Ocean Forest, and placed over a surface that could catch drainage. The rooted clones were set deep enough to support the stems while keeping healthy nodes above the medium.
If you repeat the challenge, add more drainage openings low on the container, keep the can stable in a saucer and inspect the paperboard for softening or separation. A purpose-built nursery pot is the better choice when the goal is healthy growth rather than proving a point. Utah State University Extension notes that containers need adequate drainage and enough room for the root system; very small pots stay small or demand much more frequent watering.
Do not compact the mix hard. Settle it gently, preserve air space and use perlite only when the existing mix needs more drainage. The correct feed timing depends on the medium’s starting charge, plant demand, irrigation frequency and measured EC—not whether it happens to be the third watering.
Part 2: runoff trouble, pests, flower and harvest
Part 2 is where the experiment becomes useful. The flowering clones re-vegetated, the closet got cold, an automated vacation feed missed the mark, runoff PPM rose, leaves declined and fungus gnats appeared. The plants recovered enough to flower, but the root systems had filled the cans and the project had to finish inside that limitation.
What actually went wrong
1. The root zone had almost no buffer
The final opened cans showed roots packed through the available volume. That leaves less moist medium between irrigations and less margin for a concentrated feed. It also explains why the original “water weekly” idea did not survive the grow. For a more reliable workflow, use the cannabis watering guide and respond to container weight, moisture distribution and plant demand.
2. High runoff was evidence, not a complete diagnosis
The video records high runoff PPM, damaged lower leaves and flushing. Today, the better response is to compare the input and runoff using the same calibrated meter and PPM scale, check pH and irrigation uniformity, and inspect the roots before deciding what to change. Flushing is not an automatic cure for every leaf problem. Use the pH, EC, PPM and runoff guide to interpret the trend.
3. Moist organic media supported fungus gnats
The project used Bti mosquito bits, bottom watering and airflow. Those steps should be part of an integrated response: confirm the insect, monitor adults with yellow sticky cards, address larvae with a product labeled for the use, and correct the persistently wet surface that supports the life cycle. Follow the current fungus-gnat control guide.
4. Flowering early limited the damage—and the yield
Once the plants were recovering but clearly outgrowing the cans, switching to flower stopped the vegetative project from becoming even larger. That was a practical rescue decision, not a universal flip date. Use plant health, available height, expected stretch and root volume when deciding when to change growth phase.
Harvest result and the honest verdict
The experiment produced a little over one ounce of better buds and about two ounces of shake across the grow. The small flowers dried faster than a larger harvest and were jarred after roughly five days, but drying should always follow the actual room conditions and flower moisture—not a five-day calendar. The drying guide explains the current environment-based workflow.
Would HWGrow do it again? Probably not. The fun result proved cannabis can finish in a Pringles can, but the root-bound plants demanded more work and returned smaller, less consistent flowers. If you want a compact challenge, use a small purpose-built pot, excellent drainage, a measured feed and an earlier flip. If you want the easiest first grow, start with the complete beginner guide.
Recommended supplies for a better small-container grow

Selfie Seeds™ geneticsStart a compact grow with documented genetics and keep the cultivar information with the project.
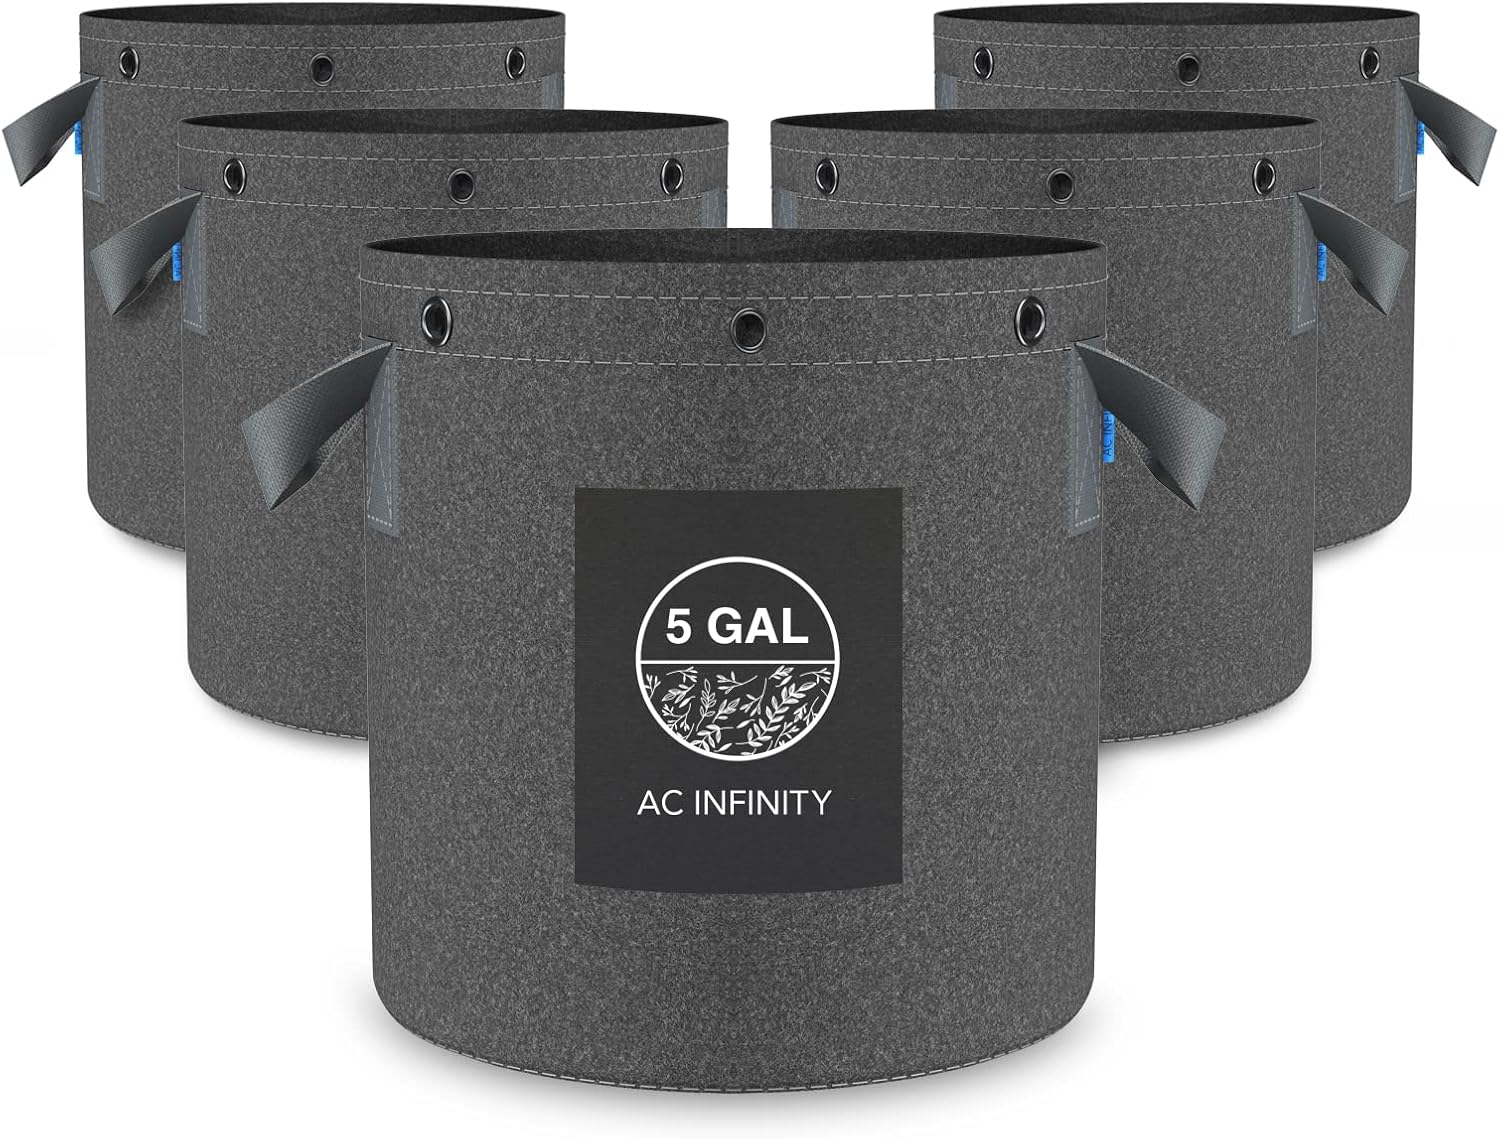
Purpose-built fabric grow potsThe repeatable alternative to a lined snack can: more root volume, better drainage and easier irrigation.

Horticultural perliteAdds air space when a mix is too dense. Inspect the existing medium before automatically adding more.

Digital pH, EC and PPM meterCompare input and runoff consistently instead of diagnosing a small root zone from leaf color alone.

Bti mosquito bitsA microbial larval-control option used in the experiment. Confirm the pest and follow the current product label.
AC Infinity savings: Use code EVYGROWS for additional savings on eligible products. When shopping on Amazon, clip any available coupon first.
Disclosure: Selfie Seeds™ is HWGrow’s in-house genetics source. HWGrow may earn a commission from qualifying Amazon purchases at no additional cost to you. Product destinations can be replaced with equivalent items without changing the grow principles. Verify local laws before ordering or growing cannabis.
Container-growing references
- Utah State University Extension: drainage holes and sufficient root volume in containers
- University of Minnesota Extension: container size, watering frequency and fertilizer timing
Frequently asked questions
Can cannabis finish in a Pringles can?
Yes. This Blue Dream clone experiment reached harvest, but the narrow root zone created frequent watering, nutrient and root-binding problems. A purpose-built container is easier to manage.
Did this grow start from seed?
No. The documented plants were cut from a flowering mother, rooted and then re-vegetated before flowering again. Part 1 briefly discusses seeds, but the finished plants in the series were clones.
How often should a Pringles-can plant be watered?
There is no reliable weekly schedule. Check container weight, root-zone moisture, environment and plant demand. A tiny root volume may need attention much more often as the plant grows.
What would improve the experiment?
Use a stable purpose-built pot, more drainage, an airy medium, measured input and runoff, an earlier flip and a tested vacation-watering plan. Those changes keep the compact challenge without repeating its biggest problems.
You may also like
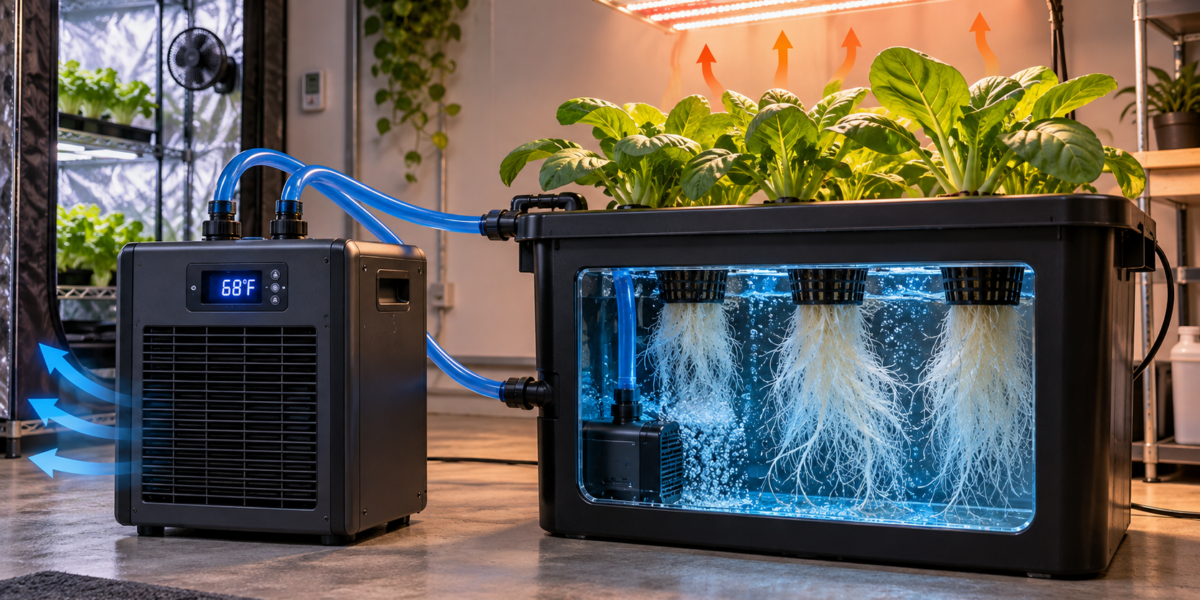
Hydroponic Water Chillers: Stop Summer Root Rot Before It Starts
How to Breed Masterclass – Promo Video




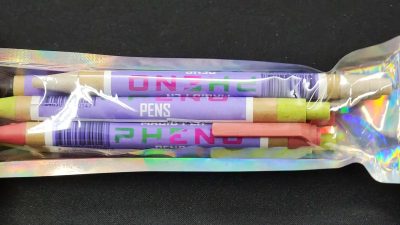
Featured Grow
 Jul 2026 — White Iverson by Selfie Seeds +2 more
White Iverson × Selfie Seeds, Pink Strawberry × Selfie Seeds, Purple Berry × Selfie Seeds • Soil • Started Jul 25, 2026
View journal
Jul 2026 — White Iverson by Selfie Seeds +2 more
White Iverson × Selfie Seeds, Pink Strawberry × Selfie Seeds, Purple Berry × Selfie Seeds • Soil • Started Jul 25, 2026
View journal
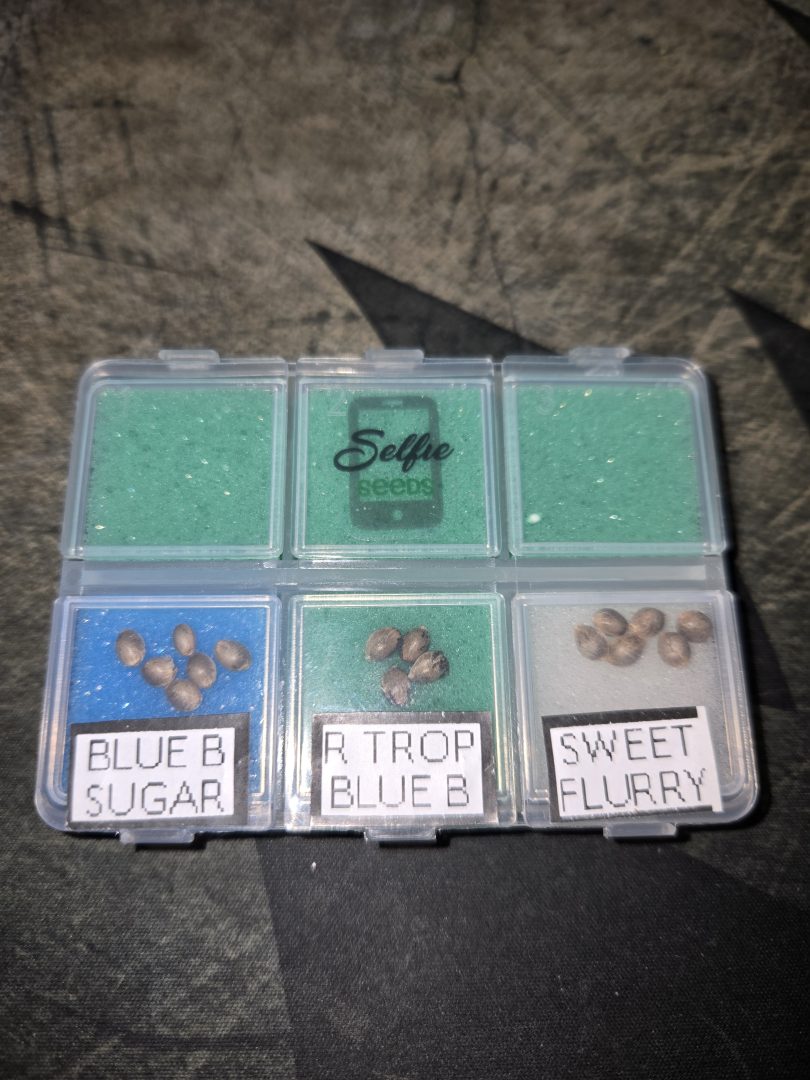 First Selfie Seeds Grow (Blueberry Sugar, Tropical Blueberry, and Sweet Flurry)
Blueberry Sugar × Selfie Seeds, Tropical Blueberry × Selfie Seeds, Sweet Flurry × Selfie Seeds • Soil • Started May 27, 2026
View journal
First Selfie Seeds Grow (Blueberry Sugar, Tropical Blueberry, and Sweet Flurry)
Blueberry Sugar × Selfie Seeds, Tropical Blueberry × Selfie Seeds, Sweet Flurry × Selfie Seeds • Soil • Started May 27, 2026
View journal
Awesome It’ll be a bit chlorophyllie but definitely let me know your opiniones

Walked in this morning before lights out and they are already bouncing back pretty good.
Awesome, fingers crossed for you
Nice LSTing Looks perfectly symmetric

Bananas!!!!! I knew I forgot something today. Thanks, gotta hit the store up in the am anyway. Coming off night,…