


How to Set Up Grow-Tent Ventilation, Inline Fans and Carbon Filters

Last updated: August 2026
Quick answer: Start with a simple exhaust path: carbon filter → inline fan → short duct → outside the tent. Put the exhaust high, open a lower passive intake, and run a separate circulation fan inside the tent. Size the inline fan from the tent’s volume, then leave headroom for the carbon filter, duct bends, heat and humidity. The goal is steady air exchange with the tent walls pulling inward slightly—not a tent that looks vacuum-packed.
Grow-tent airflow sounds more complicated than it is because one word—fan—gets used for three different jobs. The inline fan exchanges air. The clip or oscillating fan moves air around the leaves. The carbon filter controls odor. Once you separate those jobs, the setup becomes much easier to troubleshoot.
The four jobs inside a grow tent
| Part | Main job | What success looks like |
|---|---|---|
| Inline exhaust fan | Replaces warm, humid tent air with room air | Temperature and humidity recover without excessive noise or suction |
| Passive intake | Provides a low-resistance path for replacement air | The tent walls pull inward gently and the intake is not collapsed |
| Circulation fan | Breaks up still pockets around and under the canopy | Leaves move lightly instead of whipping or folding |
| Carbon filter | Adsorbs odor compounds in the exhaust path | Odor stays controlled without choking the useful airflow |
An inline fan does not manufacture carbon dioxide. It replaces tent air with air from the surrounding room, so the room itself still needs a clean source of replacement air. A carbon filter is mainly an odor-control tool; it is not a substitute for air exchange or a HEPA filter.
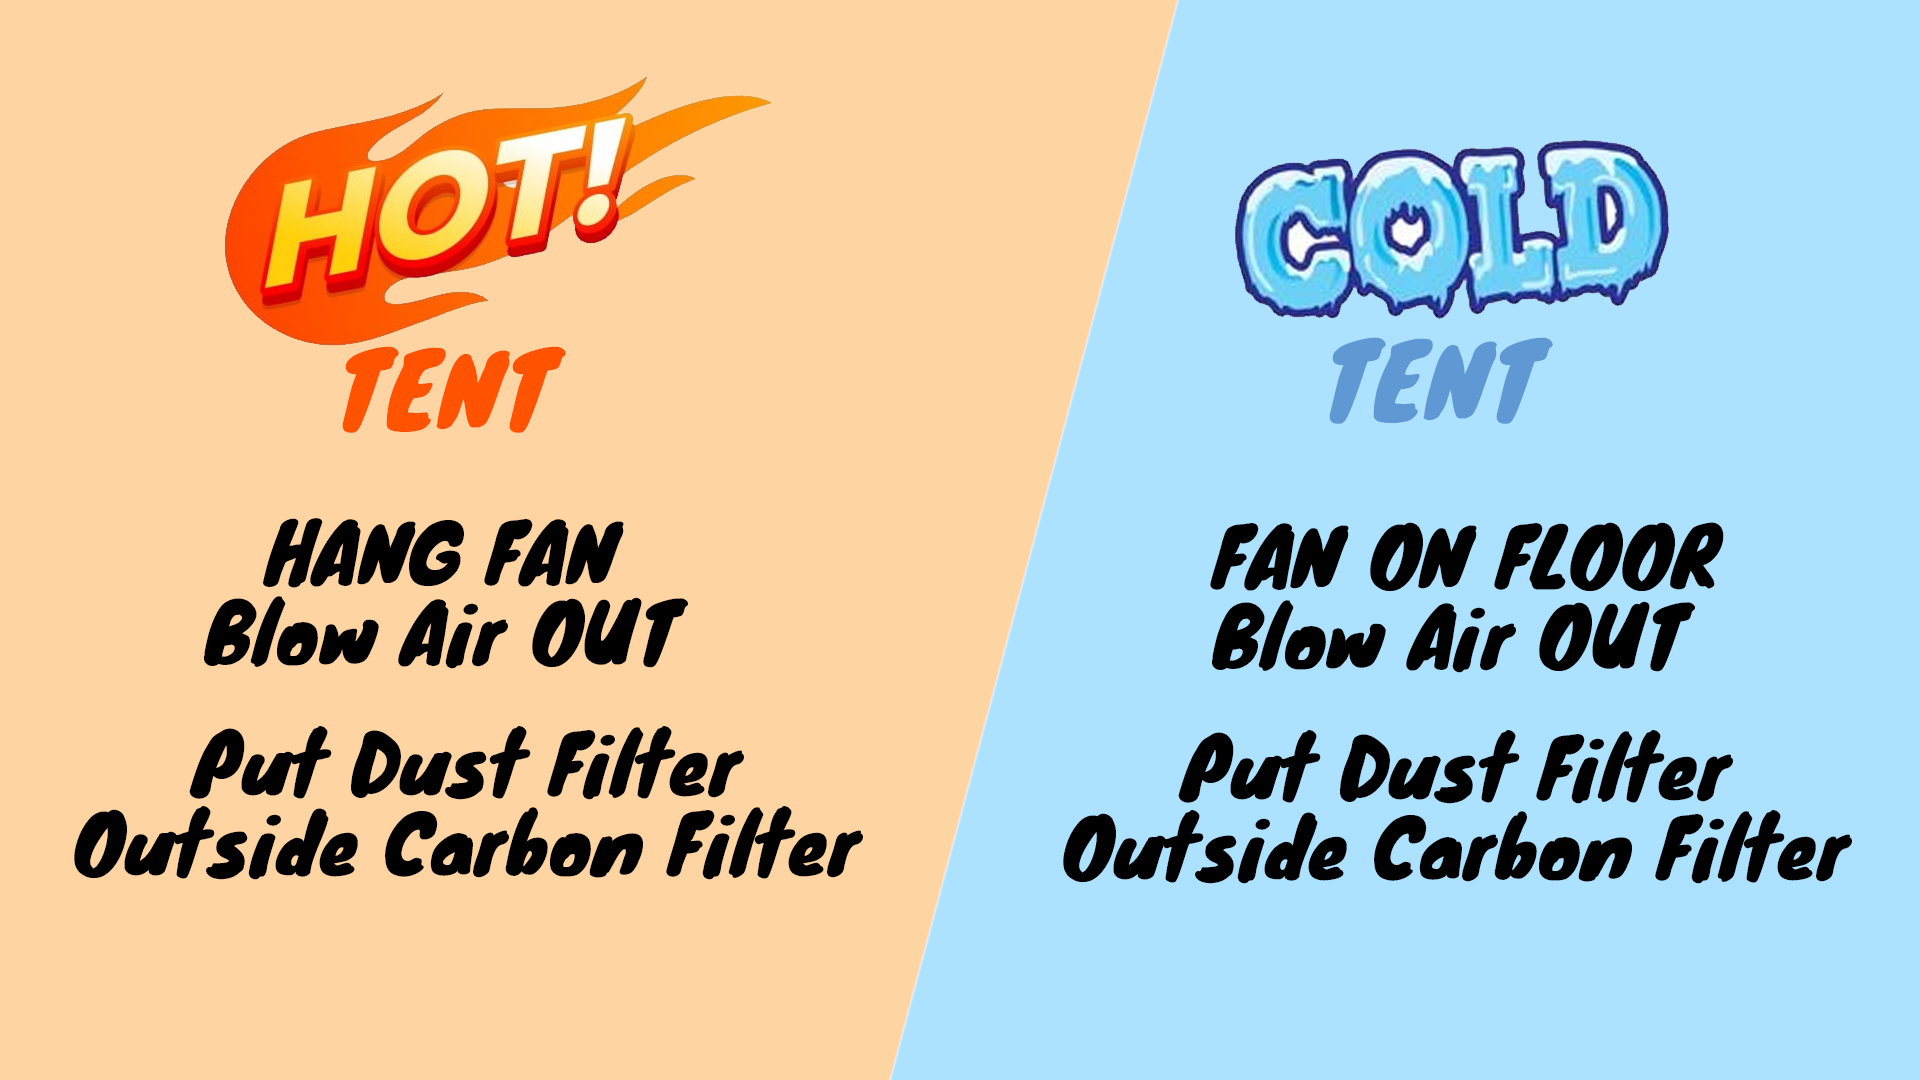
How to size an inline fan without falling for one CFM number
First calculate the tent volume:
Length × width × height = cubic feet.
A 4 × 4 × 6.5-foot tent holds about 104 cubic feet. One agricultural extension starting point for fan-cooled plant spaces is roughly one complete air change per minute at a stated static pressure. That makes the tent’s volume a useful starting CFM number, not the fan you automatically buy. See the Oklahoma State greenhouse ventilation guidance.
Your complete system will move less air than the free-air number on the box. A carbon bed, long duct, crushed duct, sharp bends, silencers and intake screens all add resistance. Compare the fan’s performance data under resistance when the manufacturer provides it, and choose enough control range to increase airflow during hot or humid periods without running full blast every day.
Do not size from tent volume alone. Check:
- the heat produced by the light and other equipment;
- the temperature and humidity of the room feeding the tent;
- the carbon filter’s rated airflow and duct diameter;
- the duct length, number of bends and exhaust destination;
- whether the fan can be slowed without losing odor control; and
- whether you have room to upgrade without replacing every component.
Four-inch kits fit many small tents, while a six-inch system gives a larger 4 × 4-class space more headroom. That is a shopping category, not a guarantee. Run the empty tent through a complete light cycle and let the readings make the final decision.
The standard filter, fan and duct layout
The simplest odor-controlled layout is filter → fan → duct → room exhaust point. Place the filter and fan high in the tent, check that the fan’s airflow arrow points toward the exhaust vent, and keep the duct as short and straight as the room allows.
AC Infinity’s filtration-system manual likewise places the intake low and the exhaust at the highest opposite corner, with the exhaust fan’s arrow pointing away from the grow space. It also documents valid interior and exterior filter configurations. Read the manufacturer installation manual.
Installation video chapters
- 0:00 — See the complete standard layout
- 0:20 — Choose the hanging location and identify the kit parts
- 0:42 — Confirm the filter, fan and duct order
- 0:50 — Route the duct through the exhaust port
- 1:05 — Thread and hang the carbon-filter straps
- 1:59 — Hang the inline fan with rope ratchets
- 2:21 — Check the airflow arrow before tightening
- 2:50 — Clamp and seal the duct connection
- 3:14 — Connect the controller and canopy probe
- 3:34 — Open the lower passive intake
Selecting a timestamp opens the correct moment in the zero-scroll HWGrow popout player, so the reader keeps their place in the article.
Step-by-step installation
- Plan the complete path on the floor. Know where the filter, fan, duct, controller and exhaust will sit before lifting anything.
- Check the support rating. Add the filter, fan, clamps and duct weight. Use every required hanging point and hardware rated above the combined load.
- Hang the filter level. Space two straps wide enough to support the body rather than squeezing one narrow spot.
- Hang the fan beside it. Use two rope ratchets, balance the weight and point the airflow arrow toward the exhaust.
- Join and seal the path. Tighten the clamps and use real foil HVAC tape on loose joints. Do not use ordinary cloth duct tape where heat and humidity can release the adhesive.
- Route the shortest practical duct. Avoid flattened bends and do not dump hot, humid air where the room will immediately feed it back into the intake.
- Place the probe at canopy height. Keep it out of direct light and away from the intake or exhaust stream.
- Open a lower intake. Start larger than you think you need, close the other unused openings, and watch the tent walls.
- Test before plants enter. Run the light and ventilation through a full cycle, then record fan speed, temperature and humidity.
Negative pressure: the easiest airflow check
Close the tent and look at the walls. A slight inward pull means the exhaust is moving a little more air than the passive intake supplies. That helps keep unfiltered odor from leaking through seams. If the walls pull in hard, the intake is too restricted or the fan is unnecessarily high. Open more passive-intake area or reduce the speed while keeping temperature, humidity and odor under control.
Use an independent thermometer/hygrometer near canopy height. The fan controller is useful, but a second sensor catches a bad probe location or calibration problem. Watch the room outside the tent too. Exhaust cannot fix a room that is already too hot or humid; it will keep recycling the same conditions.
When the fan or filter needs to sit outside the tent
A small tent may need every inch of ceiling height for the light. Moving the fan outside is fine when the airflow arrow, filter orientation and duct path remain correct. Keep the fan supported on a stable surface or rated mount rather than letting its weight hang from flexible duct.
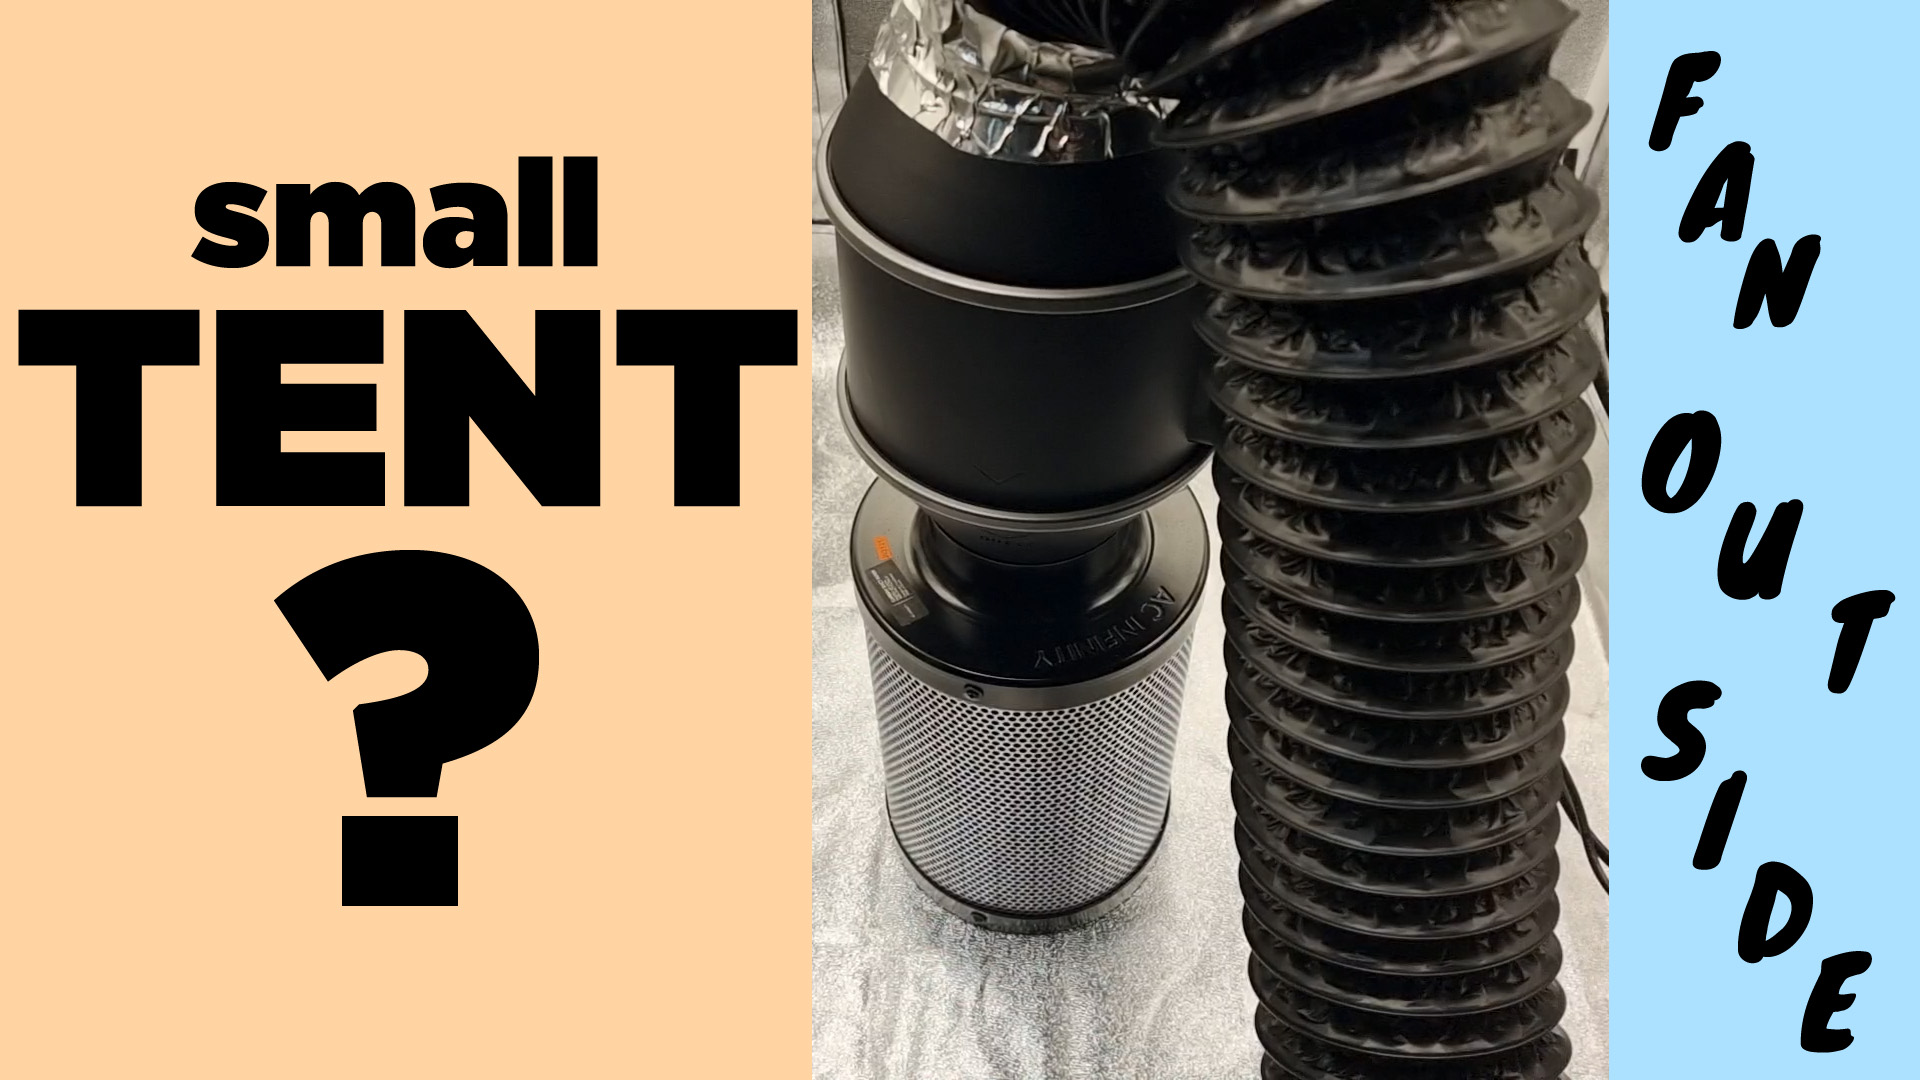
If the filter sits outside and the fan pushes air through it, follow the filter manufacturer’s exhaust configuration and place the prefilter where it protects the carbon in that orientation. Seal the positive-pressure joints carefully because an air leak before the carbon filter can carry odor into the room. The separate fan-inside-or-outside comparison remains a useful layout spoke, but the temperature-only reversal shown late in its older video is superseded by this guide.
Circulation inside the tent
The inline fan exchanges air; it does not automatically move air through every leaf pocket. Add a circulation fan above or beside the canopy and aim for light leaf movement. Do not park a strong fan inches from one branch. As the canopy fills, add or reposition a second gentle path below the canopy instead of turning one fan into a wind tunnel.
Check behind pots, under dense leaves and in corners. Those are the first places humidity can linger. EPA moisture guidance explains why persistent condensation and high humidity deserve attention and recommends moisture control, ventilation and air movement. Read the EPA moisture guide.
Troubleshooting grow-tent airflow
| Symptom | Likely cause | What to check first |
|---|---|---|
| Walls collapse inward | Passive intake is too small or blocked | Open more low intake area; inspect screens and crushed sleeves |
| Heat stays high | Not enough actual exhaust or hot air recirculates | Duct bends, filter resistance, fan speed and exhaust destination |
| Humidity spikes after watering or lights-off | Moisture load exceeds removal | Room humidity, fan minimum, canopy density and drainage |
| Odor leaks | Positive pressure, loose joints or exhausted carbon | Wall pull, clamps, tape, filter orientation and filter age |
| Leaves curl near one fan | Circulation is too direct | Move the fan farther away or lower its speed |
| Fan becomes loud | Restriction, vibration or undersizing | Collapsed duct, sharp bends, dirty prefilter and hanger isolation |
Electrical, condensation and pest safety
- Use listed electrical equipment appropriate for the location. OSHA’s NRTL guidance explains what recognized certification marks mean.
- Keep controllers, plugs and power strips outside the spill zone; use drip loops and disconnect power before servicing the fan.
- Support heavy filters independently. Flexible duct is not a hanger.
- Inspect cold duct surfaces for condensation and keep moisture away from electrical connections.
- A pest or light-blocking intake screen is useful only if it leaves enough free area. If adding it increases suction or hurts climate control, enlarge the intake or use a less restrictive design.
Final setup checklist
- The airflow arrow points from the filter toward the exhaust.
- The filter’s airflow rating matches the intended operating airflow.
- The duct is short, open and firmly clamped.
- The lower passive intake is large enough for gentle negative pressure.
- The circulation fan moves leaves lightly across the whole canopy.
- The controller probe and independent sensor sit near canopy height.
- Power connections stay dry and above the spill line.
- The empty tent has passed a complete light-cycle test.
Recommended grow-tent ventilation tools
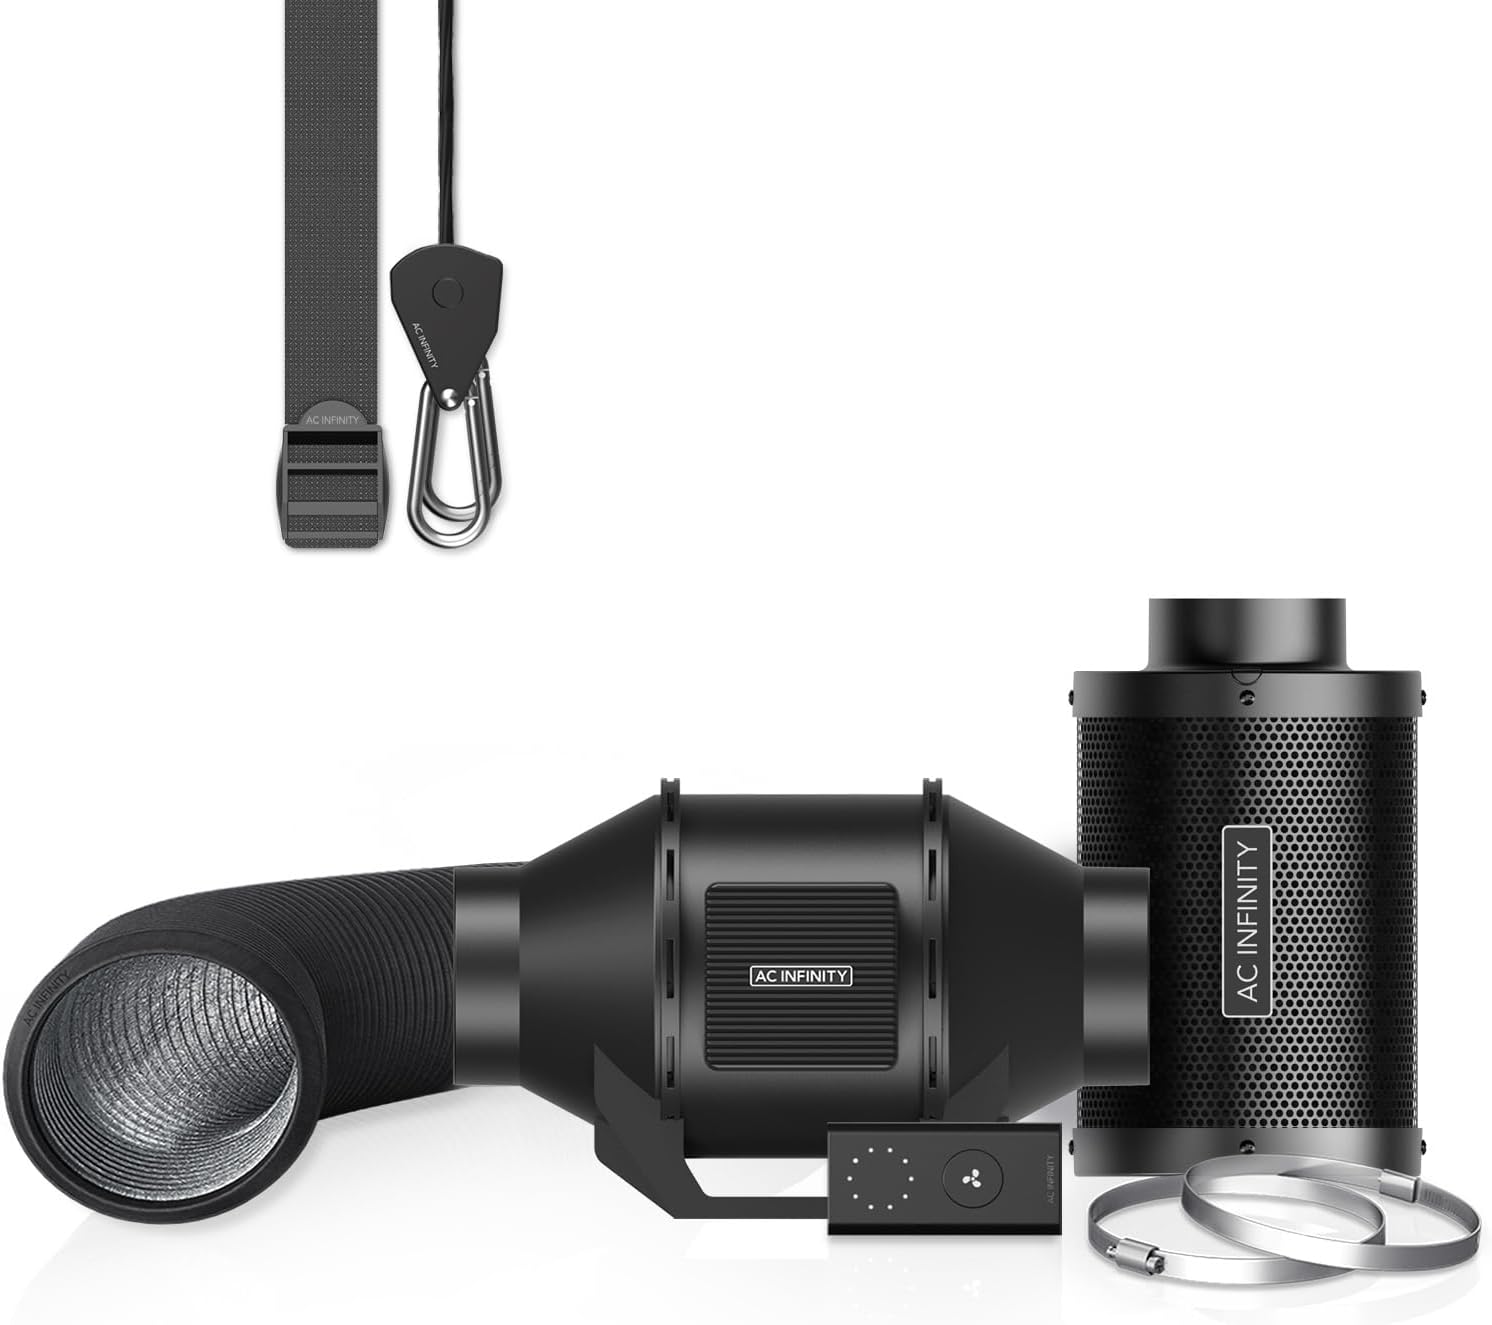 4-inch fan and filter kit
A compact exhaust category for a smaller tent. Confirm the filter rating, controller and actual airflow under resistance.
4-inch fan and filter kit
A compact exhaust category for a smaller tent. Confirm the filter rating, controller and actual airflow under resistance.
 6-inch fan and filter kit
More headroom for a 4 × 4-class setup with a larger heat, humidity or odor load.
6-inch fan and filter kit
More headroom for a 4 × 4-class setup with a larger heat, humidity or odor load.
 Foil HVAC tape
Use a ventilation-rated foil tape to seal loose metal and duct joints; equivalent rated tape can be substituted.
Foil HVAC tape
Use a ventilation-rated foil tape to seal loose metal and duct joints; equivalent rated tape can be substituted.
 Rated rope ratchet hangers
Support the fan and filter independently and confirm the combined rating exceeds the installed weight.
Rated rope ratchet hangers
Support the fan and filter independently and confirm the combined rating exceeds the installed weight.
 Independent thermometer/hygrometer
A second canopy-height sensor helps verify the controller probe and spot room-versus-tent problems.
Independent thermometer/hygrometer
A second canopy-height sensor helps verify the controller probe and spot room-versus-tent problems.
AC Infinity savings: Use code EVYGROWS for additional savings on eligible products. When shopping on Amazon, clip any available coupon first.
Affiliate disclosure: HWGrow may earn a commission from qualifying purchases at no additional cost to you. Equivalent products can be substituted without changing the ventilation method.
Comments
Leave a reply
You may also like
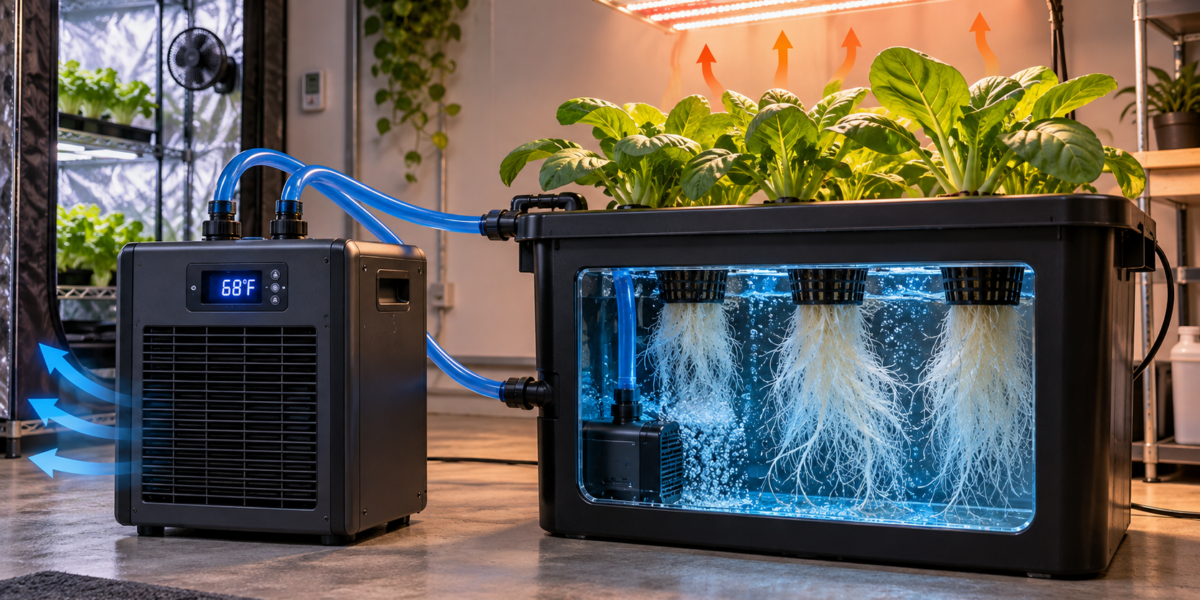
Hydroponic Water Chillers: Stop Summer Root Rot Before It Starts

How to Breed Masterclass – Promo Video







Featured Grow


HA!!! I love pictures. Noticed I'm missing a zip tie on a T-piece. Good deal.
Feed at 6 ounces, bring up to 8
Absolutely, just had it set up as I didn't want to disturb anything down there later on stabbing them through.…
I am not excited about em lol. I think my pump is a little on the high side right now,…
Remember Don’t drown them early on, I would start off the first couple of weeks hand feeding them using a…
Hey, im a grower from Portugal. Another great video you made.
Thank you very much for all the informative content.
Is it ok to place the exaust fan on the outside of the tent, with the duct sucking the hot air form the top of the tent?
Thank you
yes, just make sure the fan is secure and doesnt have the ability to topple over.