

How to Choose an LED Grow Light for Cannabis
Light-intensity video chapters

Last updated: August 2026
Quick answer: Choose an LED grow light that matches the actual canopy—not merely the tent label. Start your shortlist around 30 watts of quality LED power per square foot, then compare the fixture’s PPFD map, dimming range, heat, efficiency, warranty and real grow results. After installation, measure the canopy and adjust the light instead of trusting a marketing chart.
LED shopping gets confusing because every box promises a full spectrum, huge coverage and record yields. I have bought, tested and grown with more than 20 fixtures, and most of the jargon matters much less than five practical questions: Does it cover the whole canopy? Can you dim it smoothly? Does it create more heat than the room can remove? Can you verify the intensity? And has somebody actually finished a good grow under it?
The five things that matter most
| Priority | What to check | Why it matters |
|---|---|---|
| 1. Canopy coverage | A PPFD map at a stated height and dimmer setting | A strong center reading cannot rescue dark corners. |
| 2. Adjustable intensity | A continuous dimmer and enough hanging clearance | Seedlings and mature flowering plants do not need the same intensity. |
| 3. Heat | Actual wattage, driver placement and the room’s cooling capacity | Every watt becomes heat somewhere in the room. |
| 4. Efficiency and build | PPF, PPE, safety listing, warranty and replaceable parts | Better output per watt lowers long-term operating cost, while serviceability protects the purchase. |
| 5. Proof | Complete grows under the same model or fixture class | A finished canopy tells you more than an unboxing video. |
1. Match the light to the canopy
My fast starting rule is roughly 30 watts of modern LED lighting per square foot. A 3 × 3 canopy is 9 square feet, so 9 × 30 gives you a 270-watt starting point. A 4 × 4 is 16 square feet, so the same shortcut gives you 480 watts. This is a shopping filter, not a guarantee. Fixture efficiency, shape, hanging height, reflective walls and plant layout can change the result.
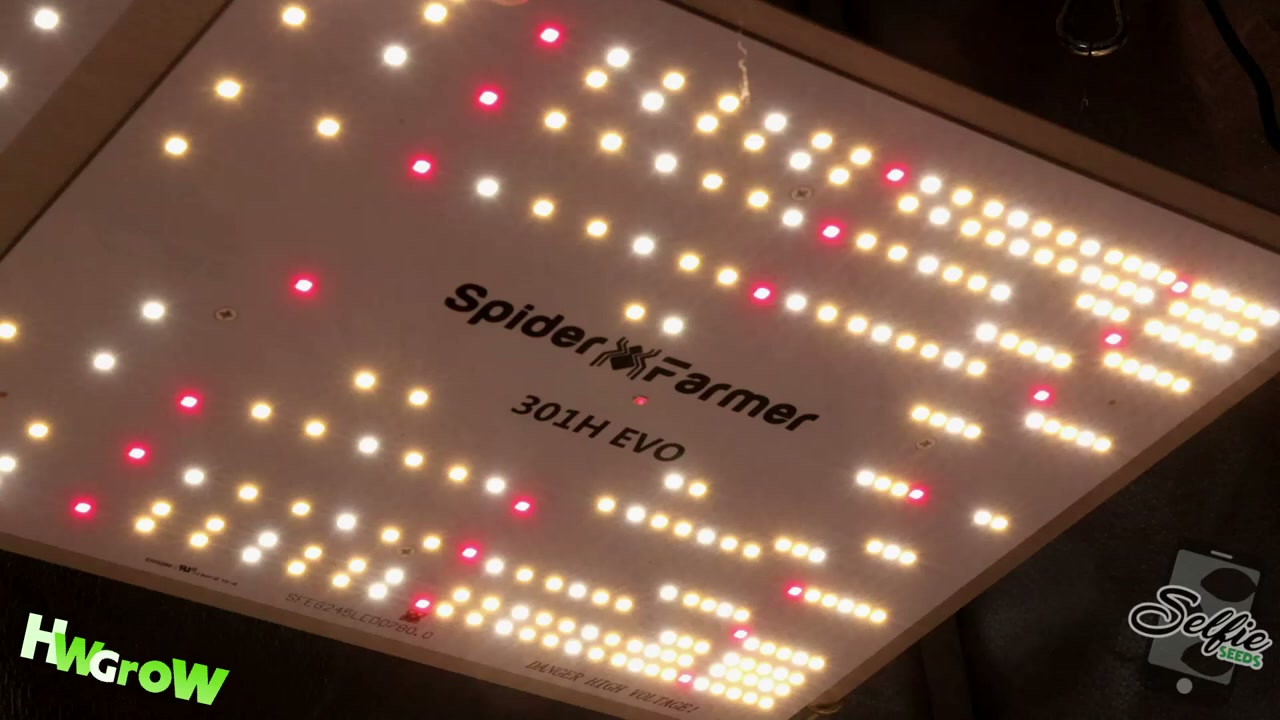
The tent size printed on a product page is not enough. Look for a full PPFD map taken at a clearly stated hanging height and power setting. Check the weakest corners as well as the bright center. Bar-style fixtures often spread output more evenly across a large square, while a compact panel can make sense in a smaller rectangular space. Either design can work when the measured coverage matches your canopy.
Do not buy extra wattage just because it sounds safer. An oversized light may run dimmed, but you are still paying for capacity, weight and heat you might never use. If the room or tent is not built yet, start with the complete grow-tent setup guide so the fixture, exhaust and ceiling clearance are planned together.
2. Compare output, efficiency and spectrum without getting lost
Three lighting terms do different jobs:
- PPF is the total photosynthetic light the fixture emits each second.
- PPE describes how efficiently the fixture turns electrical power into that light.
- PPFD is the light that actually reaches a square meter of canopy each second.
A high PPF number can still be poorly distributed, so pair the specification with a PPFD map. A higher PPE can reduce the watts needed for similar output, but purchase price, usable coverage and driver longevity still matter. In a controlled cannabis lighting study, fixture efficacy and initial cost were more important to return on investment than chasing one spectrum recipe; the exact response still depended on the tested environment and cultivar. Read the primary study.
For a beginner, a reputable full-spectrum white fixture with supplemental red diodes is the simple choice. Do not choose a light because one company claims a magic spectrum. If two fixtures cover the same area, compare the PPFD map, PPE, dimmer, heat, safety certification, warranty and complete harvests.
3. A continuous dimmer is more useful than maximum power
Plants need less light when they are small and more as the canopy develops. A continuous dimmer lets you change intensity without constantly rebuilding the hanging system. It also gives you room to reduce heat during a hot week or lower output when the plants are showing stress.
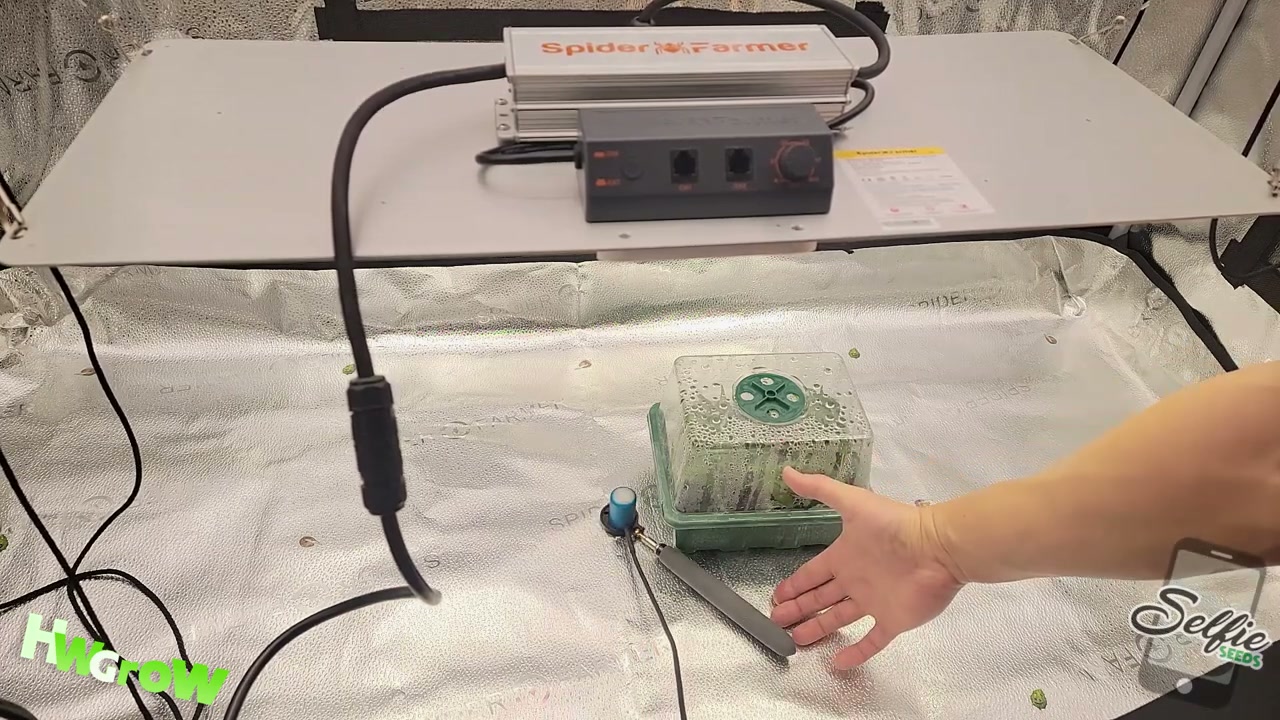
Interval controls that jump from 25% to 50% can work, but a smooth dial is easier to tune. Remote controllers and schedules are convenient, yet the light should still be usable if the app, Wi-Fi or controller disappears.
4. Measure the canopy instead of guessing
Once the fixture is hung, your meter becomes more useful than the box. The HWGrow video below uses a deliberately simple range: find a conservative low reading near 200 PPFD for young plants, then build toward an upper reference around 800 PPFD for a developed flowering canopy. Those are HWGrow workflow targets, not universal biological limits. Cannabis response changes with cultivar, temperature, humidity, CO₂, photoperiod and the rest of the environment. Controlled research has shown that yield and photosynthesis respond to increasing light, but not every cultivar responds in the same way. See the cannabis light-intensity study.
Selecting a timestamp opens the correct video in the zero-scroll HWGrow popout player, so you keep your place in the article.
The 16-inch spacing in the video is a conservative HWGrow starting buffer, not a rule that overrides the manufacturer. Some fixtures require more clearance, and some bar lights are designed for closer placement. Begin with the fixture instructions, measure at the actual top of the canopy, and raise the light as the plants grow. Record the height, dimmer percentage and readings so the next run starts with evidence instead of memory.

A quantum meter is the reference tool, but a properly configured phone app can be useful for repeatable home measurements. In one HWGrow test using an iPhone 14 Pro, the Photone accessory diffuser differed by about 2.3% to 2.4% from the Apogee MQ-500 across the tested grids. Treat that as one controlled comparison—not a promise for every device. The separate LED light measurement guide contains the full meter and diffuser workflow.
5. Think about daily light, not one instant reading
PPFD is an instant measurement. Daily light integral (DLI) adds those photons across the complete light period. Two gardens can read the same PPFD but deliver different daily light when one runs 18 hours and the other runs 12.
DLI = PPFD × light hours × 3,600 ÷ 1,000,000. For example, 500 PPFD for 12 hours is 21.6 mol·m⁻²·day⁻¹. Apogee’s official guide explains the measurement and calculation in more detail. Read the DLI guide.
You do not need to chase a perfect DLI number on day one. Use it to understand why changing the dimmer, height or photoperiod changes the total dose. If leaves begin paling, praying too hard, curling, bleaching or foxtailing after an increase, step back and inspect heat, distance, watering and the rest of the environment instead of assuming more light is always better.
6. Heat, driver placement and room limits
Heat is the lighting feature people notice after the return window closes. A 500-watt light adds roughly 500 watts of heat to the room whether the driver feels hot or the fixture feels cool. Efficient fixtures produce more usable light from that power, but the electrical energy still ends up as heat somewhere in the growing space.
Before buying, ask whether the room can exhaust or cool the fixture during the hottest month. A removable driver can sometimes move part of the heat outside the tent, but it needs a safe, dry, ventilated mounting position and the manufacturer must allow the configuration. Use the temperature and humidity guide to evaluate the complete room instead of shopping for the light in isolation.
7. Install a large LED safely
Assemble a bar light on a clean, flat surface with the power disconnected. Keep every bar facing the intended direction, lock each cable connector, and use all manufacturer-specified hanging points. Four rated rope ratchets give a large fixture more stability than balancing it from one or two points. Raise it gradually from opposite corners and keep power cords away from the watering area.
Installation video chapters
- 0:16 — Lay out the frame and light bars
- 0:37 — Attach the bars in the correct direction
- 0:56 — Lock the bar power connections
- 1:13 — Set four rope ratchet hangers
- 1:59 — Mount and connect the driver
- 2:32 — Organize cords and power on safely
8. Calculate the real electricity cost
The shopping price is only the first cost. To estimate electricity, convert watts to kilowatts and multiply by the hours used and your rate:
Monthly cost = (watts ÷ 1,000) × hours per day × days × price per kWh.
A 480-watt fixture running 12 hours a day for 30 days uses 172.8 kWh. Multiply that by the all-in rate on your bill. At $0.20 per kWh, the light alone would cost $34.56 for that month. The U.S. Department of Energy uses the same power-times-time relationship in its electricity-cost teaching material. See the DOE worksheet.
If your utility offers time-of-use pricing, moving the light period into the cheaper window may reduce cost without changing the photoperiod. Search your ZIP code plus electricity rate plan or check the rate section of your utility bill. Do not assume nights are cheaper everywhere; many homes have one flat rate, and some time-of-use plans include fees or seasonal windows.
Electricity-cost video chapters
- 0:00 — Why the light schedule came up
- 0:20 — Peak versus off-peak pricing
- 0:42 — Look up your own utility schedule
- 0:51 — The provider-specific rate example
LED grow-light buying checklist
- The measured canopy footprint matches the space.
- The PPFD map includes the edges and states the height and power setting.
- The fixture has a continuous dimmer.
- The room can remove the heat during the hottest season.
- PPF and PPE are documented by a credible source.
- The light has an appropriate electrical safety listing for your location.
- The warranty, seller and replacement process are clear.
- The hanging hardware is rated for the fixture and leaves adjustment room.
- You can find complete grows—not only unboxings—under the model or fixture class.
- The monthly electricity estimate fits the budget.
Recommended LED grow-light tools


Affiliate disclosure: HWGrow may earn a commission from qualifying purchases at no additional cost to you. Product destinations may be replaced with equivalent items without changing the lighting method.
You may also like
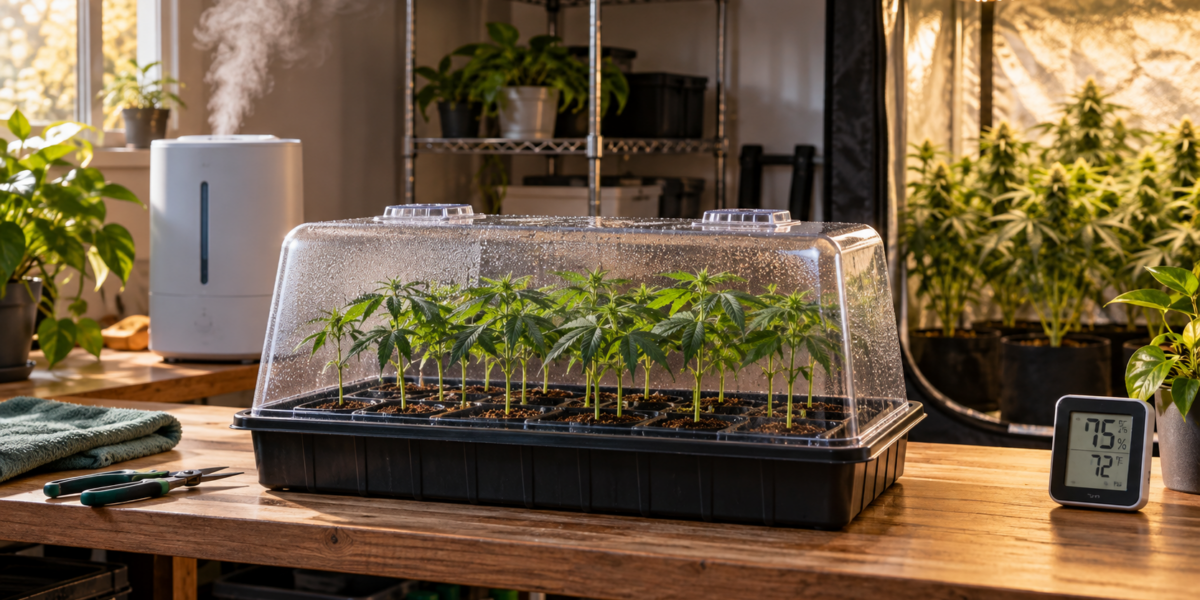
Best Grow Tent Humidifier: Why Young Plants Need More Humidity
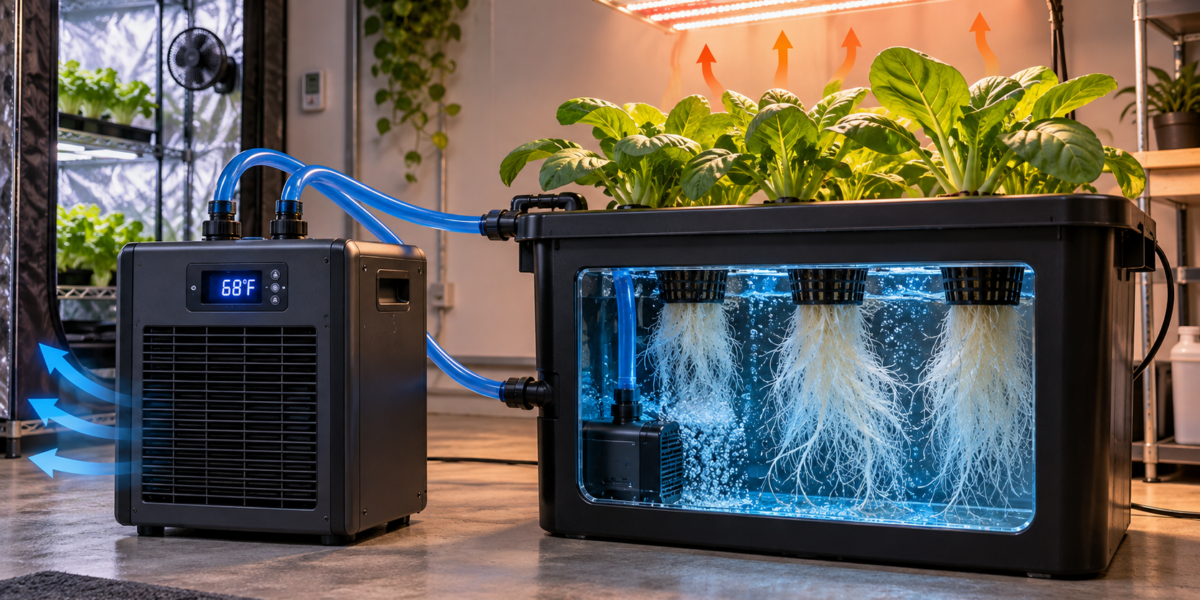
Hydroponic Water Chillers: Stop Summer Root Rot Before It Starts




Featured Grow
 Jul 2026 — White Iverson by Selfie Seeds +2 more
White Iverson × Selfie Seeds, Pink Strawberry × Selfie Seeds, Purple Berry × Selfie Seeds • Soil • Started Jul 25, 2026
View journal
Jul 2026 — White Iverson by Selfie Seeds +2 more
White Iverson × Selfie Seeds, Pink Strawberry × Selfie Seeds, Purple Berry × Selfie Seeds • Soil • Started Jul 25, 2026
View journal
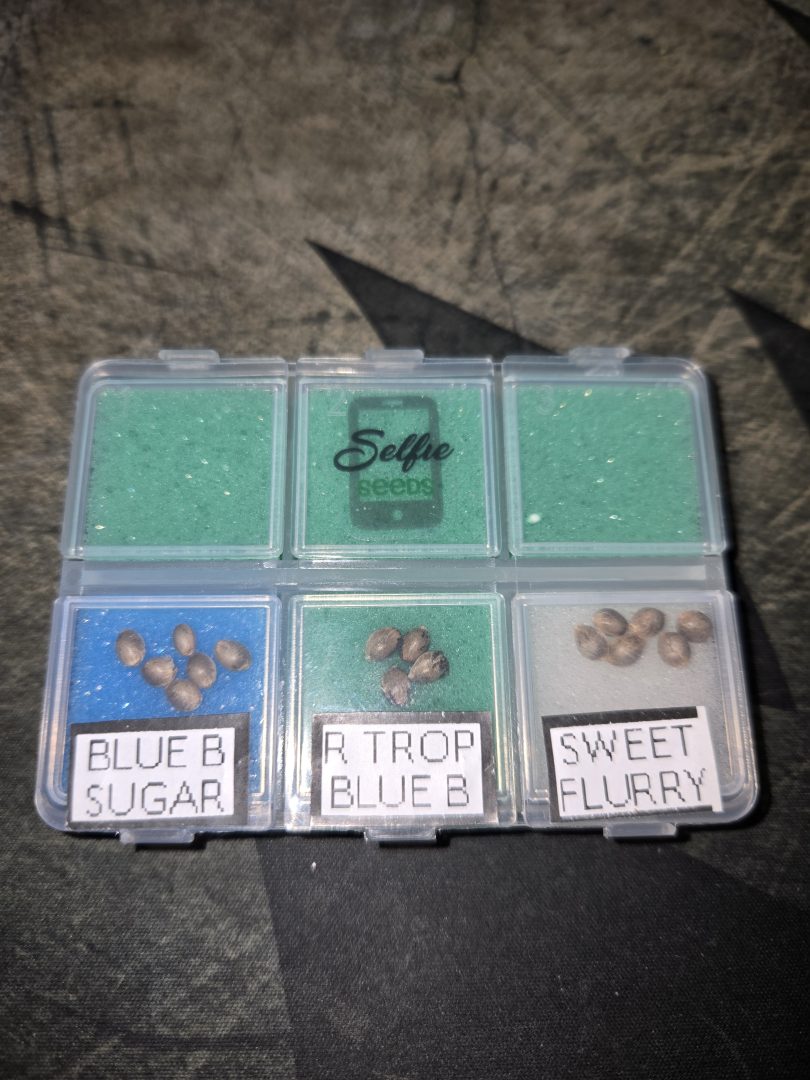 First Selfie Seeds Grow (Blueberry Sugar, Tropical Blueberry, and Sweet Flurry)
Blueberry Sugar × Selfie Seeds, Tropical Blueberry × Selfie Seeds, Sweet Flurry × Selfie Seeds • Soil • Started May 27, 2026
View journal
First Selfie Seeds Grow (Blueberry Sugar, Tropical Blueberry, and Sweet Flurry)
Blueberry Sugar × Selfie Seeds, Tropical Blueberry × Selfie Seeds, Sweet Flurry × Selfie Seeds • Soil • Started May 27, 2026
View journal
Awesome It’ll be a bit chlorophyllie but definitely let me know your opiniones

Walked in this morning before lights out and they are already bouncing back pretty good.
Awesome, fingers crossed for you
Nice LSTing Looks perfectly symmetric

Bananas!!!!! I knew I forgot something today. Thanks, gotta hit the store up in the am anyway. Coming off night,…