


How to Set Up a Grow Tent: Complete Beginner Guide

Updated November 7, 2026
Setting up a grow tent should be simple. In this video, I walk through the frame, light, ventilation and timer in the order I install them. Follow along, then use the short notes below when you need a reminder.
Still choosing equipment? Use my complete grow-tent buying guide for the products, lights and fans I recommend for each tent size. That is the equipment list to use with this setup guide.
Jump to a part of the setup video
- 0:05: Setup overview and build order
- 0:44: Assemble the frame and reflective shell
- 3:14: Begin the lighting setup
- 5:46: Run the light and measure tent heat
- 6:27: Ceiling-mounted exhaust layout
- 12:35: Outside-the-tent exhaust layout
- 14:26: Floor-mounted internal exhaust layout
- 15:46: Install the circulation fan
- 16:09: Connect the light timer
- 16:23: Check for light leaks
Build it where it will stay
Measure the room first, including ceiling height and space to open the tent and reach the back. Assemble the frame there, seat every joint, and work the cover over it. If the last corner will not fit, check the poles and frame alignment before pulling harder. Keep sharp tools away from the liner.
Fit the spill tray and support bars, then hang the equipment with properly rated hardware. Count the full weight of the light, filter, fan and accessories against the tent’s load limit. Crossing support bars does not increase that limit.
Hang the light, then sort out the air
Check where the cord and dimmer will sit before lifting the light. Raise it evenly, keep it level and follow the manufacturer’s clearance requirements. My grow-light guide covers height, coverage and measuring the light.
Turn the light on and check the temperature where the plants will sit before choosing the exhaust layout. I show three arrangements in the video. Check the fan’s airflow arrow, keep ducting short and uncrushed, and seal the connections. The inline-fan guide lets you jump to the layout that fits your room.
The exhaust exchanges air; the internal fan moves it around the plants. Aim for gentle movement rather than blasting one spot all day.
Finish with the timer and a test run
Use a timer rated for the light’s load. Keep plugs and power strips above the watering area, make drip loops in the cords, and never overload or daisy-chain power strips. The CPSC’s electrical-safety guidance explains why this matters.
Check the seams, zippers and ports for light leaks, then run the empty setup through a complete light cycle. Confirm the timer switches correctly, air is moving in the intended direction, and temperature and humidity stay manageable. Fix loose hangers, duct leaks and vibration now, while the tent is easy to reach. Wipe up spills instead of leaving water in the tray.
Ready for the next step?
For shorter demonstrations of each job, use my four-part tent installation guide. Once the tent is running, keep the interactive cheat sheet handy and follow the complete growing guide.
Optional: my earlier 2 × 4 and 4 × 4 equipment video
This shows the equipment I used at the time. For what to buy now, use the products in the updated buying guide.


Comments
Leave a reply
You may also like
pH vs. PPM for Cannabis: EC Scales, Buffering and Nutrient Lockout
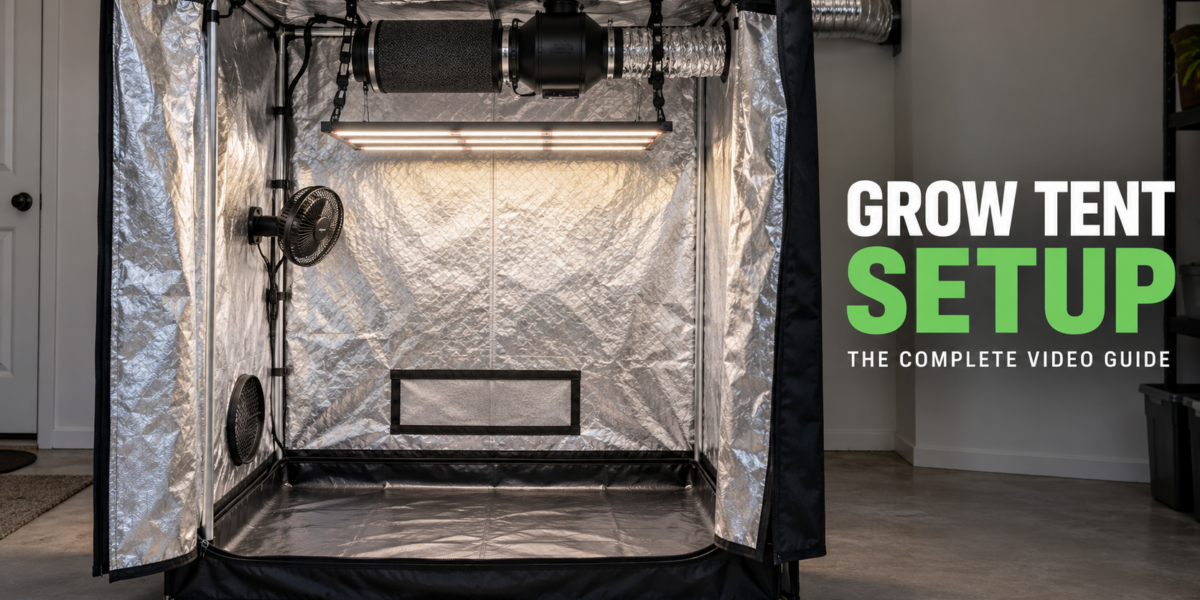
Complete Grow Tent Setup: Four Videos, One Working Setup






Featured Grow
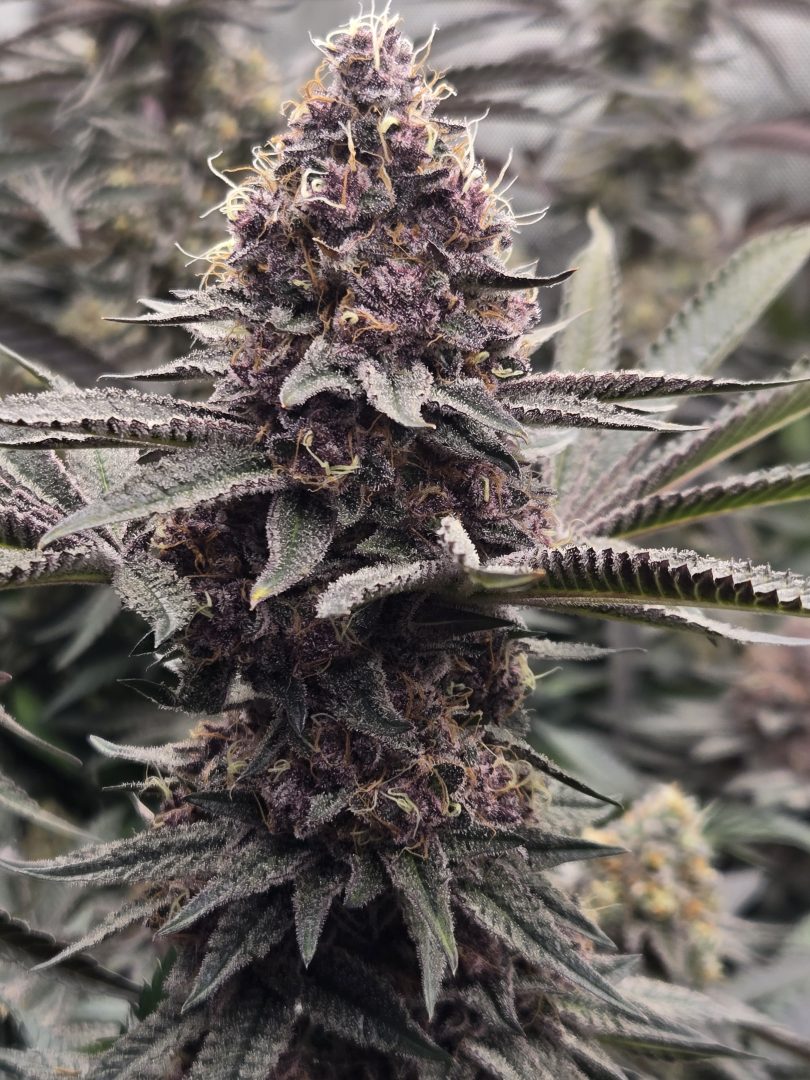 First Selfie Seeds Grow (Blueberry Sugar, Tropical Blueberry, and Sweet Flurry)
Blueberry Sugar × Selfie Seeds, Tropical Blueberry × Selfie Seeds, Sweet Flurry × Selfie Seeds • Soil • Started May 27, 2026 • Harvested…
View journal
 Jul 2026 — White Iverson by Selfie Seeds +2 more
White Iverson × Selfie Seeds, Pink Strawberry × Selfie Seeds, Purple Berry × Selfie Seeds • Soil • Started Jul 25, 2026
View journal

My train of thought is that the leaves extend to the edge of the pot, the coco seemed plenty wet…
I think it’s too early for the self watering base. The roots need to extend out to the pot and…
Ps x pb looks like it’s either drowning or not enough water. I would try to see if the rooter…

frosty and preggo... you kinky bastige!!!
Later on when they both establish themselves I their pots , they’ll be in the same pace of growth, it…
In measuring the temperature of the inside of My tent with the lights on, at what percent should the light bar be on?
How to Test and Measure Your LED Lights – 2023 Update
whatever youll be using it at
And should I vent My tent to carry the exhaust out doors.
into your room is fine
Is there anyway you could explain what a probe is, and why I should buy one?
a probe is something that measures either your temp or humidity and is usually tethered to your controller. You want to place this near your plants for the most reliable measurements.