


How to Germinate Cannabis Seeds: Easy Soil and Rapid Rooters

Last updated: November 2, 2026Two ways to get started: Plant directly in soil if you want the simplest route. Use Rapid Rooters if you want the method I preferred in my seven-way comparison, with fast planted emergence and a protected root system that moves as one piece.
You do not need a complicated ritual to sprout a seed. You need moisture, warmth and air, then enough patience to leave it alone. Start with Easy Mode below, watch what happened in the comparison, and decide whether the extra control of a plug is worth it for your setup.
Easy Mode: soil · The seven-way comparison · Advanced Mode: Rapid Rooters · Open the cheat sheet
1. Easy Mode: germinate directly in soil
This is the easiest way to sprout seeds without all the noise. By premoistening the soil and using your tent as a humidity dome and heat container, you help create the environment seeds need to germinate. Watch the new walkthrough first.
The idea is simple: prepare the moisture before planting, cover the seed with a clear cup, and monitor the environment instead of repeatedly digging up the seed to check it. Starting in the final pot also removes the early transplant step.
- Premoisten the soil evenly. Mix it thoroughly so the center is not dry while the edges are soaked. Keep the structure loose rather than pressing it down. The 15-pound total in the video was for that particular pot and soil.
- Work cleanly. Use clean hands and tools. I show a peroxide wipe in the video. Clean handling matters; do not assume more peroxide is better or use an unfamiliar concentration.
- Plant once, then leave it alone. The video shows the seed orientation and a loose covering of soil. Avoid packing the surface or reopening the hole each day.
- Use the clear cup as a small dome. It slows moisture loss around the seed. The tent helps contain warmth and humidity, but measure conditions at pot level. A sealed tent can overheat, so measure your own setup.
- Make the transition when the shoot emerges. In this demonstration, that happened around day four. Timing varies with the seed and conditions. Begin ventilating the cup, provide appropriate seedling light and use Week 1 of the cheat sheet for the next stage.
The seed does not need nonstop light to open. In this setup, the light also supplies heat. That is why the environment at the pot matters more than copying a dimmer percentage from a different fixture.
Easy Mode supplies
These are the soil and fabric pots already listed in Everything HWGrow Uses. A clean clear cup and clean mixing container complete the basic setup.
 Happy Frog soilThe soil used for the Easy Mode start. Premoisten it evenly and keep it loose rather than compressing it.View product
 Fabric potsThe guide’s fabric containers for starting directly in soil. Choose the container size appropriate for your setup.View product
Affiliate disclosure: HWGrow may earn a commission from qualifying purchases at no additional cost to you. Selfie Seeds™ is HWGrow’s in-house genetics source. Follow local laws.
2. Seven methods, side by side
Soil works. That is not the same as saying every method is equally convenient. I compared seven approaches using seeds from the same cross: direct soil, Rapid Rooters, rockwool, a cup of water, an alfalfa sprouter, a flat paper towel and a hanging paper towel.
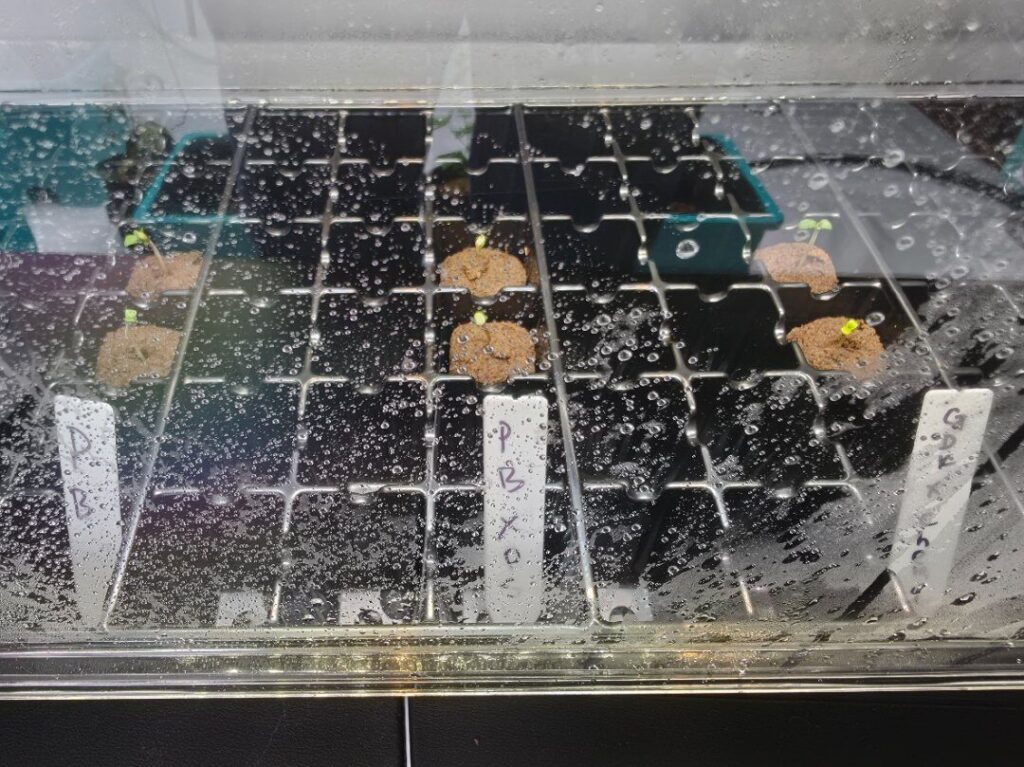
Every method produced a seedling. Rapid Rooters gave me the best overall result. The first two planted seedlings to break through the surface were in Rapid Rooters. The soil seeds also emerged successfully, while the towel, water and sprouter methods left roots exposed for a later transfer.
- Rapid Rooters: early planted emergence, with the new root supported inside a plug.
- Direct soil: a straightforward start with no loose-root transfer, but less visibility into moisture around the buried seed.
- Rockwool: successful germination, but later planted emergence than the faster results in this test.
- Cup of water: the seeds opened, but the exposed roots still needed careful planting.
- Flat paper towel: visible root growth, with some roots beginning to catch in the paper.
- Hanging paper towel: straighter downward roots, but still an exposed-root transfer.
- Alfalfa sprouter: early visible sprouting and long roots, with extra rinsing and handling.
There is one important distinction here: seeing a root on a towel is not the same measurement as seeing a seedling emerge from soil. This was a practical grow-room comparison, not a large laboratory trial. The hanging towel also sat outside the shared seedling station. These results explain my preference, but they do not promise that a plug wins with every seed and every environment.
See the full seven-way comparison and results.
Why I still prefer Rapid Rooters
Speed, clean handling and taproot protection. Those are the practical reasons. Rapid Rooters produced the earliest planted emergence in this test, and I can move the entire plug instead of picking up a delicate exposed root. A fresh plug in a clean tray also gives me a small, manageable starting environment.
That last point is about sanitation, not literal sterility. Rapid Rooters contain sphagnum peat and composted bark, and the manufacturer says they support beneficial microbial activity. I did not measure contamination in this comparison. I still clean the tray and tools, keep the plug out of standing water and avoid unnecessary handling.
3. Advanced Mode: germinate in Rapid Rooters
“Advanced” does not mean difficult. It means using a separate propagation setup for more control, then transplanting the intact plug. The original Rapid Rooter tutorial stays here so you can follow either method from the same page.
What you need
- Viable cannabis seeds
- Fresh Rapid Rooter plugs
- A clean tray and adjustable humidity dome
- Clean water
- A clean cup or bowl and clean hands/gloves
- A spray bottle for the dome, not for repeatedly soaking the plug
- A thermostat-controlled heat mat only if the plug is actually too cool
If you have not chosen the cultivar yet, start with the public seven-factor strain-selection guide. Germination technique cannot repair weak or badly stored seed.
How to germinate a cannabis seed in a Rapid Rooter
- Clean the work area. Wash your hands, tray and tools. Do not reuse a dirty propagation tray without cleaning it first.
- Prepare the water. Clean water is enough for a fresh plug. The Rapid Rooter video uses diluted hydrogen peroxide, but it is optional. Never pour concentrated peroxide onto a seed, guess with an unfamiliar strength or mix it with other cleaners.
- Moisten the whole plug. Let water reach the center, then allow the plug to drain. A gentle squeeze can remove excess water, but do not mash the structure flat.
- Use feel, not one magic weight. My plug weighed about 25 grams after draining. Different plug sizes and batches will weigh differently. Aim for evenly moist and springy, with no water running out.
- Open a clean path. If the factory hole is tight, use a clean blunt stick to make room without tearing the plug apart.
- Place one seed. I put the dimple, the “butthole”, up. That is an easy repeatable orientation, but a viable seed can often correct itself. More important: do not jam it too deep or crush it.
- Close the hole loosely. Tear a small clean corner from the plug and cover the seed so it stays dark and evenly moist. Do not pack it like concrete.
- Cover the tray. Mist the inside of the dome if the air is dry. Do not leave the plugs standing in a puddle.
- Keep the plug warm. Measure at plug level. A controlled hemp study found an optimum range around 24-30°C (75-86°F), with genotype differences. A beginner-friendly starting band near 75-82°F gives some margin below the 85°F I got in the video.
- Add gentle light for emergence. The seed itself does not require 24-hour lighting. Have gentle seedling light ready as the shoot appears; the source keeps intensity below 200 PPFD.
- Stop digging. Check temperature, condensation and plug moisture, but do not pull the seed out every day. Give it time to work.
The temperature range comes from a controlled industrial-hemp germination study, so treat it as a useful biological range rather than a promise for every cultivar. General seed biology also matters: Penn State explains why a germinating embryo needs both moisture and oxygen in an aerated seed-starting medium.
When to open the dome
Before emergence, the dome slows water loss. After the seedling is above the plug, start opening the vents and watch its response. A permanently sealed, dripping dome can keep the stem too wet and increase disease pressure.
Open gradually. If the seedling stays upright, keep stepping humidity down. If it collapses immediately, close the dome partway and try a slower transition instead of drowning the plug again.
Rapid Rooter supplies
 Rapid Rooter plugsThe airy preformed plug used in the method. Moisten it evenly, let it drain and never leave it sitting in water.View product
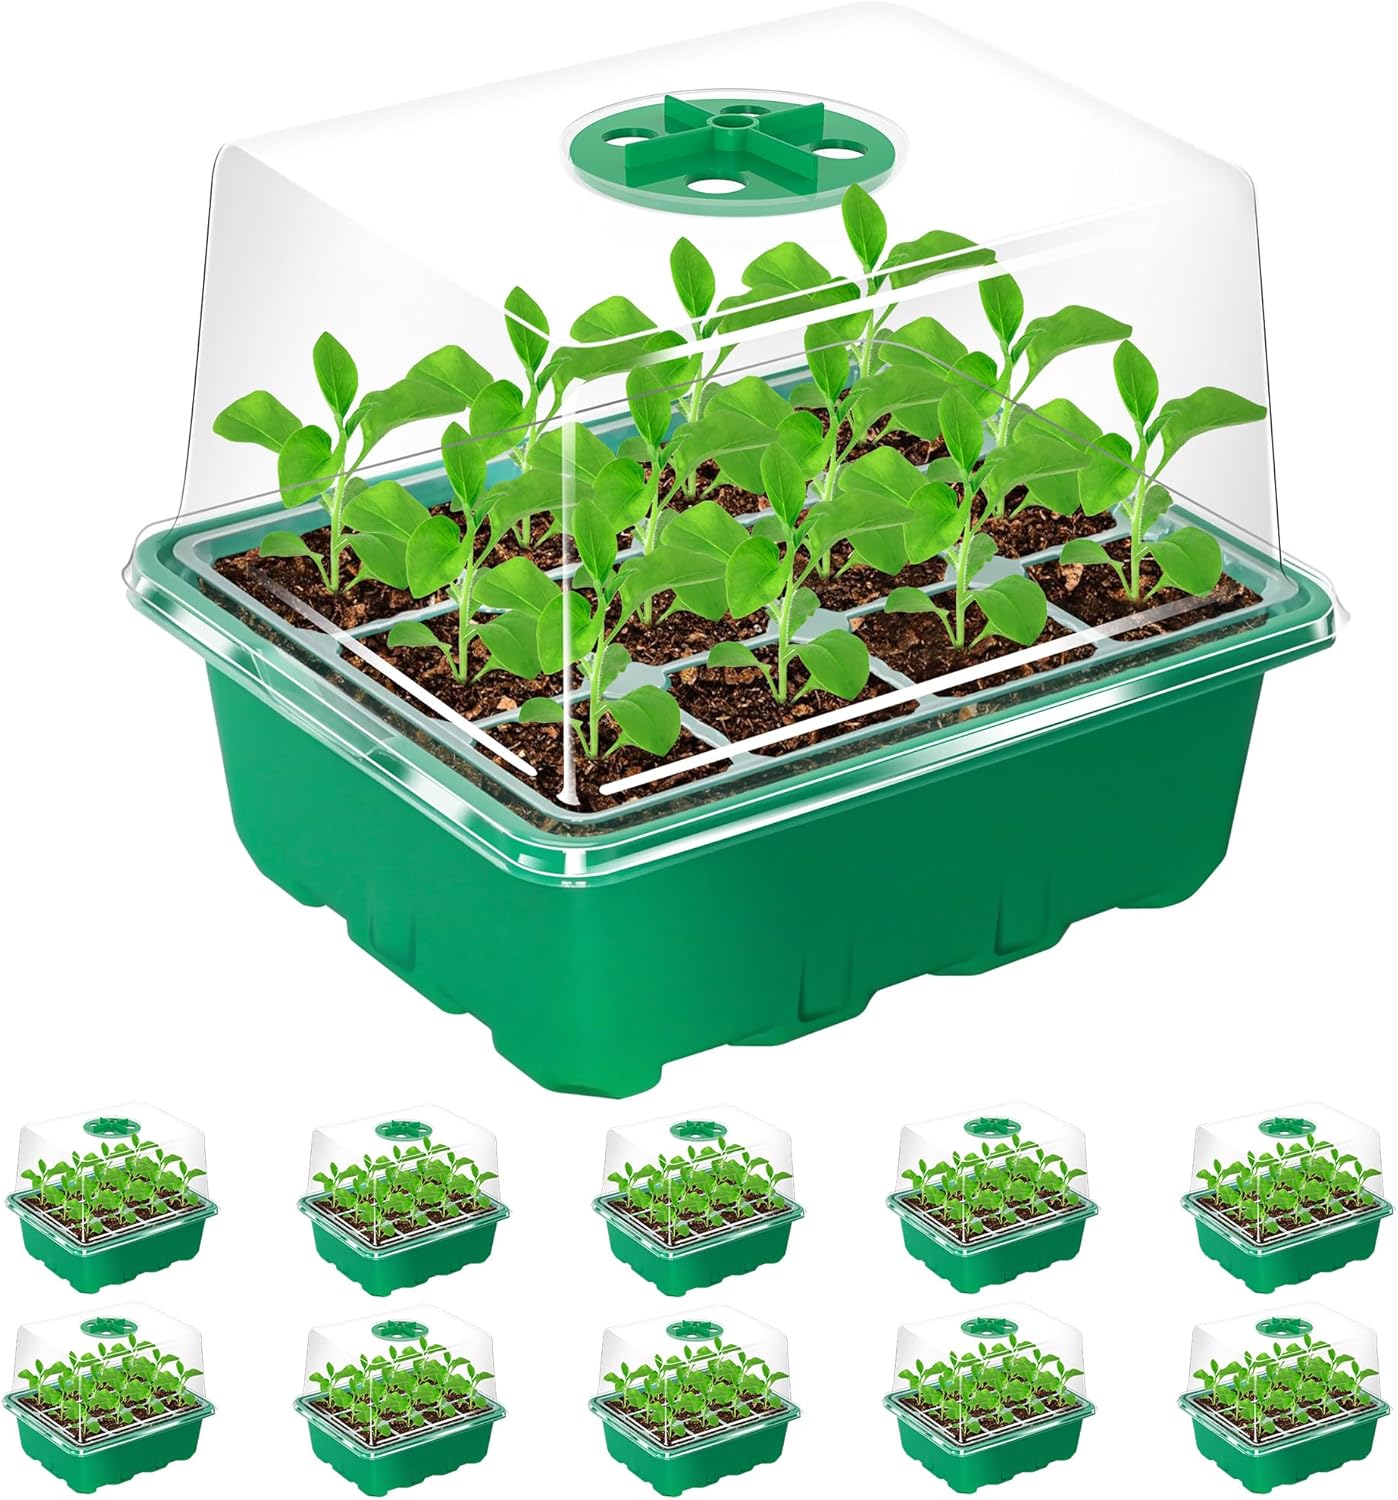 Propagation tray and vented domeKeeps the plugs organized while adjustable vents let you lower humidity gradually after emergence.View product
 Seedling heat matUseful only when the measured plug temperature is too cold. Pair it with temperature control instead of applying nonstop heat.View product
Affiliate disclosure: HWGrow may earn a commission from qualifying purchases at no additional cost to you. Selfie Seeds™ is HWGrow’s in-house genetics source. Follow local laws.
What to do after germination
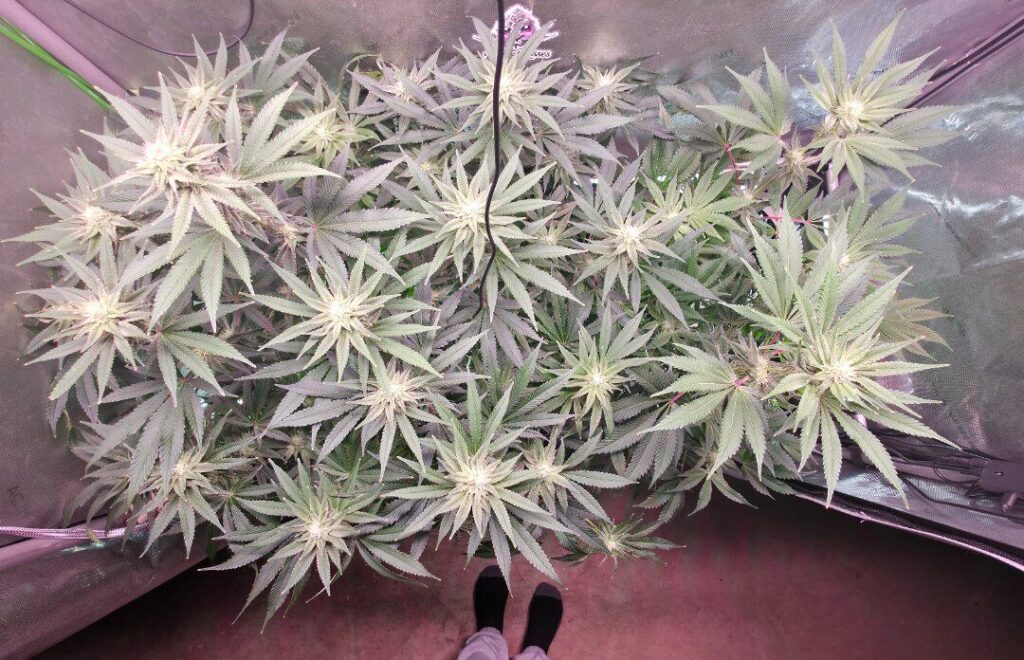
For a seed planted in its final soil pot, there is no plug to transplant. Ventilate the dome gradually as the seedling establishes, watch for excess heat and wetness, and continue with Week 1 of the interactive cheat sheet.
For a Rapid Rooter, wait until the seedling is upright and healthy roots begin showing through the plug. Prepare the receiving hole first, support the plug rather than the stem, and move it intact. Do not peel it away from the roots. The whole point is to protect what you just grew.
Next: how to transplant without shock · Back to the soil cheat sheet
Start with documented genetics
Keep the cultivar and seed lot labeled from the start. Germination technique cannot fix poor storage or a nonviable seed. If you are still choosing, use the strain-selection guide.
 Selfie Seeds™ geneticsDocument the cultivar and lot before germination so the seedling’s genetics stay attached to the grow record.View product
Affiliate disclosure: HWGrow may earn a commission from qualifying purchases at no additional cost to you. Selfie Seeds™ is HWGrow’s in-house genetics source. Follow local laws.
Next in your grow
Before this step: How to Prepare Fabric Pots and Grow Bags for Soil
Next step: How to Transplant Cannabis Without Shock
Related: Best Way to Germinate Cannabis Seeds: 7 Methods Tested · How to Germinate Cannabis Seeds Directly in Soil · How to Germinate Cannabis Seeds in Rockwool Cubes
Go deeper (supporter membership required): These advanced guides are for HWGrow supporters: DIY Solo Cup Automatic Drip Irrigation Tote for 8 Seedlings or Clones · How to Clone Cannabis: Step-by-Step Guide for Strong Roots. Become a supporter.
Want to watch this done step by step? The Grow With Me Masterclass follows one complete grow, day by day.
Frequently asked questions
Is soil or a Rapid Rooter better for beginners?
Soil is the simplest option when you want to start in the final pot. Rapid Rooters were my preferred all-around method in the seven-way comparison because of early planted emergence and the protected plug-to-pot transfer.
Are Rapid Rooters sterile?
No sterility claim is established here. They are an organic propagation medium. Use fresh plugs, clean tools and a clean tray, and manage moisture and airflow.
How wet should a Rapid Rooter be?
Evenly moist and springy, not dripping or sitting in water. Check the plug instead of watering on a fixed schedule.
Do seeds need 24 hours of light to germinate?
No. Continuous light is a setup choice in the video, not a requirement for the seed to open. Be ready with appropriate seedling light when the shoot emerges.
Should I dig up a seed that has not appeared yet?
Not just because another seed emerged first. Check the environment and moisture before disturbing the seed. Repeated checking can damage the taproot you are trying to protect.
Sources and related guides
- HWGrow’s original seven-way germination comparison: the source of the observed emergence and handling results.
- General Hydroponics: Rapid Rooter product information: medium composition and microbial activity.
- Rapid Rooters versus rockwool: a closer look at the two plug options.
- Transplanting without shock: moving the rooted plug without pulling it apart.


Comments
Leave a reply
You may also like
PRO-MIX HP Review: What the Lab Test Actually Says





You say to leave them alone for at least 3 days. What do you do after the seeds have popped? Do you ever add more water? If so, when do you add more water? I am on day 4 and 1 of my seeds hasn’t broke through yet. How long do you keep them in the humidity dome?
you transfer as soon as the main stem is like a cm long. Add more water when the rooter looks pale/dry keep em under a dome even after transfer for abouut 2 weeks
Thanks for the reply. Just another quick question….in your 7 way comparison video, you busted the myth about seeds requiring darkness….so what is the purpose to plugging the hole on the rapid rooters and rockwool?
They need air and medium to grow into in the beginning, otherwise, what would support the plant and allow it to stand upright?
RE: STEP 6: Cover and place in a warm room with 24 hours lighting.
I will be using Rapid Rooters in an AC Infinity Humidity Dome w/ LED Lights and Heat Pad.
https://acinfinity.com/grow-accessories/propagation/humidity-domes/humidity-dome-germination-kit-with-seedling-mat-and-led-grow-light-bars-5×8-cell-tray/
What is the recommended PPFM Light intensity and inside temperature ranges when using the above set-up and Rapid Rooters?
Am I understanding correctly that starting Week 3 the seedlings should be in 5 US Gallon bags of Grow Mix and moved inside of the grow tent, and after, follow your chart from then to the end?
Thanks in advance!
200 ppfd to begin,
you should transplant the seedlings to the forever pot as soon as the roots poke out of the rooter
Thank you.
Unfortunately don’t have the money for all the bells and whistles as my wife is sick so I am on a very tight budget so will this method work with just using half a cup of water covered and left for 2days or would I be better using the paper towel method? Sorry for long question🙏🏽
no, I like cup of water method better. Hope she gets better fast
ml/gallon got it! apologies I missed that. any other advise you have for this outdoor grow please send my way thank you!
I just planted some seeds that i had germinating via the paper towel method but they didnt fully germinate. They only cracked open a little and then i got inpatient and started planting them in some Root Riots plugs. So far only one has popped and the rest seem dormant. What do you recommend?
in my experience, paper towel method is terrible Best Way to Germinate Cannabis Seeds – 7 Way Comparison
My Selfie Seeds™ have SPROUTED!! When do I fipp the 24hour lighting to 18 and 6? OR after the forever home?
as soon as they breach the surface, run 18/6 check the complete guide here, there’s a chart: https://www.howweedgrow.com/sdm_downloads/general-hydroponics-feed-schedule-soil-cheat-sheet/
Hi, I really need some clarification regarding a few things.
I have ordered Rapid Roots, and I’m planning to follow your advanced germination method using Rapid Roots. My plan is to grow hydroponically.
I’ve watched your full hydroponic growing guide, but I still have a few concerns:
1. When to transfer the seedling: After following the germination method, should I transfer the seedling after 3 days, or should I wait until a certain stage of root development?
2. Water level in the bucket: In your videos, you mentioned that the water level should reach the bottom of the net pot. However, I’m a little confused. If the roots haven’t grown long enough to reach the water yet, how will they receive water and nutrients? Could you please clarify the correct water level during the early seedling stage and how it should be adjusted as the roots grow?
3. Nutrients and daily top-ups: Regarding the nutrient solution (Juice), let’s say I add it on the first day. On the following day, if the water level hasn’t dropped and the PPM reading hasn’t changed, should I still add more nutrients? Also, when topping up with water, should I add plain water first and then adjust the PPM, or should I add more Juice every time?
I apologize for the many questions, but I want to make sure I understand the process correctly before starting, especially since this is my first hydroponic grow.
I’d really appreciate it if you could clarify these points. Thank you!