

How to Maximize Autoflower Yield: Bigger Plants and Buds
Video chapters: how to grow bigger autoflowers
- 0:19 — The small-autoflower problem
- 0:39 — Why “automatic” does not make the environment irrelevant
- 0:59 — HWGrow’s root-zone hypothesis
- 1:15 — Small versus large container test
- 1:49 — Soil versus hydro comparison
- 2:27 — Genetics still control the flowering schedule
- 2:34 — Six-ounce hydro example
- 2:50 — Large container and airy medium
- 3:06 — Starting in the final container

Last updated: August 2026
Quick answer: To maximize autoflower yield, protect the plant’s short vegetative window. Start with proven genetics, establish roots without early setbacks, use a roomy final container with an airy medium, keep light and climate steady, water the whole root zone correctly and use only gentle training. You cannot add lost weeks to an autoflower, so consistency matters more than aggressive tricks.

Selecting a timestamp starts the embedded video in the pop-out player without moving you away from this section.
What really determines autoflower yield?
An autoflower begins flowering without needing the 12-hour nights used to trigger a photoperiod cultivar. Researchers have mapped major flowering-time loci associated with this day-neutral behavior, including a major recessive autoflowering locus in studied germplasm. That means the clock is fundamentally genetic, while the environment determines how much healthy plant the clock has time to build. Read the flowering-time genetics study.
Think of the genetic timeline as a train that will leave the station whether the plant is ready or not. Your job is not to stop the train. Your job is to avoid wasting the days before it arrives.
- Genetics sets the plant’s range, flowering behavior, structure and expected finish.
- Early root health decides whether the seedling builds momentum or spends its short runway recovering.
- Usable light drives daily photosynthesis; too little limits growth, while too much can stall it.
- Water, nutrition and climate keep growth continuous instead of forcing recovery.
- Canopy management helps expose more sites without spending days healing from unnecessary damage.
Start with autoflower genetics worth the space
A perfect room cannot turn weak or poorly documented seed into elite genetics. Compare complete grows from the exact breeder and cultivar, not just the best product photo. Look for repeated examples with the size, finish time, structure and sexual stability you want. The cannabis strain-selection guide gives you a seven-factor checklist.
When you want documented in-house genetics, Selfie Seeds™ is HWGrow’s seed source. Match the cultivar to your room and local laws, then keep the breeder, lot and start date in your grow journal.
Give the roots room—but keep the claim honest
In the video, a plant in a smaller container showed pistils about a week earlier than its larger-container comparison. In another HWGrow grow, soil plants stayed smaller and appeared to flower earlier than hydro-grown sisters. Those are useful observations and they support protecting the root zone, but they do not prove that touching a container wall is the universal trigger for autoflowering.
The safer conclusion is simple: root restriction, drought, compaction, low oxygen and transplant stress can reduce vegetative growth and final biomass. Because an autoflower does not wait for you to repair the setback, prevention matters.
Final-container strategy
For a beginner soil grow, starting the germinated seed in its final container removes one transplant from the timeline. A careful transplant can also work; the goal is to keep the root ball intact and the plant growing. Choose a container that fits the cultivar, medium and watering skill. A larger pot only helps when you can moisten it evenly without keeping a tiny root system soaked.
Use an airy, well-draining medium and learn the weight of the pot. When fabric-pot feeds become inconsistent, use the fabric-pot watering and responsive-feeding guide to check for dry pockets, pH drift and concentration changes.

Build a steady environment before chasing techniques
Autoflowers reward boring consistency. Set up the room before germination so the seedling does not wait for missing equipment. Use the complete grow-tent setup guide for the room, then match the fixture to the canopy with the LED grow-light guide.
- Keep the light schedule consistent. An 18/6 schedule is a practical starting point because it supplies a long day while preserving a dark period.
- Measure intensity at canopy height and adjust gradually. Leaf posture and growth matter more than a guessed hanging height.
- Keep temperature and humidity stable enough for active growth and airflow. Avoid blasting a young plant with a fan.
- Do not change several variables at once. A short-cycle plant leaves little time to learn which change caused the problem.
Light hours are not the same as DLI
Daily light integral (DLI) is the total photosynthetically active light received in a day. It depends on both photon intensity and the number of lighted hours. Eighteen hours under a weak fixture is not automatically more useful than a shorter day at an appropriate intensity, and adding hours can also add heat and stress. Measure or estimate PPFD across the canopy, then adjust intensity and schedule together.
Autoflower versus photoperiod: the controlled grow comparison
The next video follows four seed-grown siblings in the same room. One began flowering automatically around day 42 while the other three continued as photoperiod plants. Because they came from seed, they were siblings—not genetically identical clones—and a four-plant result cannot prove a universal inheritance ratio. It is still a valuable real-world demonstration of how flowering behavior, total time and yield can separate under controlled conditions.
Comparison-video chapters
- 0:29 — One plant begins flowering automatically around day 42
- 0:56 — What the small seed-lot result can and cannot show
- 1:40 — Controlled room and plant rotation
- 2:29 — Identifying the automatic-flowering plant
- 2:53 — Harvest timing
- 3:18 — 56-gram autoflower result in this run
- 3:56 — DLI discussion and its limits
- 4:49 — Yield per unit of time
- 5:29 — One grower’s preference, not a universal effect
Selecting a timestamp starts the correct embedded video in the pop-out player and preserves your reading position.
Feed and water for continuous growth
Do not force-feed a small plant to chase yield. Start from the nutrient manufacturer’s conservative guidance, read the plant and track what goes in and comes out. A calibrated pH meter and an EC/PPM meter are useful when you understand their scale and limitations. The pH, EC, PPM and runoff guide explains the measurements.
Water the full active root zone, then allow the medium to return to the moisture range appropriate for that mix. Repeated tiny circles around the stem can leave a large container unevenly wet; saturating an undeveloped root zone every day can create the opposite problem. Use pot weight, plant demand and runoff trends—not a fixed calendar.
Use gentle training and avoid unnecessary recovery
Low-stress training can spread the canopy while the stems are flexible. Make small bends, give the plant time to respond and stop when flowering stretch makes further training risky. Topping and other high-stress techniques can work in experienced hands, but they are poor default advice for a slow or stressed autoflower because the plant may not replace the recovery time.
Do not harvest by the breeder’s calendar alone
The printed finish time is an estimate, not a harvest command. Check trichomes on the flowers, pistil progression, calyx development and the overall plant. Use the cannabis harvest-readiness guide, then follow the drying guide and curing guide. Extra yield is not useful if the harvest is rushed or stored wet.
Autoflower yield checklist
- Choose proven genetics that fit the tent and finish-time goal.
- Use the seven-method germination comparison and avoid damaging the first root.
- Prepare the final container, airy medium, light and climate before the seedling emerges.
- Keep the root zone evenly managed without constant saturation or severe drybacks.
- Use a stable light schedule and measure the canopy instead of guessing.
- Feed from plant response and pH/EC trends, not a promise on a chart.
- Favor gentle training; do not ask a weak plant to recover from avoidable stress.
- Diagnose leaf problems with the nutrient-deficiency guide before changing everything.
Want the controlled system behind the comparison?
The public hydroponic growing overview shows how HWGrow manages roots, oxygen, solution and the reservoir. The protected Hydro Masterclass goes deeper into the complete workflow without reproducing its paid lessons here. For a setup-specific problem, ask HWGrow a question and include the cultivar, plant age, medium, container size, light schedule and recent pH/EC readings.
Recommended autoflower grow equipment

Selfie Seeds™ documented geneticsStart with a traceable in-house seed source, then choose the cultivar that fits your space and goal.

Dimmable 2 × 4 LED lightA practical fixture class for an even compact canopy. Verify current wattage, PPFD map and safe clearance.

Replaceable-probe pH meterUse a calibrated meter for repeatable input and runoff readings; rinse and store the probe correctly.

Thermometer and hygrometerAn independent canopy-height sensor helps catch heat and humidity problems before growth stalls.
AC Infinity savings: Use code EVYGROWS for additional savings on eligible products. When shopping on Amazon, clip any available coupon first.
Disclosure: Selfie Seeds™ is HWGrow’s in-house seed source. HWGrow may earn a commission from qualifying Amazon purchases at no additional cost to you. Equivalent products can be substituted without changing the method.
Comments
Leave a reply
You may also like
How to Pheno Hunt Cannabis and Choose a Keeper
Hydroponic Water Chillers: Stop Summer Root Rot Before It Starts

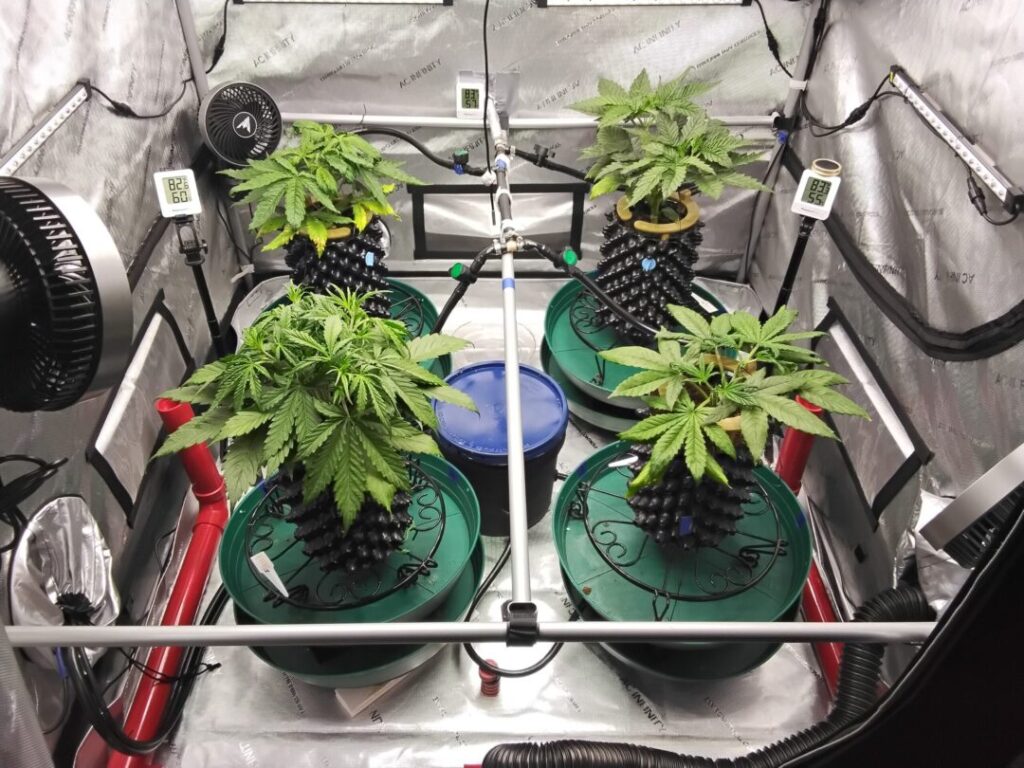
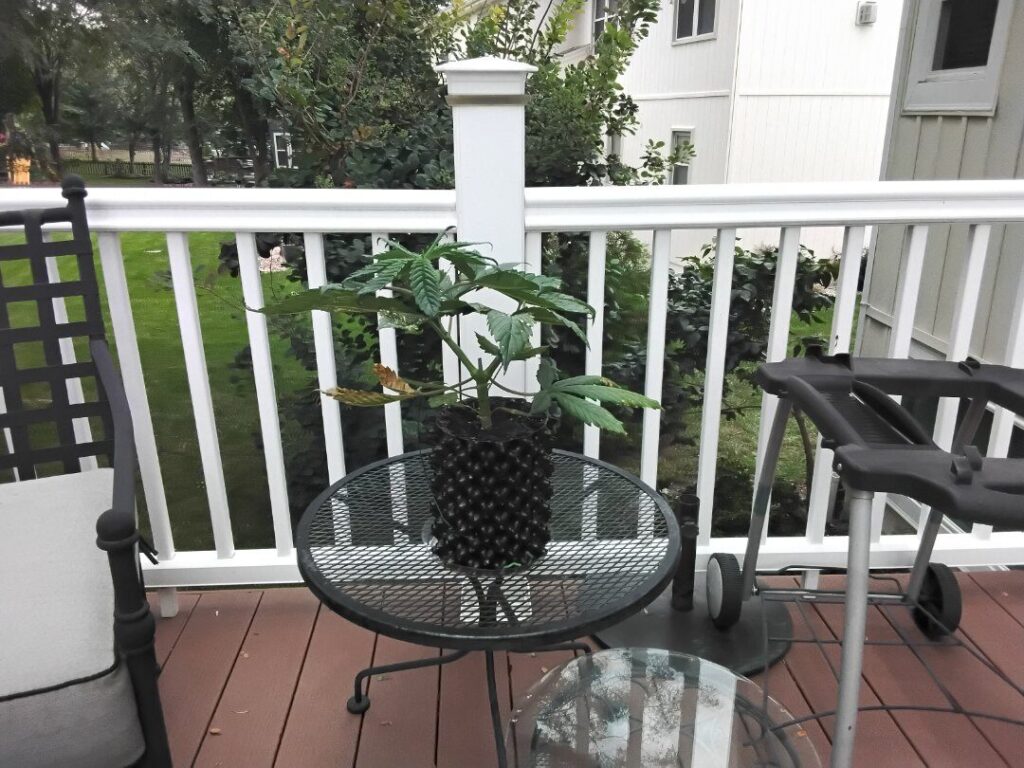
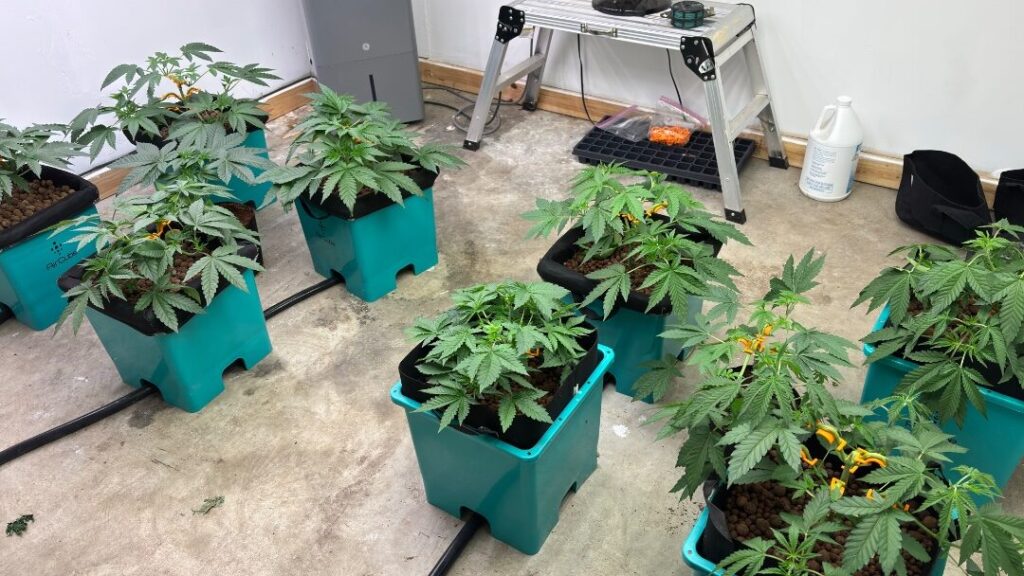




Featured Grow
 Jul 2026 — White Iverson by Selfie Seeds +2 more
White Iverson × Selfie Seeds, Pink Strawberry × Selfie Seeds, Purple Berry × Selfie Seeds • Soil • Started Jul 25, 2026
View journal
Jul 2026 — White Iverson by Selfie Seeds +2 more
White Iverson × Selfie Seeds, Pink Strawberry × Selfie Seeds, Purple Berry × Selfie Seeds • Soil • Started Jul 25, 2026
View journal
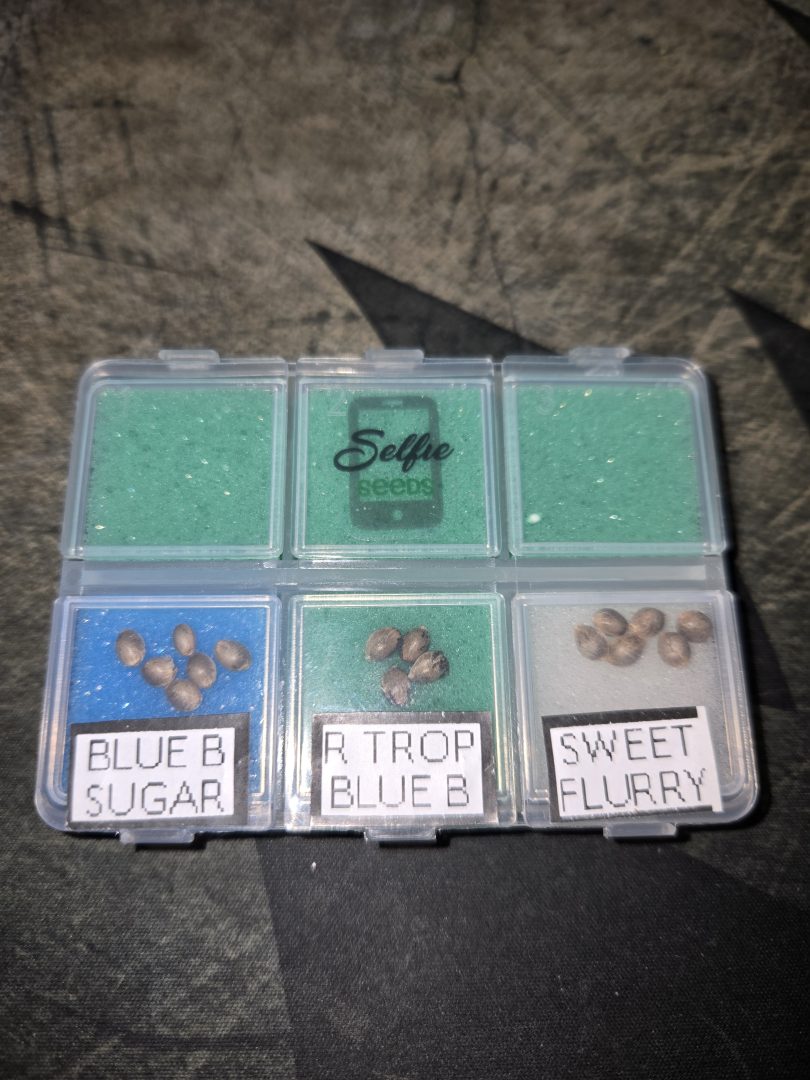 First Selfie Seeds Grow (Blueberry Sugar, Tropical Blueberry, and Sweet Flurry)
Blueberry Sugar × Selfie Seeds, Tropical Blueberry × Selfie Seeds, Sweet Flurry × Selfie Seeds • Soil • Started May 27, 2026
View journal
First Selfie Seeds Grow (Blueberry Sugar, Tropical Blueberry, and Sweet Flurry)
Blueberry Sugar × Selfie Seeds, Tropical Blueberry × Selfie Seeds, Sweet Flurry × Selfie Seeds • Soil • Started May 27, 2026
View journal
Awesome It’ll be a bit chlorophyllie but definitely let me know your opiniones

Walked in this morning before lights out and they are already bouncing back pretty good.
Awesome, fingers crossed for you
Nice LSTing Looks perfectly symmetric

Bananas!!!!! I knew I forgot something today. Thanks, gotta hit the store up in the am anyway. Coming off night,…
I agree 100%! I have had similar results lately with my last two grows. The best results were using 1.7 gallon self-watering pots filled with coco. My most stunted, early flowering plant was in 3-gallon soil that definitely needed way more aeration (i.e. perlite). Thanks for tying it all together for me.
Hi! Thank you for all the info! I’m interested in trying to grow autos with coco coir. Would the nutrient guide still apply for autos with coco or is this only accurate for soil? https://www.howweedgrow.com/Howweedgrow%20Ultimate%20Chart%20Cheat%20Sheet.pdf
No there is a coco chart It requires more cal, mag and K
Gotcha. In that case I will just use soil and perlite. I was thinking of mixing some perlite evenly through the soil. Do you have a recommendation on soil to perlite ratio when cutting the soil with perlite?
I would add like 1 quart to each 3 gallons of soil.
Also, keep track of all the feeds and consider drip irrigation.
Will do. My first time growing so really appreciate all the info! I’ll be sure to keep you update on the discord
hey man! i found your website and discord via YT. in one of your videos you showed your cheat sheet feed for autos, however i can find it now. i searched discord as well maybe I’m just not looking up the correct thing. I’m growing autos in soil.
Navigate the menu up top and you will see it linked on the HWGrow.com – How to Grow Weed at Home page. It’s on page 2 Happy new years