


How to Hang an LED Grow Light in a Tent (4-Point Method)

Short answer: set the LED on the tent floor in its final orientation, attach one rope ratchet to each corner, loop the upper clips around the tent’s hanging bars, then raise the light a little at a time while keeping it level. Four independent ratchets make height and tilt adjustments much easier than a two-point hanger.
Video chapters
- 0:00 — Match the light to the tent
- 0:19 — Why I use rope ratchets
- 0:35 — Find the four mounting points
- 0:56 — Orient the light and power cord
- 1:12 — Attach all four lower clips
- 1:33 — Two top-bar layouts
- 2:01 — Loop the upper clips
- 2:13 — Raise one corner at a time
- 2:29 — Power on and temperature-test the tent
Timestamp links open the standard HWGrow pop-out player at the selected moment without losing your reading position.
How to hang the light safely
- Build the tent first. Lock every frame joint and install the correct hanging bars.
- Plan the orientation. Put the light on the floor beneath its final position so the driver and power cord face the intended route.
- Attach four ratchets. Clip one lower carabiner to each approved fixture mounting point.
- Secure the upper loops. Wrap each ratchet strap around a structural hanging bar—not fabric, duct ports or a loose accessory pole.
- Lift evenly. Take up a few inches at one corner, move to the next and repeat until the fixture is level.
- Manage the cord. Leave strain relief, keep plugs and connections above the floor and away from irrigation.
- Inspect before power. Pull-test every clip, confirm the ratchet locks and make sure nothing touches the LEDs, driver or ventilation openings.
Set height with the canopy—not a universal number
The original video explains the basic hardware method, but “closer is always better” is not a safe rule. The correct height and dimmer setting depend on the fixture, canopy size, growth stage, plant response and the manufacturer’s current guidance. Start conservatively, measure the canopy when possible and change one variable at a time.
A PPFD map or meter is more useful than guessing from wall wattage. Check the center and corners, watch for excessive heat or light stress, and recheck after the plants stretch. The separate LED grow-light selection guide explains coverage and current buying criteria.
Run a heat and airflow test
Close the tent, run the LED and ventilation together, and watch temperature and humidity before adding plants. Confirm the exhaust path is clear, the circulation fan does not shake the fixture and the power cable cannot fall into runoff. If you still need to build the ventilation system, use the grow-tent fan and filter setup guide.
Useful setup gear
 Four rope ratchetsIndependent corner adjustment makes the fixture easier to level and raise.View productPPFD/PAR meterMeasure the canopy center and corners instead of choosing height by guesswork.View productProperly rated timerVerify the timer’s current and load rating against the fixture before use.View product
Affiliate disclosure: HWGrow may earn a commission from qualifying Amazon purchases at no additional cost to you. Equivalent current products can replace these links without changing the hanging method.
Once the light, airflow and temperature test pass, continue with the complete beginner grow guide. Unsure whether your fixture and tent frame are a safe match? Ask HWGrow with the model numbers and tent dimensions.
Frequently asked questions
How many rope ratchets should hold an LED grow light?
Use every approved mounting point supplied by the manufacturer. For the rectangular fixtures shown here, four independent ratchets make leveling and height changes straightforward.
How high should an LED grow light hang?
There is no universal height. Start with the current manufacturer’s guidance, measure canopy intensity when possible and adjust for plant stage and response.
Can I hang a light from the tent fabric?
No. Attach it only to structural bars that are correctly installed and rated for the combined fixture and accessory load.
Should the driver be inside or outside the tent?
Follow the fixture manufacturer’s instructions. If the driver is removable, outside mounting can reduce tent heat, but the cable routing and mounting still need proper support and dry connections.
You may also like
pH vs. PPM for Cannabis: EC Scales, Buffering and Nutrient Lockout
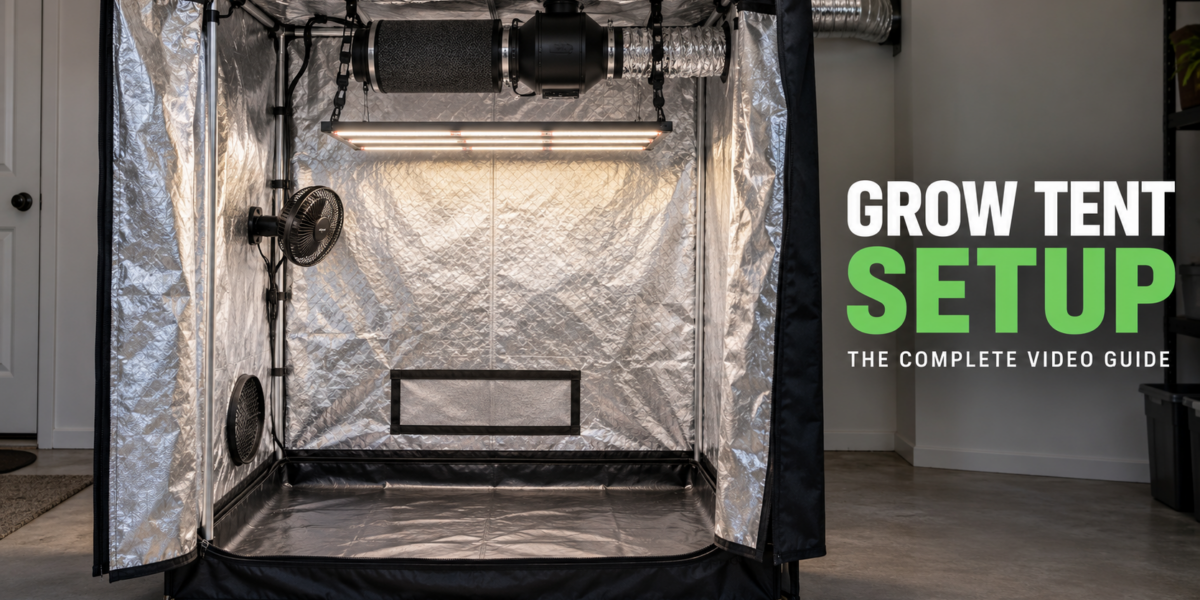
Complete Grow Tent Setup: Four Videos, One Working Setup



Featured Grow

Mine wasnt that bad, i am low rate afib so just swing between 95 and high as 150 sometimes, up…

Yeah not fun, but as long as it helps thats what matters. Had my heartrate 200+bpm in the hospital for…
Tupac mine is for afib. Just Had cardio version the other week to get me out of it, worst case…
I was hoping for one at least that check the box's, but ya, having a couple is that much better.…
Heart cath ablation? Had one of those for Super Ventricular Tachycardia and it worked well