

How to Clean a Grow Tent Safely: Between-Grow Reset
Video chapters: cleaning a grow tent

Last updated: August 2026
Quick answer: To clean a grow tent between cycles, disconnect the power, remove the plants and movable equipment, vacuum loose debris, wash away visible dirt, then use one tent-compatible disinfectant exactly as its label directs. Wipe the spill tray, seams, corners, zipper area, fans and tools, then let everything dry completely before reconnecting power. If the previous grow had mold or a serious pest outbreak, treat that as remediation—not a routine wipe-down.

Selecting a timestamp starts the embedded video in the pop-out player without moving you away from this section.
Important safety correction to the video
The video documents the routine I used at the time, but the safest current guidance is simpler: clean first, then use one compatible disinfectant according to its label. Do not assume that alcohol and hydrogen peroxide must both be used, and never mix or layer cleaning chemicals unless the product labels explicitly say the combination is safe. The CDC recommends removing dirt before disinfecting, following the label’s dilution and contact-time directions, ventilating the area and never mixing products. Review the CDC cleaning and disinfecting guidance.
Isopropyl alcohol is also highly flammable. Keep it away from energized equipment, hot fixtures, sparks, flames and smoking. Never spray it into a powered tent. The NIOSH isopropyl-alcohol safety profile lists its fire and exposure hazards.
Routine reset or mold and pest remediation?
This walkthrough is for a tent that finished a normal cycle without an active infestation, visible mold or a major spill. A routine reset removes dust, plant fragments, dried runoff and residue before the next grow.
If you found visible mold, recurring pests, standing water or contaminated porous material, stop and identify the source. Bag affected plant material, inspect filters and ducting, and decide whether porous or damaged items need replacement. Cleaning the walls will not solve a leaking container, excessive humidity, poor airflow or an infested plant brought back into the room.
What you need
- A vacuum for ordinary loose debris. A HEPA-equipped unit is preferable when fine dust is a concern; do not vacuum active mold unless the equipment and containment plan are appropriate.
- Warm water and a small amount of mild detergent for visible dirt.
- Clean microfiber cloths or disposable towels.
- Gloves and eye protection suited to the cleaner’s label.
- One compatible, properly labeled disinfectant when disinfection is needed.
Check the tent manufacturer’s care instructions before using any chemical. Reflective liners, coatings, clear windows, adhesives and zippers can react differently. When in doubt, test a hidden spot first.
How to clean a grow tent step by step
- Power down. Turn off the light, fans, humidifier, dehumidifier and controllers. Unplug them, allow hot fixtures to cool and keep plugs and power strips out of the wet work area.
- Empty the tent. Remove plants, pots, loose media, trellis material and movable tools. Clean reusable items separately so dirt is not transferred back into the tent.
- Vacuum from top to bottom. Collect dry leaves, soil and dust. Pay attention to seams, corners, intake screens, zipper folds and the edges under the spill tray. Do not use compressed air to scatter debris through the room.
- Wash visible dirt away. Use mild detergent and water on a compatible cloth. Dirt and residue can shield microbes from a disinfectant, so this cleaning step comes first.
- Rinse or wipe as required. Remove detergent residue and follow the tent manufacturer’s instructions.
- Disinfect only when needed. Select one product that is labeled for the intended surface and purpose. Follow its concentration, ventilation, personal-protection and wet contact-time directions. EPA notes that disinfectant claims apply only to the uses and organisms listed on the product label. Check EPA disinfectant guidance.
- Clean the removable equipment. Wipe fan guards, clips, intake screens, trays, saucers, meters and tools according to their manufacturers’ instructions. Do not spray motors, drivers, sockets or controllers directly.
- Air-dry completely. Leave the tent open and ventilated until the surfaces and equipment are dry and fumes are gone. Only then reinstall dry equipment and reconnect power.

Protect the reflective liner
Dust and dried residue scatter or absorb some light, so a clean liner can restore the performance you already paid for. It does not create more light than the fixture produces. Use a soft cloth, light pressure and a cleaner approved for the tent. Abrasive pads, strong solvents and aggressive scrubbing can cloud, crease or remove the reflective finish.
When rebuilding the room, use the complete grow-tent setup guide to keep electrical equipment above potential spills. Then verify airflow with the grow-tent ventilation guide and check the cannabis temperature and humidity guide before bringing plants back.
What not to do
- Do not mix bleach, ammonia, alcohol, peroxide or other cleaners.
- Do not spray a flammable liquid near hot or energized lights, fans, relays or power strips.
- Do not guess at dilution or wipe a disinfectant away before its labeled contact time.
- Do not spray electrical equipment directly.
- Do not call a routine wipe-down “sterilization.” A home grow-tent reset cleans and may disinfect compatible surfaces; it does not create a sterile facility.
- Do not put a clean tent back into service before fixing the moisture, airflow or pest source that caused the problem.
Five-minute restart check
- The tent, tray, tools and removable equipment are visibly clean and fully dry.
- No cleaner odor or residue remains.
- Power cords, plugs and controllers stayed dry and show no damage.
- Intake screens, fan guards and filters have been inspected.
- The leak, humidity or airflow issue behind any previous problem has been corrected.
- The room reaches the intended temperature and humidity before plants return.
Recommended grow-tent cleaning supplies

Cordless hand vacuumUseful for ordinary crumbs and dry debris during a routine reset. This is not a substitute for mold containment.
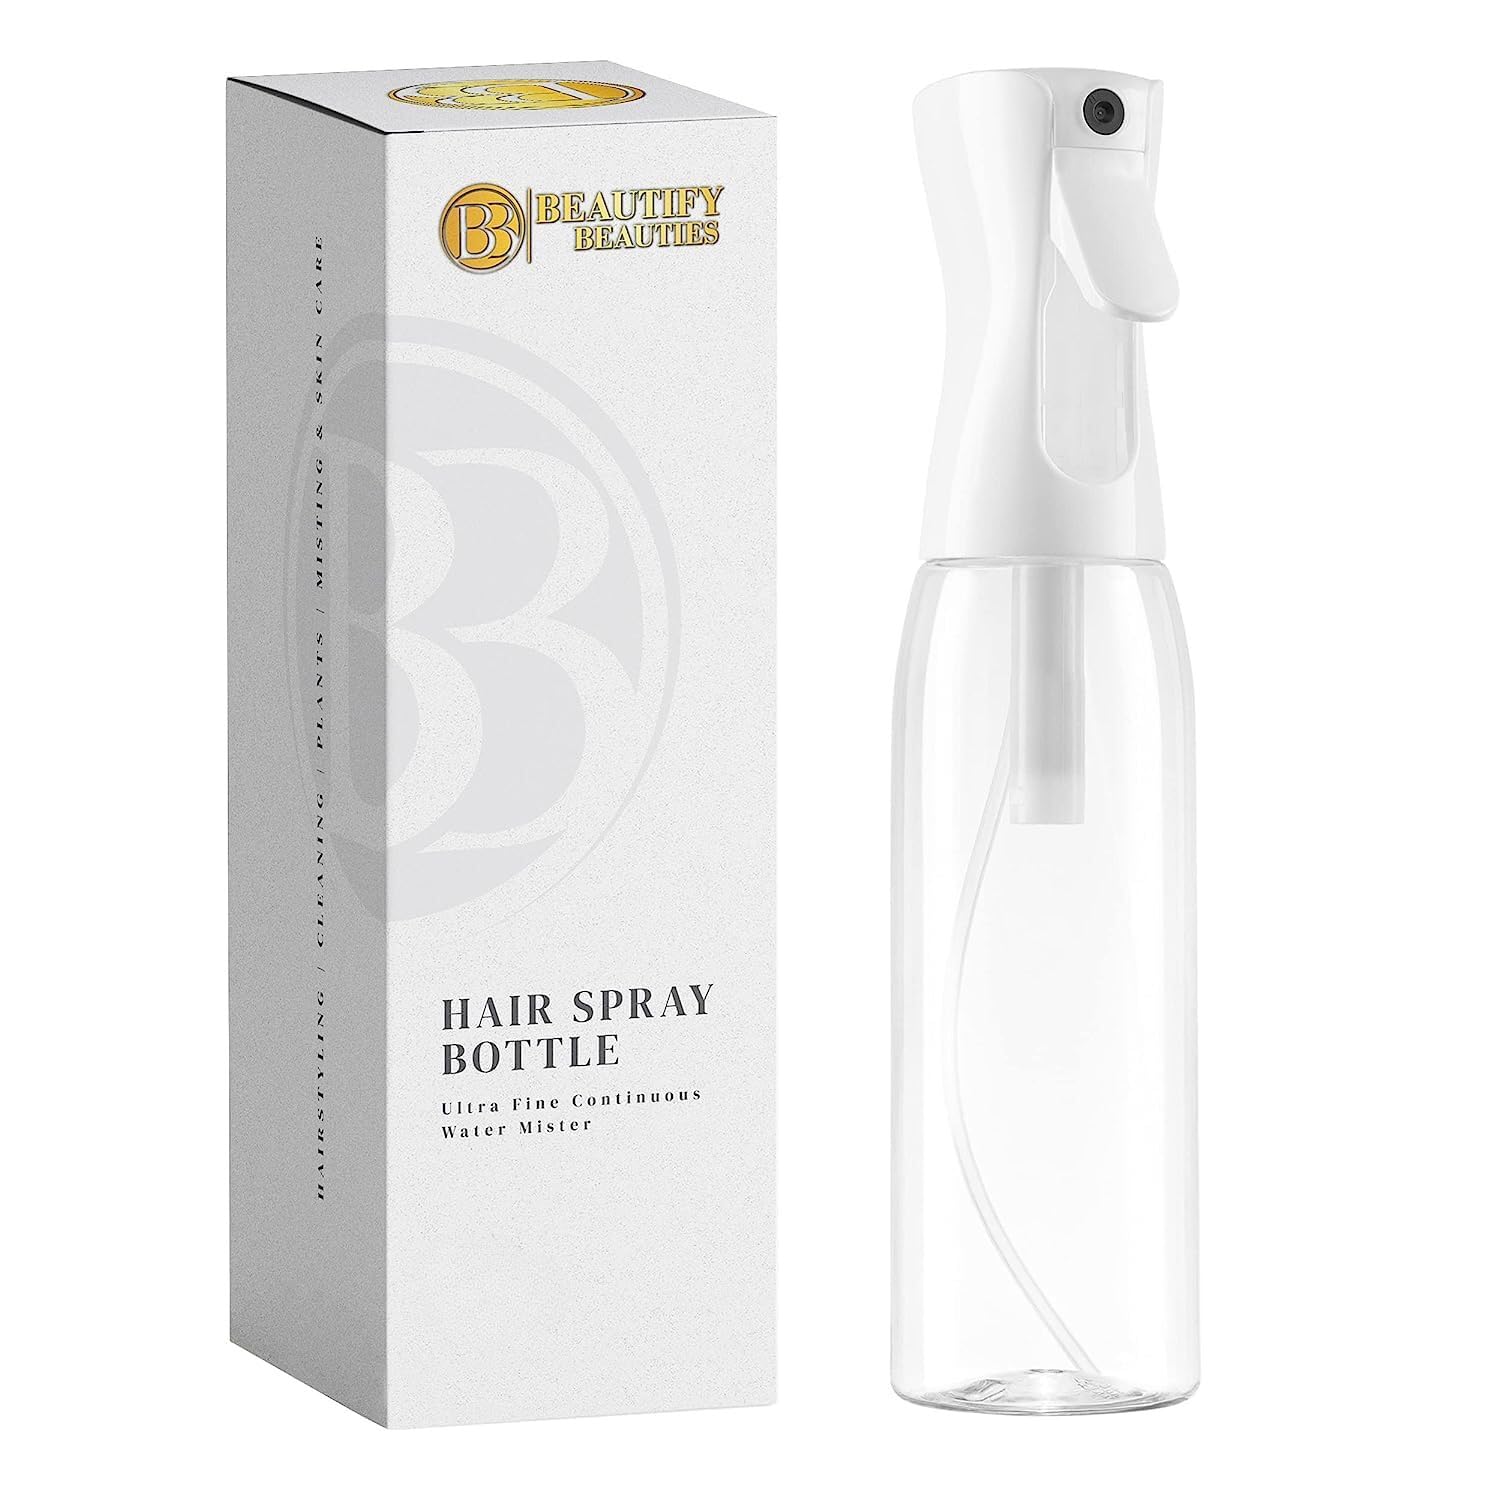
Continuous spray bottleFor a compatible water-based cleaning solution. Label the bottle and never use it to mist flammable liquid around equipment.

Nitrile disposable glovesProtect both hands when the cleaner’s label calls for gloves; select the correct size and inspect for tears.

70% isopropyl alcoholOnly for compatible hard surfaces and label-approved use. It is highly flammable—disconnect power, avoid misting and ventilate.
Affiliate disclosure: HWGrow may earn a commission from qualifying purchases at no additional cost to you. Product destinations can be replaced with equivalent items without changing the cleaning method. Always follow the tent, equipment and cleaner manufacturers’ instructions.
Need help diagnosing what caused the mess?
A clean tent is only the reset. If you are dealing with recurring condensation, leaf symptoms, insects or root-zone problems, ask HWGrow a question and include clear photos plus recent temperature, humidity, watering and airflow details. Members can use the protected masterclasses for complete repeatable systems; this public guide stays focused on the between-grow cleaning job.
Comments
Leave a reply
You may also like
How to Pheno Hunt Cannabis and Choose a Keeper
Hydroponic Water Chillers: Stop Summer Root Rot Before It Starts




Featured Grow
 Jul 2026 — White Iverson by Selfie Seeds +2 more
White Iverson × Selfie Seeds, Pink Strawberry × Selfie Seeds, Purple Berry × Selfie Seeds • Soil • Started Jul 25, 2026
View journal
Jul 2026 — White Iverson by Selfie Seeds +2 more
White Iverson × Selfie Seeds, Pink Strawberry × Selfie Seeds, Purple Berry × Selfie Seeds • Soil • Started Jul 25, 2026
View journal
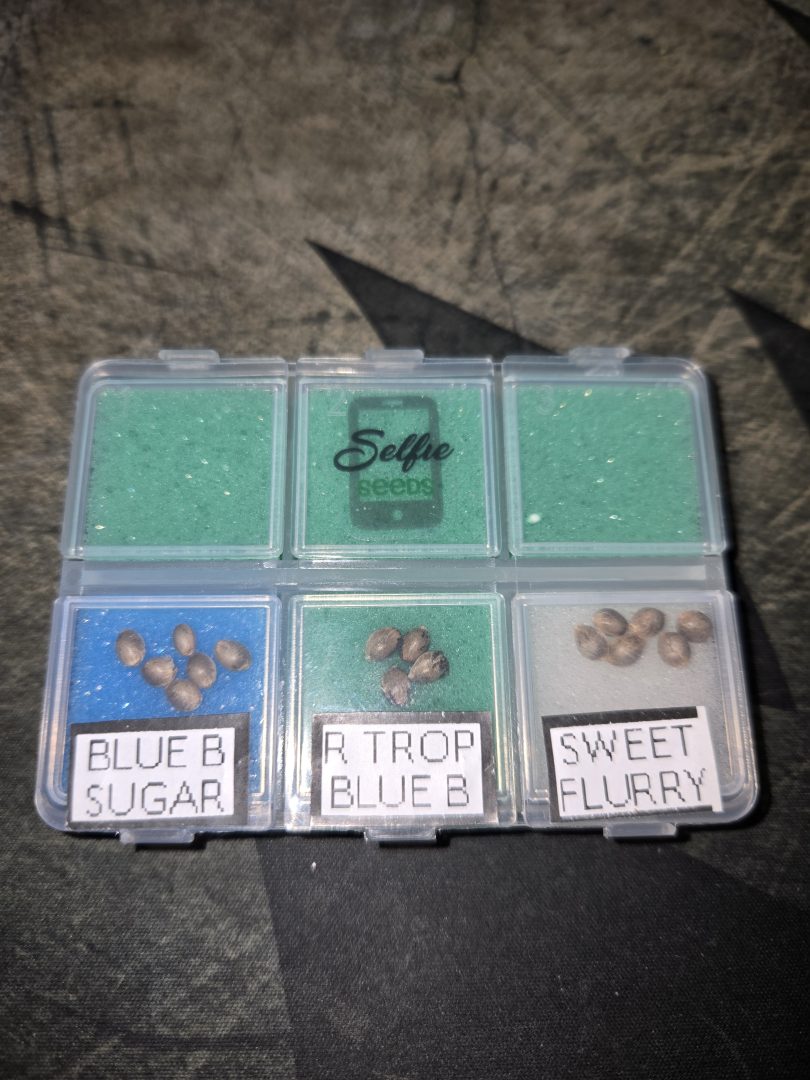 First Selfie Seeds Grow (Blueberry Sugar, Tropical Blueberry, and Sweet Flurry)
Blueberry Sugar × Selfie Seeds, Tropical Blueberry × Selfie Seeds, Sweet Flurry × Selfie Seeds • Soil • Started May 27, 2026
View journal
First Selfie Seeds Grow (Blueberry Sugar, Tropical Blueberry, and Sweet Flurry)
Blueberry Sugar × Selfie Seeds, Tropical Blueberry × Selfie Seeds, Sweet Flurry × Selfie Seeds • Soil • Started May 27, 2026
View journal
Awesome It’ll be a bit chlorophyllie but definitely let me know your opiniones

Walked in this morning before lights out and they are already bouncing back pretty good.
Awesome, fingers crossed for you
Nice LSTing Looks perfectly symmetric

Bananas!!!!! I knew I forgot something today. Thanks, gotta hit the store up in the am anyway. Coming off night,…
Should I be wiping down the light and exhaust fan as well?
not if your ozone generator is in there while theyre on